

This one-ingredient Ninja Creami Fairlife chocolate milk ice cream is the richest, creamiest chocolate ice cream you'll ever have! High in protein and lower in sugar than traditional ice cream, this simple recipe proves that sometimes less is more.
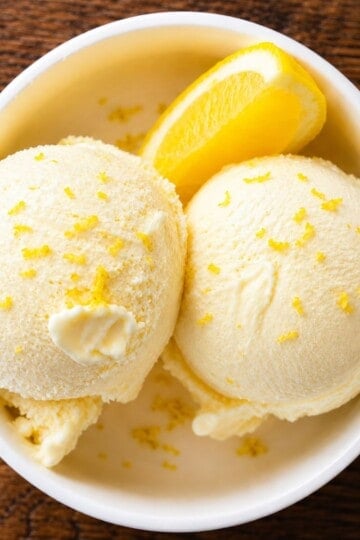
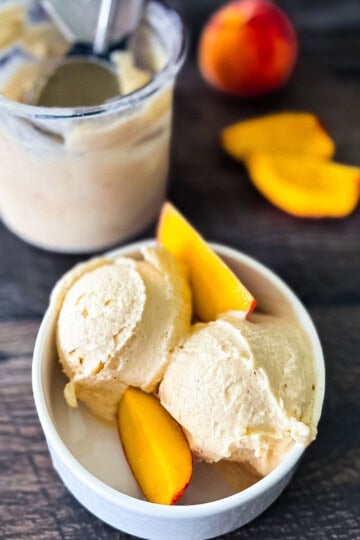
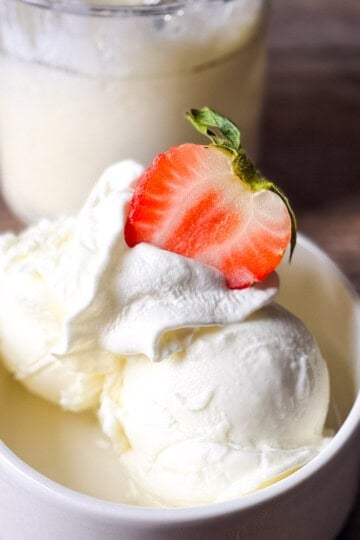
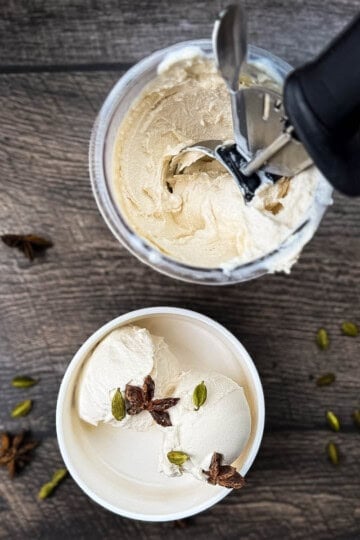
If you love this recipe, try my Ninja Creami Frozen Vanilla Yogurt, Ninja Creami Peanut Butter Ice Cream, Ninja Creami Vanilla Ice Cream, and Ninja Creami Eggnog Ice Cream next!

Want to save this recipe?
Enter your email & I'll send it to your inbox. Plus, get great new recipes from me every week!
Jump to:
Ninja Creami Fairlife Chocolate Milk Ice Cream
My family loves homemade ice cream, and we have been making it for over a decade. I first started making homemade KitchenAid Chocolate Ice Cream using chocolate pudding mix, then once I got the Ninja Creami ice cream maker, one of my family's favorites was my Ninja Creami Chocolate Ice Cream.
But then, because I wanted to reduce the amount of saturated fat in my diet, and many readers asked if I could give them a healthier way to make ice cream, this recipe was born. This is one of my new favorite Ninja Creami recipes because:
- Only one ingredient is needed.
- The mixture is unbelievably creamy.
- It is low in sugar and high-protein without using protein powder.
- It has a rich chocolate flavor.
- It's super easy. Just pour, freeze, and process.

Recipe Ingredients
The only ingredient for this high-protein chocolate ice cream is shown in the pic below, and special notes are made in the bulleted list below to assist you.
- Fairlife Chocolate Milk: Use this ultra-filtered chocolate milk, not regular chocolate milk. The higher protein content is key to the creamy texture. Either whole or 2% works great! I haven't tried it with the lactose-free milk. If you do, let me know how it turned out in the comment section below!
- Optional: Add mix-ins like chocolate chips, nuts, or chopped Oreo cookies. You can also add toppings like sprinkles, M&Ms, or chocolate syrup.
See the recipe card below for full information on ingredients and quantities.
How to Make Ninja Creami Fairlife Chocolate Milk Ice Cream
- Pour 2 cups of ultra-filtered Fairlife chocolate milk into a clean, dry Ninja Creami pint container. Do not fill past the MAX FILL line. Note: The container must be completely dry to prevent ice crystals from forming.
- Secure the lid tightly and place the container upright on a flat surface in your freezer. Freeze for 24 hours or until completely solid.
- Remove the frozen Ninja Creami container from your freezer and remove the lid. Scrape off any frost from the top. Let it sit at room temperature for 3-5 minutes, then install the container into your Ninja Creami bowl. Attach the lid assembly and secure it to the motor base of your Ninja Creami machine.
- Process by pressing the Lite Ice Cream button for the first spin. Once complete, immediately run a Re-spin cycle for the smoothest, creamiest texture. Note: You can use the Re-spin setting again until you reach your desired consistency. In my other Ninja Creami recipes I would add a tablespoon of milk before re-spinning, but you don't need to with this recipe.
- Serve immediately and enjoy!

Jeri's Top Tips
- Watch the fill line. Leave enough space at the top for expansion during freezing.
- Level surface: Make sure the container sits perfectly upright while freezing.
- Mix-ins: Add mix ins only after the final spin.
Recipe Variations
- Milkshake style: Blend with additional Fairlife milk for a chocolate milkshake. (Follow the directions from my Ninja Creami chocolate milkshake).
- Chocolate Peanut Butter: Add some peanut butter using the Mix-in function.
- Mocha: Stir in 1 teaspoon instant espresso powder before freezing.
- Rocky Road: Mix in mini marshmallows, chopped nuts, and chocolate chips.
- Chocolate Cherry: Add chopped frozen cherries using the Mix-in function.
Storage Instructions
Store the processed leftovers in the Ninja Creami pint container in your freezer for up to 2 months. Let soften for 5 minutes before serving.
For the best texture, re-process it on the Lite Ice Cream setting if the ice cream has been stored longer than 24 hours.

Recipe FAQs
No, Fairlife's ultra-filtered milk has a unique content that creates the perfect texture.
Yes! After processing, add your favorite toppings to the ice cream base and use the Mix-in function.

More Ninja Creami Recipes
If you love this recipe, try these next:
Printable Recipe

Ninja Creami Fairlife Chocolate Milk Ice Cream
Ingredients
- 2 cups Fairlife chocolate milk (ultra-filtered)
- Optional Mix-ins: chocolate chips, crushed cookies, chopped nuts
Instructions
- Pour 2 cups of ultra-filtered Fairlife chocolate milk into a clean, dry Ninja Creami pint container. Do not go past the MAX FILL line to allow for expansion during freezing.
- Secure the lid tightly and place the container upright on a flat surface in your freezer. Freeze for 24 hours or until completely solid.
- When ready to process, remove the frozen container from your freezer and scrape any frost off the top. Let it rest at room temperature for exactly 5 minutes, then install it into your Ninja Creami bowl. Secure the lid assembly and place the bowl on the motor base.
- Select the Lite Ice Cream setting and process until complete. When finished, immediately run a Re-spin cycle for the smoothest, creamiest texture.
- If adding mix-ins, add them, then use the Mix-in function. Serve and enjoy!
Video
Save This Recipe 💌
Notes
- Use ultra-filtered Fairlife milk only - regular chocolate milk won't work.
- Add mix-ins only after the final spin using the Mix-in button.
Nutrition
The provided nutrition information is automatically calculated. Accuracy is not guaranteed.
Did you love this recipe?
Then please leave a 5-star rating and/or review below! You can also save it! Just tap the heart symbol ❤️ in the lower right corner of your screen, and the recipe will be stored in your own recipe box!📥
Linnea Grambo says
I did this and the top half turned into weird powder and the bottom half was flavorless… not sure what went wrong
Jeri Walker says
Hi Linnea! You did nothing wrong - as long as you used Fairlife chocolate milk! Make a well in the center with a spoon, add a tablespoon of chocolate milk, and RE-SPIN. It will turn out nice and creamy! 😊
Nadine says
We get our machine tomorrow, so can you select the soft serve choice to put into a cone? Thanks and looking forward!
Jeri Walker says
Yay! That is so exciting! I don't have the Swirl Creami yet, which does the soft serve, but from what I understand you can make any ice cream then put the other lid on and turn it into soft serve! Let me know how you like it! Have fun!:)
Bonita says
Can I use the fair life 26 G protein choc milk?
Jeri Walker says
I haven't personally tried it with the 26g protein chocolate milk, but I don't see why it wouldn't work!