

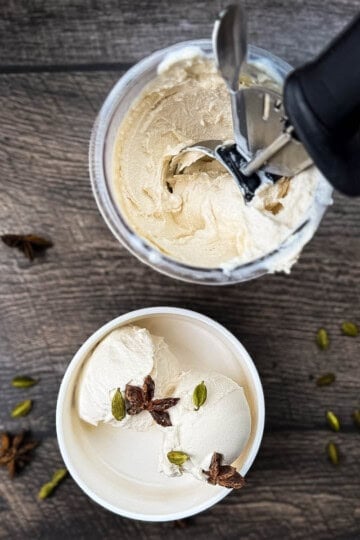
This Ninja Creami Frozen Vanilla Yogurt recipe is the perfect way to get that silky, creamy texture at home without the extra calories of traditional ice cream. Whether you're using the standard or Deluxe model, or even the Ninja Swirl, this is the easiest treat you'll ever make (besides my Ninja Creami Fairlife Chocolate Milk Ice Cream).
I love keeping a few of these tucked away in the freezer. That way, I'm always just one spin away from a high-protein, guilt-free treat whenever the mood strikes.
Want to save this recipe?
Enter your email & I'll send it to your inbox. Plus, get great new recipes from me every week!
Pro tip
The Perfect Base
This is the perfect base recipe. Once you have the vanilla base down, try mixing in a spoonful of my Low Sugar Strawberry Jam for a fruity swirl that beats any froyo shop!
Recipe at a Glance
- Prep Method: Ninja Creami
- Total Time: 5 minutes prep + 24-hour freeze
- Shelf Life: Up to 2 weeks (frozen)
- Yield: 1 Pint (approx. 2-4 servings)
- Difficulty: Super Easy
Jump to:
- The Perfect Base
- Recipe at a Glance
- The Ultimate Healthy Hack for Your Ninja Creami
- Why You'll Love This Recipe
- Ingredients You'll Need
- How to Make Ninja Creami Frozen Yogurt
- Jeri's Tips for the Perfect Spin
- Variations and Substitutions
- Storage and Re-Spinning
- Recipe FAQs
- More Ninja Creami Recipes You'll Love
- Printable Recipe
- Comments

The Ultimate Healthy Hack for Your Ninja Creami
In my ongoing mission to keep things simple (but still really good), this frozen vanilla yogurt has become a staple in my kitchen. It's light, refreshing, and surprisingly decadent. I always make this when I notice my yogurt is nearing the Best Before date!
I'm a huge fan of my Ninja Creami Vanilla Protein Ice Cream and even my Ninja Creami Blueberry Ice Cream, but sometimes I want that specific frozen yogurt tang. The problem? Most store-bought pints are icy or filled with weird gums.
Making it at home fixes all of that. You control the sweetness, the protein content, and the texture. I usually keep a few of these pints in the freezer so I can have a quick dessert after dinner without the sugar crash. If you have a container of yogurt in the fridge, it's hard not to make this a weekly habit!
Why You'll Love This Recipe
- Saves You Money: Skip the $7 frozen yogurt. One tub of yogurt makes several Creami pints for a fraction of the cost.
- Perfectly Balanced: Using a blend of flavored yogurt and milk gives you the smoothest consistency.
- High Protein: Using full-fat Greek yogurt and Fairlife milk makes this a powerhouse snack.
- Quick and Easy: Just 5 minutes of prep, a simple freeze, and the Creami does the rest.
Ingredients You'll Need
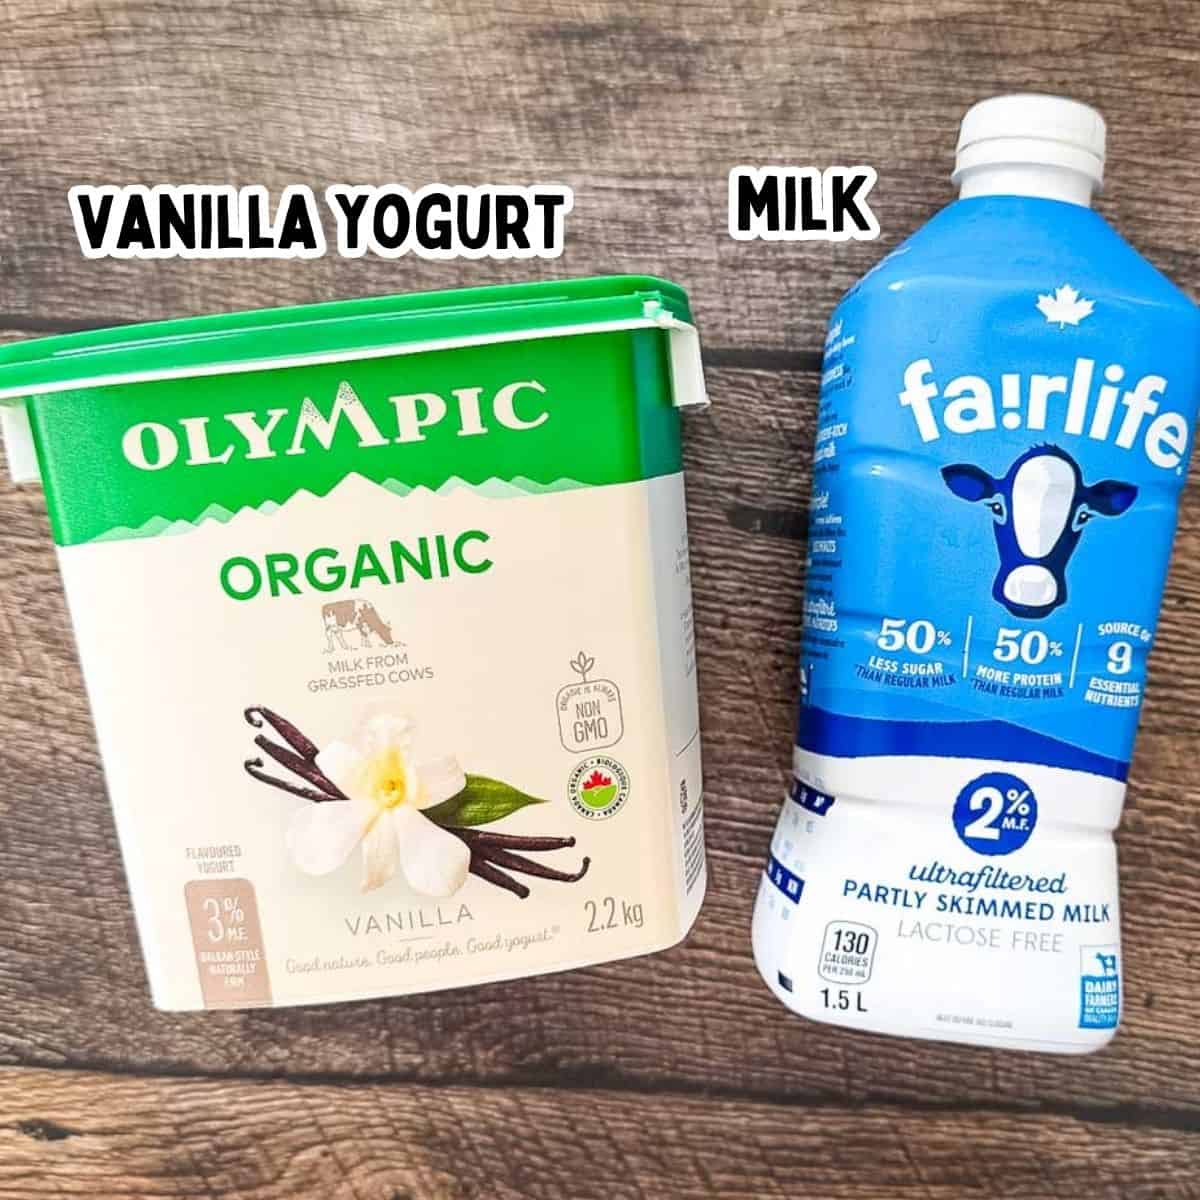
- Vanilla Yogurt: You can use regular vanilla yogurt or vanilla Greek yogurt. (I prefer full-fat Greek yogurt for the texture!) If using plain yogurt, you'll want to add a teaspoon of vanilla extract or vanilla bean paste, along with a couple of tablespoons of sweetener (honey, maple syrup, stevia, or monk fruit).
- Milk: A bit of milk (dairy, almond, or oat) thins the mixture, making it easier for your Creami machine to process. My favorite is Fairlife milk, either 2% or 3%.
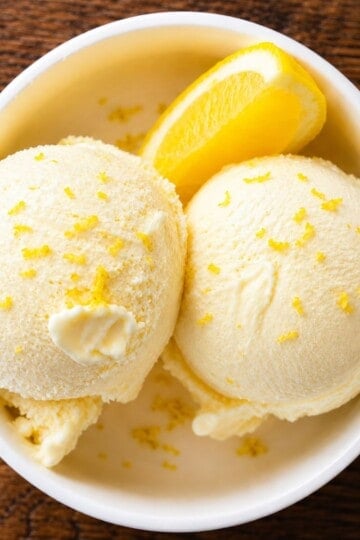
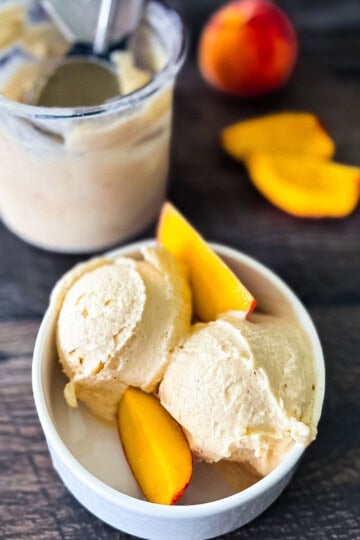
- Mix-ins: (Optional) Dark chocolate chips, fresh fruit, or even crumbled Oreo Cookies or Sourdough Discard Chocolate Chip Cookies.
- Toppings: (Optional) Top with sprinkles, whipped cream, fresh strawberries, sliced peaches, or crushed cookies.
See the printable recipe card at the bottom of this post for quantities and a full list of ingredients.
How to Make Ninja Creami Frozen Yogurt
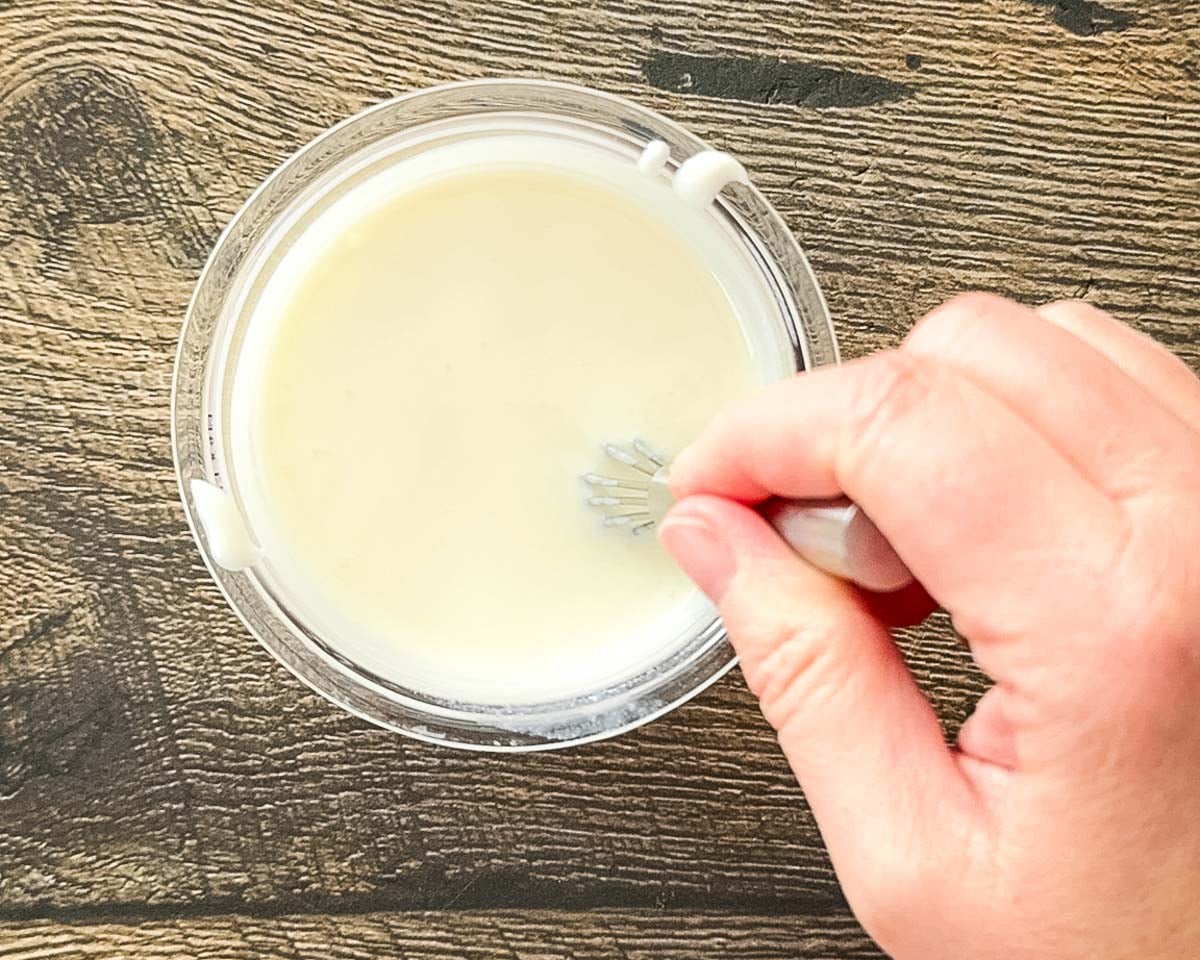
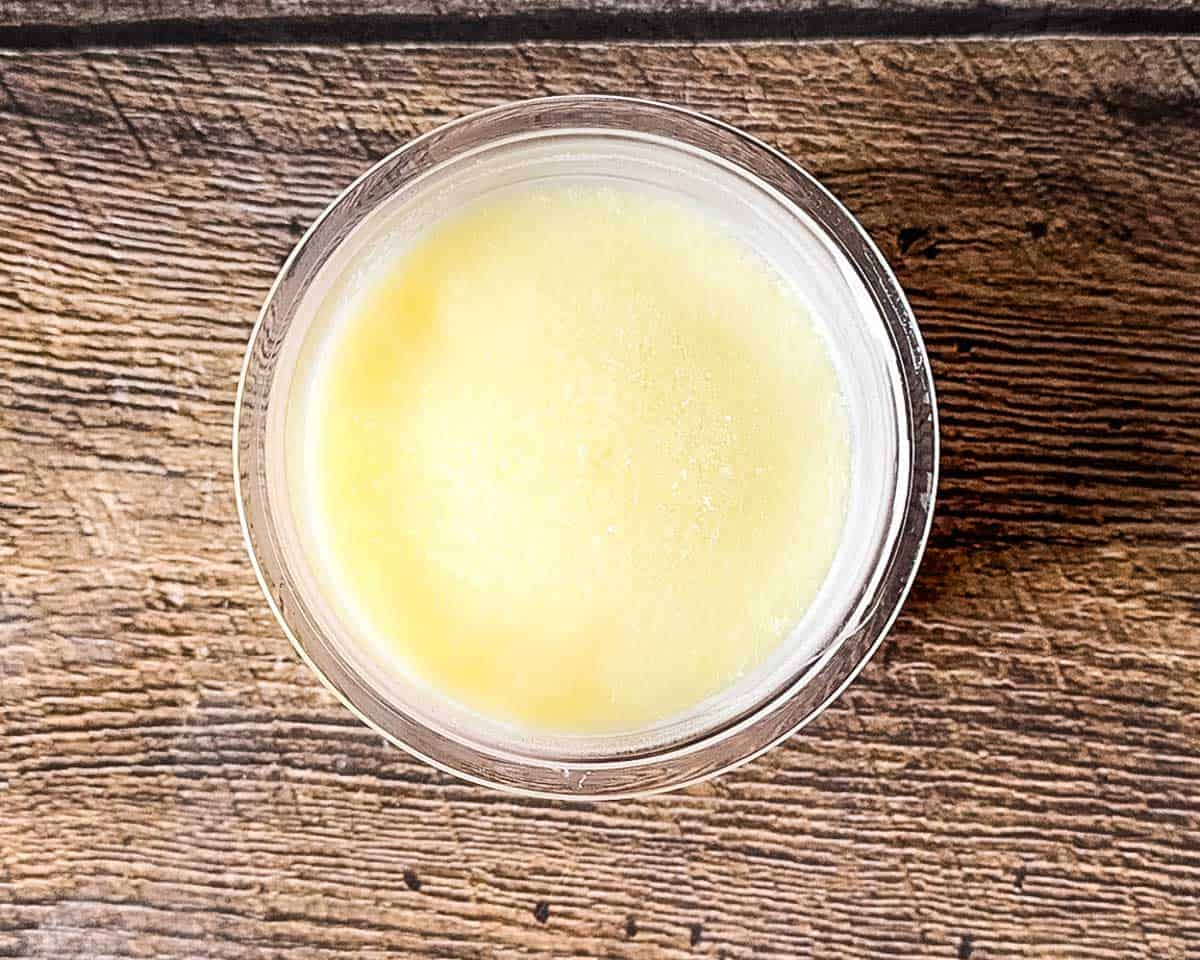
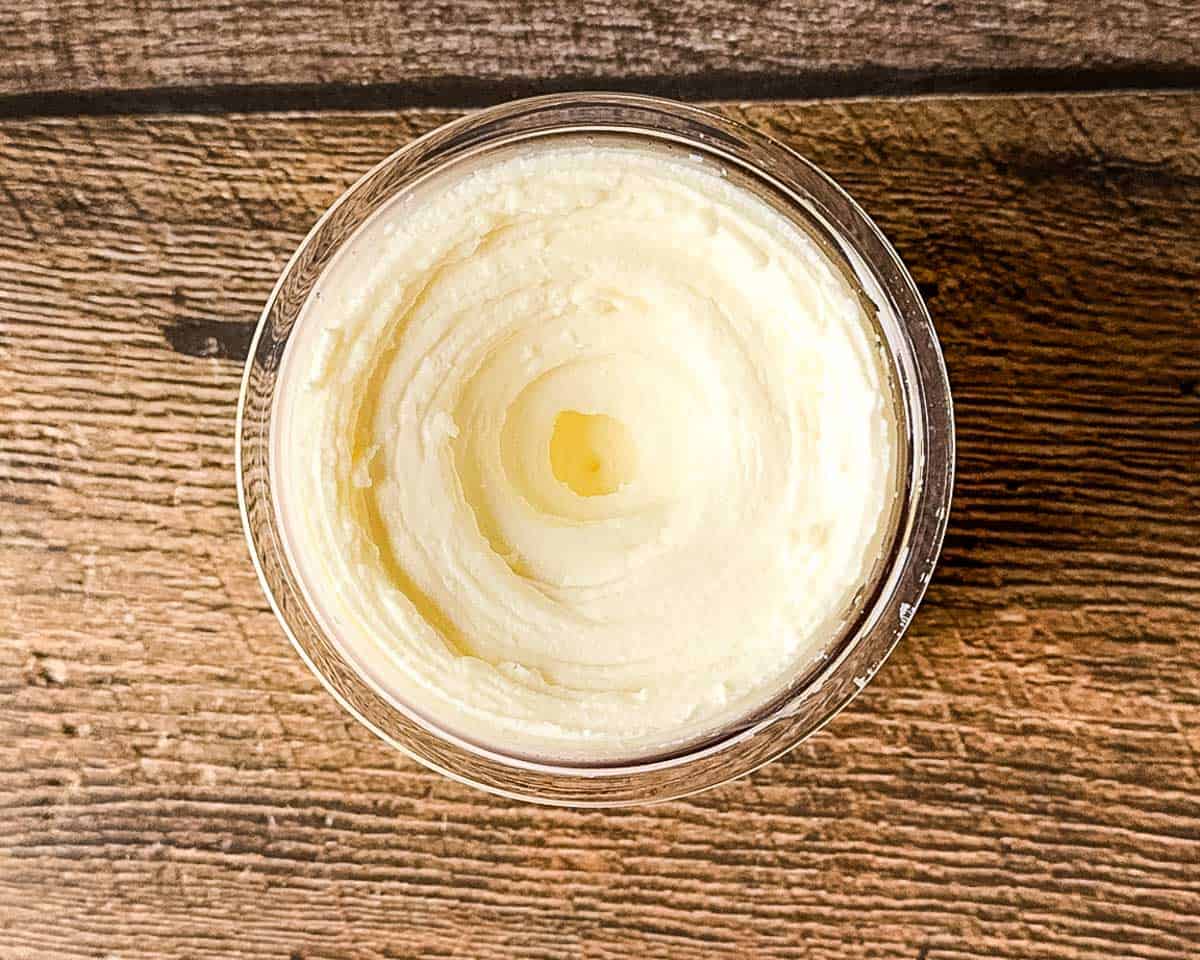
Fill: Add vanilla yogurt and Fairlife milk into the Ninja Creami pint container. Whisk the yogurt mixture right in the pint until smooth. Ensure the top is level.
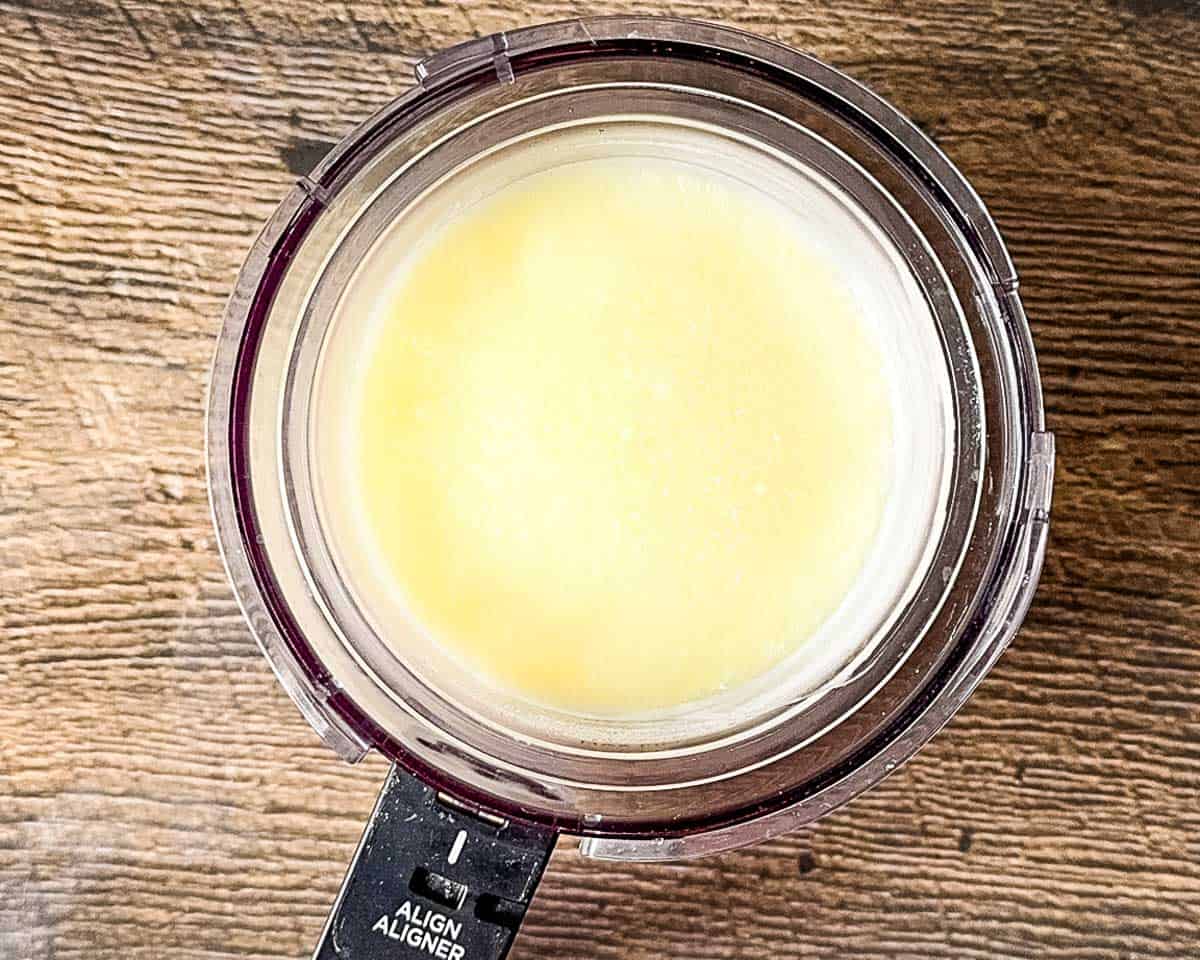
Freeze: Place the lid on and freeze on a completely level surface for 24 hours. Tip: Don't skip the full 24 hours! A solid freeze is the secret to that signature texture.
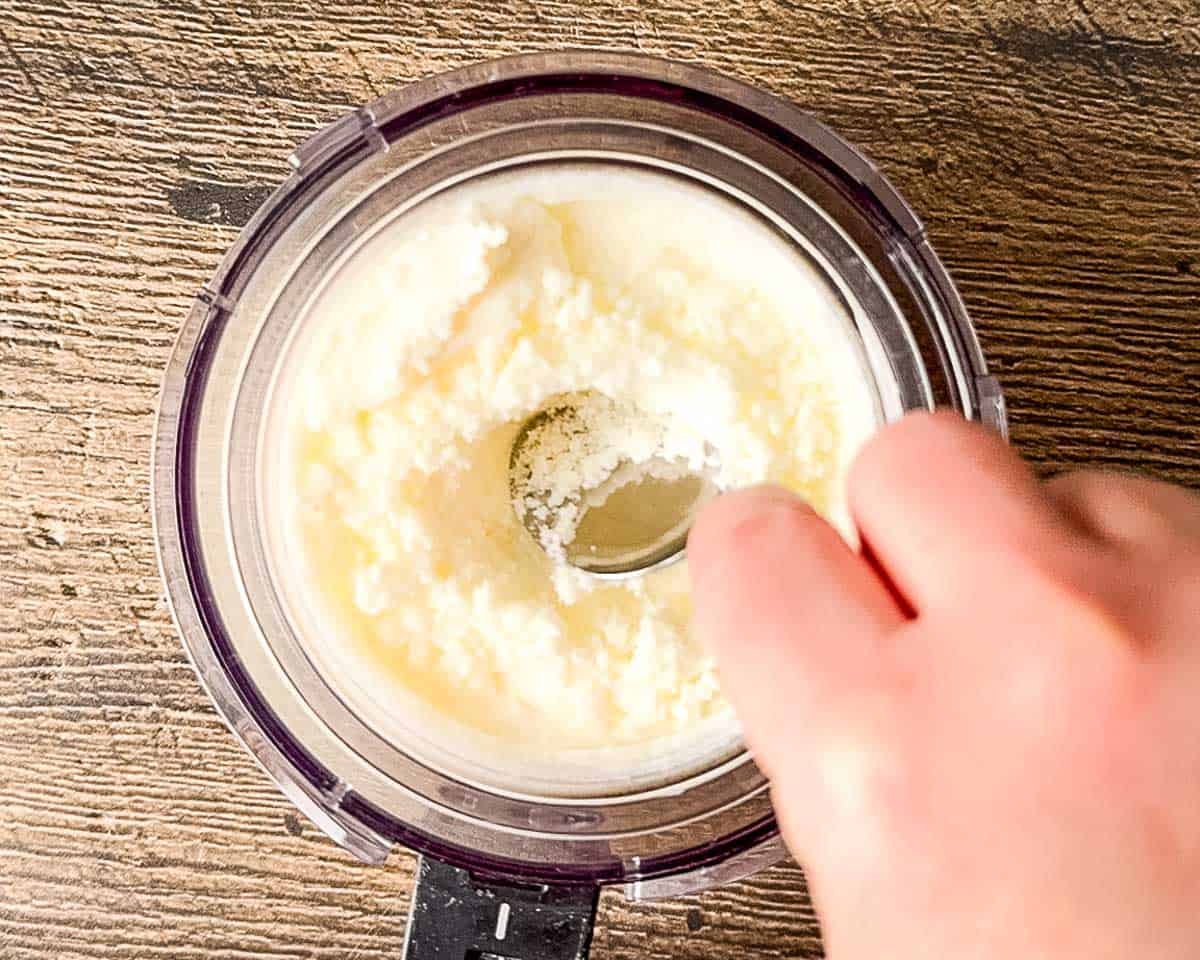
Process: Remove the lid and place the frozen pint into the outer bowl. Lock it into the Ninja Creami machine and select the FROZEN YOGURT or LITE ICE CREAM program.
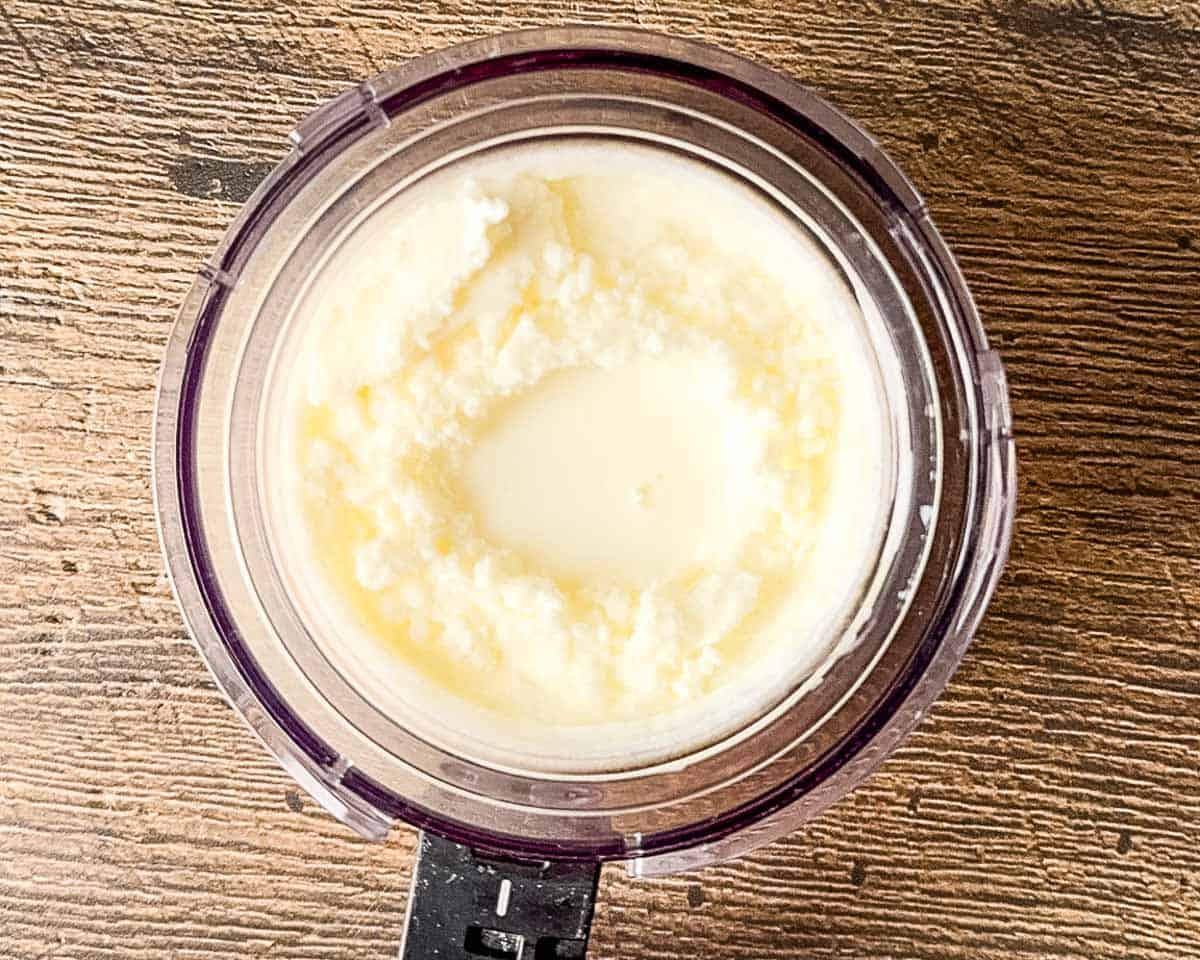
The Re-Spin: If the mixture looks a bit crumbly after the first spin, add one tablespoon of milk and hit RE-SPIN. It will come out like velvet.
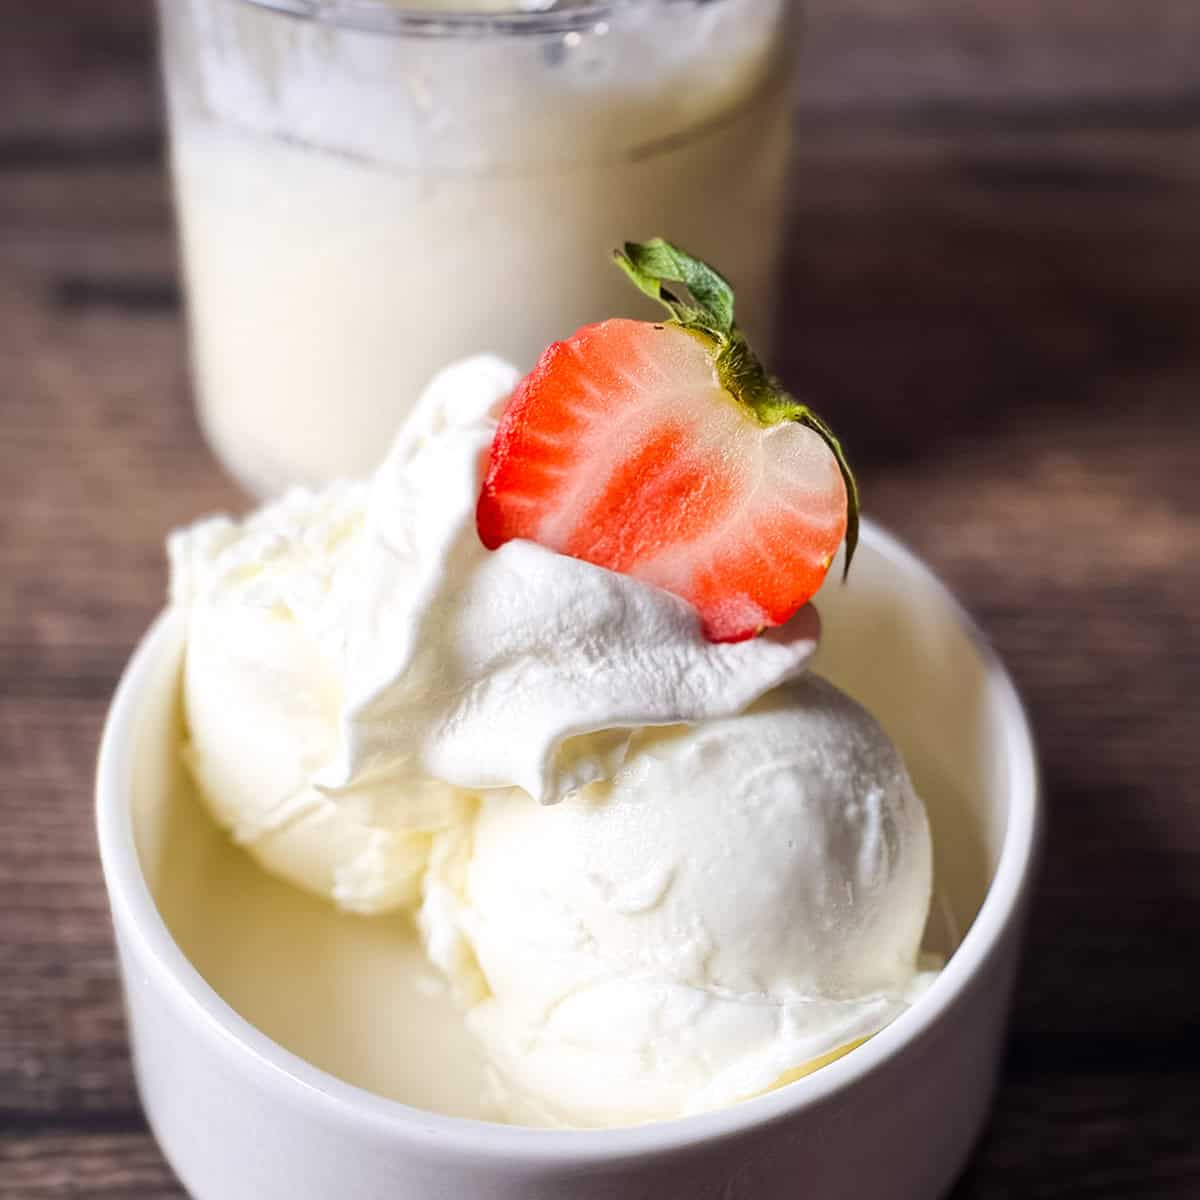
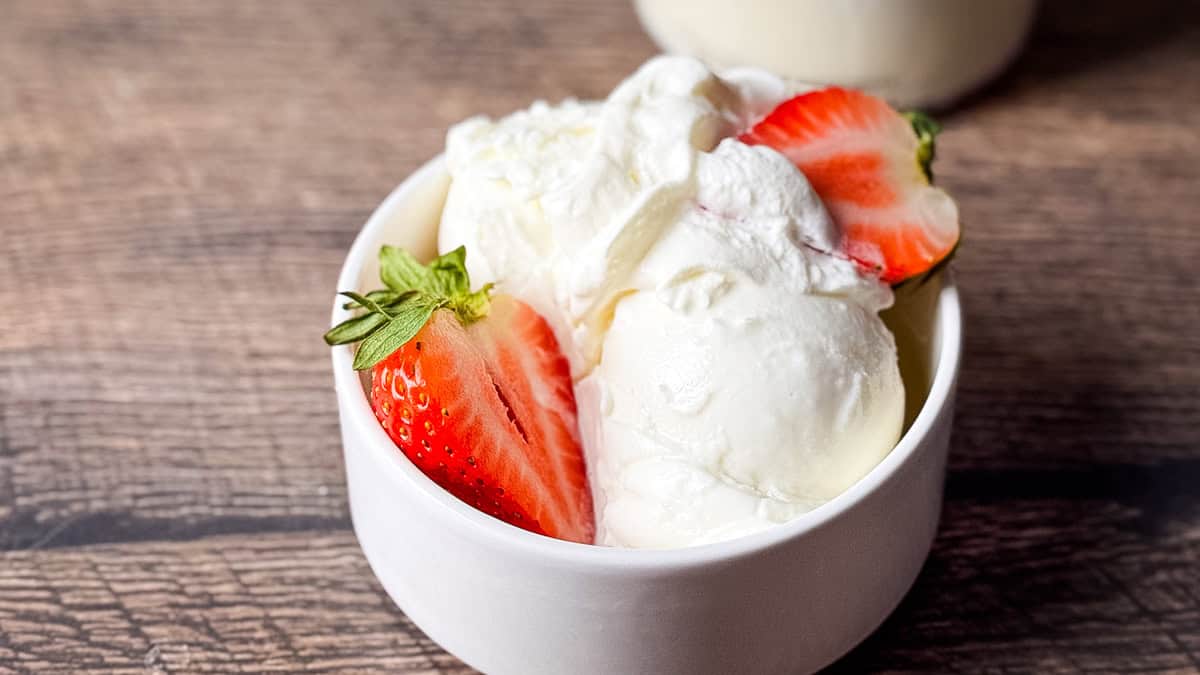
Serve: Top with your favorite toppings and enjoy!
Jeri's Tips for the Perfect Spin
After making dozens of pints in my kitchen, I've learned a few tips that make the difference between a crumbly mess and a silky masterpiece:
- Don't Fear the Re-Spin: I see so many people get discouraged when their first spin looks like snow. Yogurt is lean, so it's prone to this! Just add that tablespoon of milk and RE-SPIN. It's the secret to that soft-serve finish.
- The Thaw Trick: If your freezer is extra cold (like a chest freezer), let the pint sit on the counter for 5 minutes to thaw slightly before you process. It's much easier on your machine.
- The Mix-In: Use a spoon or butter knife to dig a hole all the way to the bottom of the pint before hitting the MIX-IN button. This helps the machine distribute the goodies throughout the whole pint, not just the top inch!
Variations and Substitutions
The Extra Protein Version: Use a high-protein vanilla Greek yogurt and whisk in half a scoop of your favorite vanilla protein powder before freezing.
Fruit Swirl: Before freezing, swirl in 2 tablespoons of Homemade Raspberry Rhubarb Jam for a bright, tart contrast.
Honey & Granola: After the first spin, make a "well" in the center, add a handful of granola, and use the MIX-IN button. Top with a drizzle of honey.
Peanut Butter Fro-Yo: Blend 1 tablespoon of creamy peanut butter into the yogurt base before freezing. It pairs perfectly with the tangy yogurt, much like my Ninja Creami Peanut Butter Ice Cream.
Storage and Re-Spinning
Freezer: If you have leftovers, use a spoon to level the top of the yogurt in the pint container. Place the lid back on and store it in the freezer for up to 2 weeks. Any longer and it will start to lose texture.
Enjoying Leftovers: Because this recipe doesn't use egg yolks or heavy cream (like my No Churn S'mores Ice Cream), it will freeze quite firm. When you're ready to eat the rest, simply put it back in the Ninja Creami and hit the FROZEN YOGURT or LITE ICE CREAM button again. If it's a bit dry, add a splash of milk before spinning.
Recipe FAQs
Yes, but fat equals creaminess. Fat-free versions may require two respins to get rid of the iciness.
Similar, but even easier! My Ninja Creami Dole Whip Recipe uses fruit juice, whereas this is dairy-based and higher in protein.
This usually means the pint is very cold. Adding a tiny splash of milk and using the RE-SPIN function fixes this every time!
More Ninja Creami Recipes You'll Love
- Ninja Creami Vanilla Ice Cream - The classic, rich base for every topping imaginable.
- Ninja Creami Chocolate Milkshake - Thick, indulgent, and ready in minutes.
- Ninja Creami Mango Sorbet - A refreshing, dairy-free tropical treat.
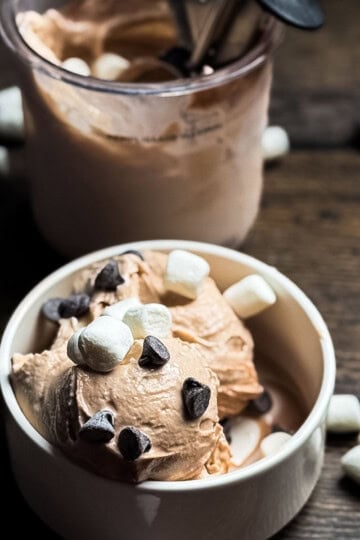
- Ninja Creami Hot Chocolate Ice Cream - Perfect for those cozy winter cravings.
Printable Recipe

Ninja Creami Frozen Vanilla Yogurt
Ingredients
- 1½ cups vanilla yogurt any kind, regular or Greek
- ½ cup Fairlife 2% milk (or whole milk)
- 1 teaspoon vanilla extract (optional) (if using plain yogurt)
- 2 tablespoons sweetener (optional) (if using plain yogurt)
Optional Mix-Ins
- dark chocolate chips, fresh berries, or a swirl of jam
Instructions
- Fill and Mix: Add 1½ cups of vanilla yogurt and ½ cup of Fairlife milk into the Ninja Creami pint container. Whisk the yogurt mixture right in the pint until completely smooth. Make sure it doesn't go past the MAX FILL line.
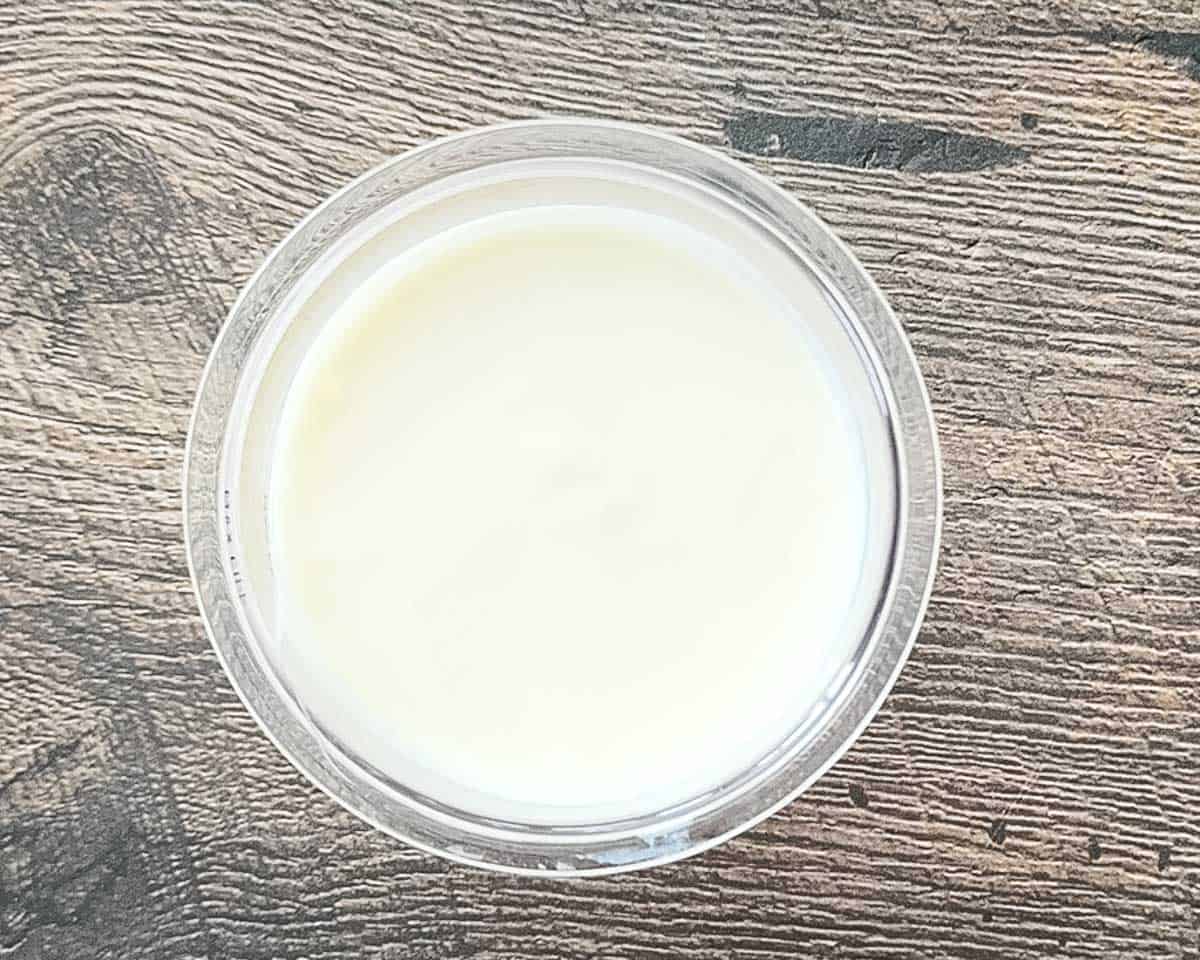
- Level the Top: Use the back of a spoon to smooth the surface. Jeri's Pro-Tip: Ensure the top is completely flat! If it freezes with a hump in the middle, it can damage the machine's blade.
- Freeze: Place the lid on the pint and find a level spot in your freezer. Let it freeze for a full 24 hours. Don't rush it - it needs to be rock solid to get that velvet texture.
- Process: Remove the lid and place the frozen pint into the outer bowl. Lock it into the Ninja Creami machine. Select the FROZEN YOGURT button or LITE ICE CREAM setting.
- Re-Spin: If the yogurt looks a little crumbly or snowy after the first spin, don't worry! Make a well in the center, add one tablespoon of milk, and hit the RE-SPIN button. This will make it super creamy.
- Add Mix-ins: If you want some crunch, use a spoon to dig a hole down the center of your spun yogurt. Add your mix-ins, then select the MIX-IN function.
- Serve: Top with your favorite toppings and serve immediately.
Video
Save This Recipe 💌
Notes
- Machine Settings. Most newer models have a FROZEN YOGURT button. If yours doesn't, use the LITE ICE CREAM button as it is designed for lower-fat/high-protein bases.
- Yogurt Type. You can use any brand of vanilla yogurt. If you choose to use plain yogurt instead of vanilla, add 1 teaspoon of vanilla extract or vanilla bean paste and 2 tablespoons of sweetener for flavor.
- Crumbliness. If it looks dry after the first spin, it's just very cold. A tiny splash of milk and a RE-SPIN fixes it every time.
- Leftovers. Level the top of any leftover yogurt and freeze. When you're ready for more, just run the FROZEN YOGURT or LITE ICE CREAM cycle again to bring back the creaminess.
Nutrition
The provided nutrition information is automatically calculated. Accuracy is not guaranteed.
Did you love this recipe?
Then please leave a 5-star rating and/or review below! You can also save it! Just tap the heart symbol ❤️ in the lower right corner of your screen, and the recipe will be stored in your own recipe box!📥
Comments
No Comments