

This homemade Canned Applesauce recipe is as easy as it gets - just apples, water, cinnamon, and a little sugar. In under an hour, you'll have jars of homemade applesauce ready for your pantry, perfect for pork chops, oatmeal, or a quick snack.

Want to save this recipe?
Enter your email & I'll send it to your inbox. Plus, get great new recipes from me every week!
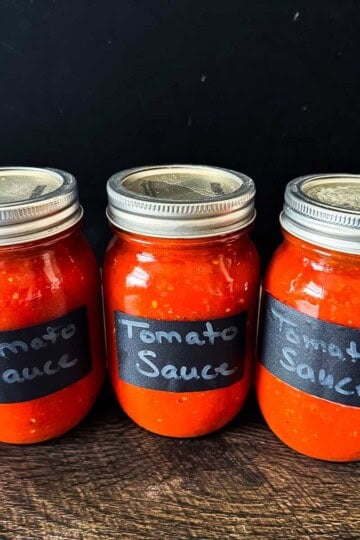
Looking for more canning recipes? Try my Canned Spaghetti Sauce, Homemade Peach Jam, and Homemade Crab Apple Syrup.
This easy canned applesauce recipe has all the slow-cooked flavor of slow-simmered applesauce, but it's done in under an hour with just a few simple steps. It has become a staple in my kitchen during fall when the apple trees are loaded with apples, and I need a quick way to preserve them before they go soft.
While I like to add a little cinnamon and sugar, you can easily adjust the sweetness or skip the spice if you prefer plain applesauce.
Jump to:
Ingredients You'll Need
These simple ingredients come together to make a small-batch applesauce that's spiced just right and pantry-ready:
- Apples (4 pounds, peeled, cored, and sliced) - I used orchard-grown Gala apples, but you can use any kind you like, even a mix of sweet and tart apples (like Gala, Honeycrisp, or Granny Smith).
- Water (¼ cup) - Just enough to help the apples soften without diluting the sauce.
- Sugar (2-4 tablespoons) - Sweetens the sauce and balances tart apples. Adjust up or down depending on your apples, or omit altogether.
- Cinnamon (½-¾ teaspoon) - Apples and cinnamon just go together. Start with ½ teaspoon and taste before adding more. You can also add a pinch of ground nutmeg or cloves if you like.
Unlike store-bought applesauce that can be overly sweet or bland, this water bath canning version has the perfect flavor and just the right touch of spice. The recipe makes 4 half-pint jars, but can be doubled, tripled, or quadrupled.
How to Make and Can Applesauce
Making applesauce is simple, but if you're new to canning, it helps to see every step broken down clearly. Here's exactly how to do it from start to finish:
Prep the apples. Start by peeling, coring, and slicing 4 pounds of apples. Even slices (about ½ inch thick) will cook down evenly. I usually use my KitchenAid Spiralizer Attachment, which peels and cores in one pass - 5 minutes and the apples are ready to go. If you're prepping by hand, a vegetable peeler and apple corer work just fine.


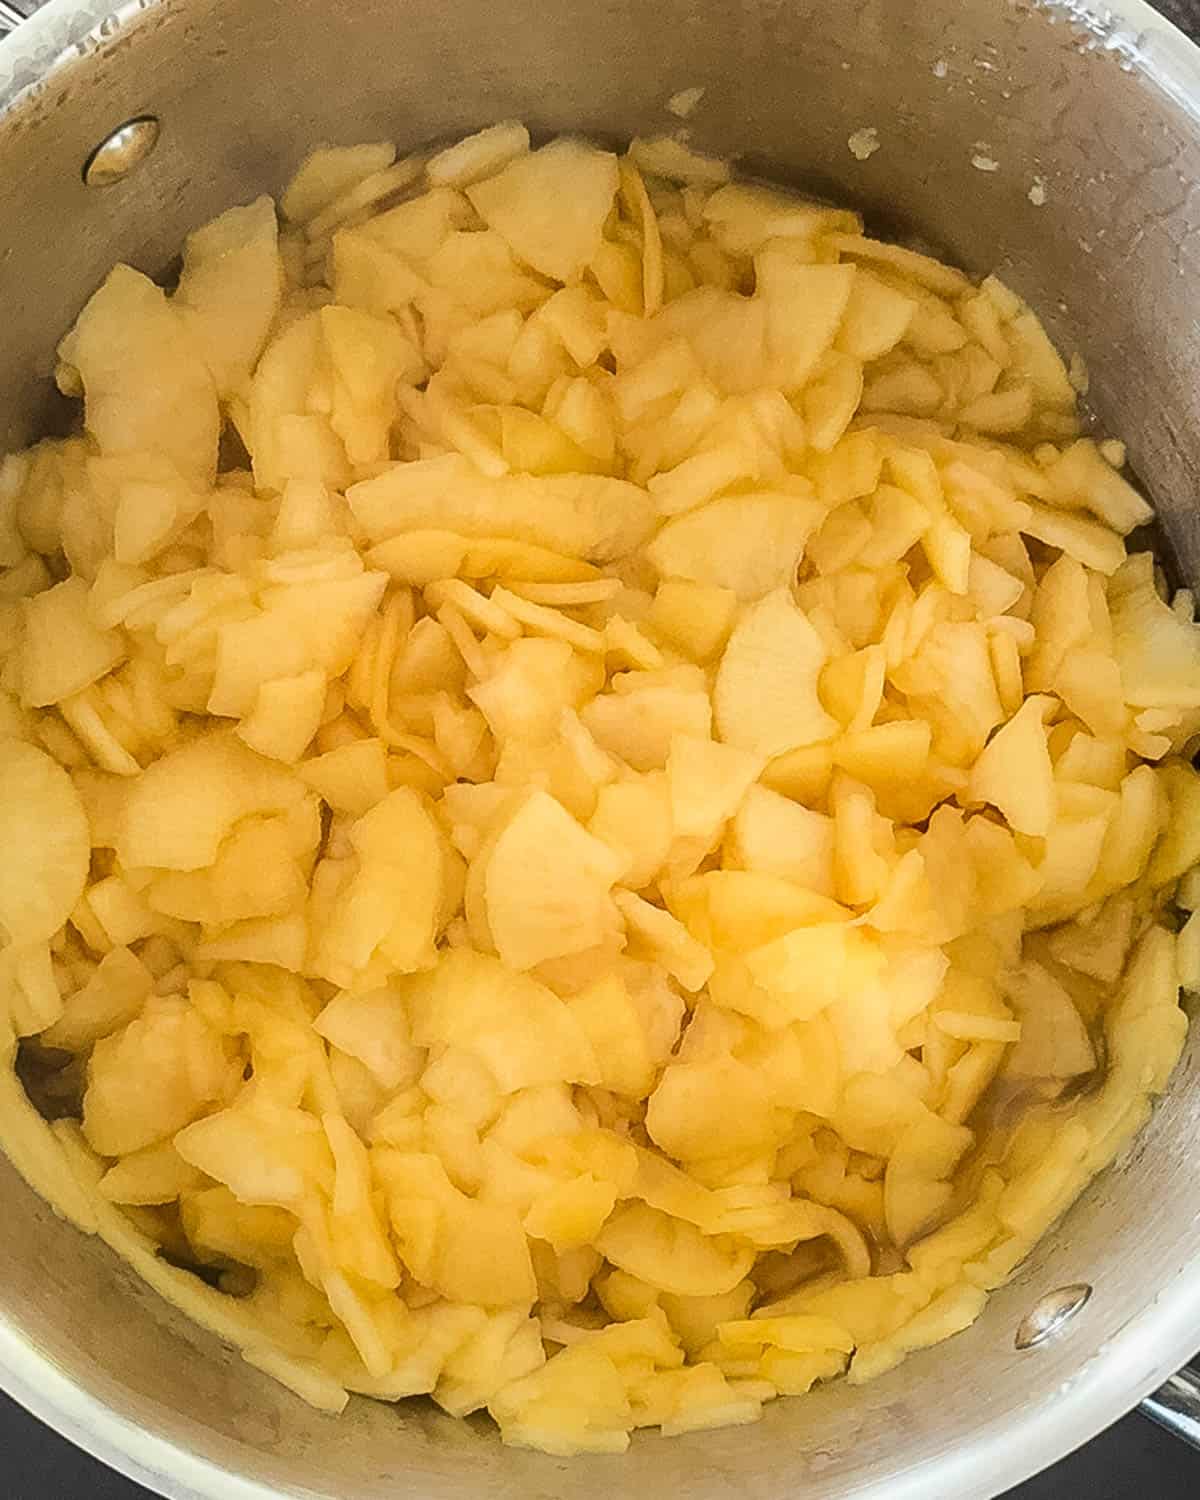
Cook the apples. Add the sliced apples and ¼ cup of water to a large pot. Cover and bring to a simmer over medium heat. Cook for 20-30 minutes, stirring occasionally, until the apples are soft and collapsing. If the pot looks dry, add another tablespoon of water - but not too much, or your sauce will become watery.

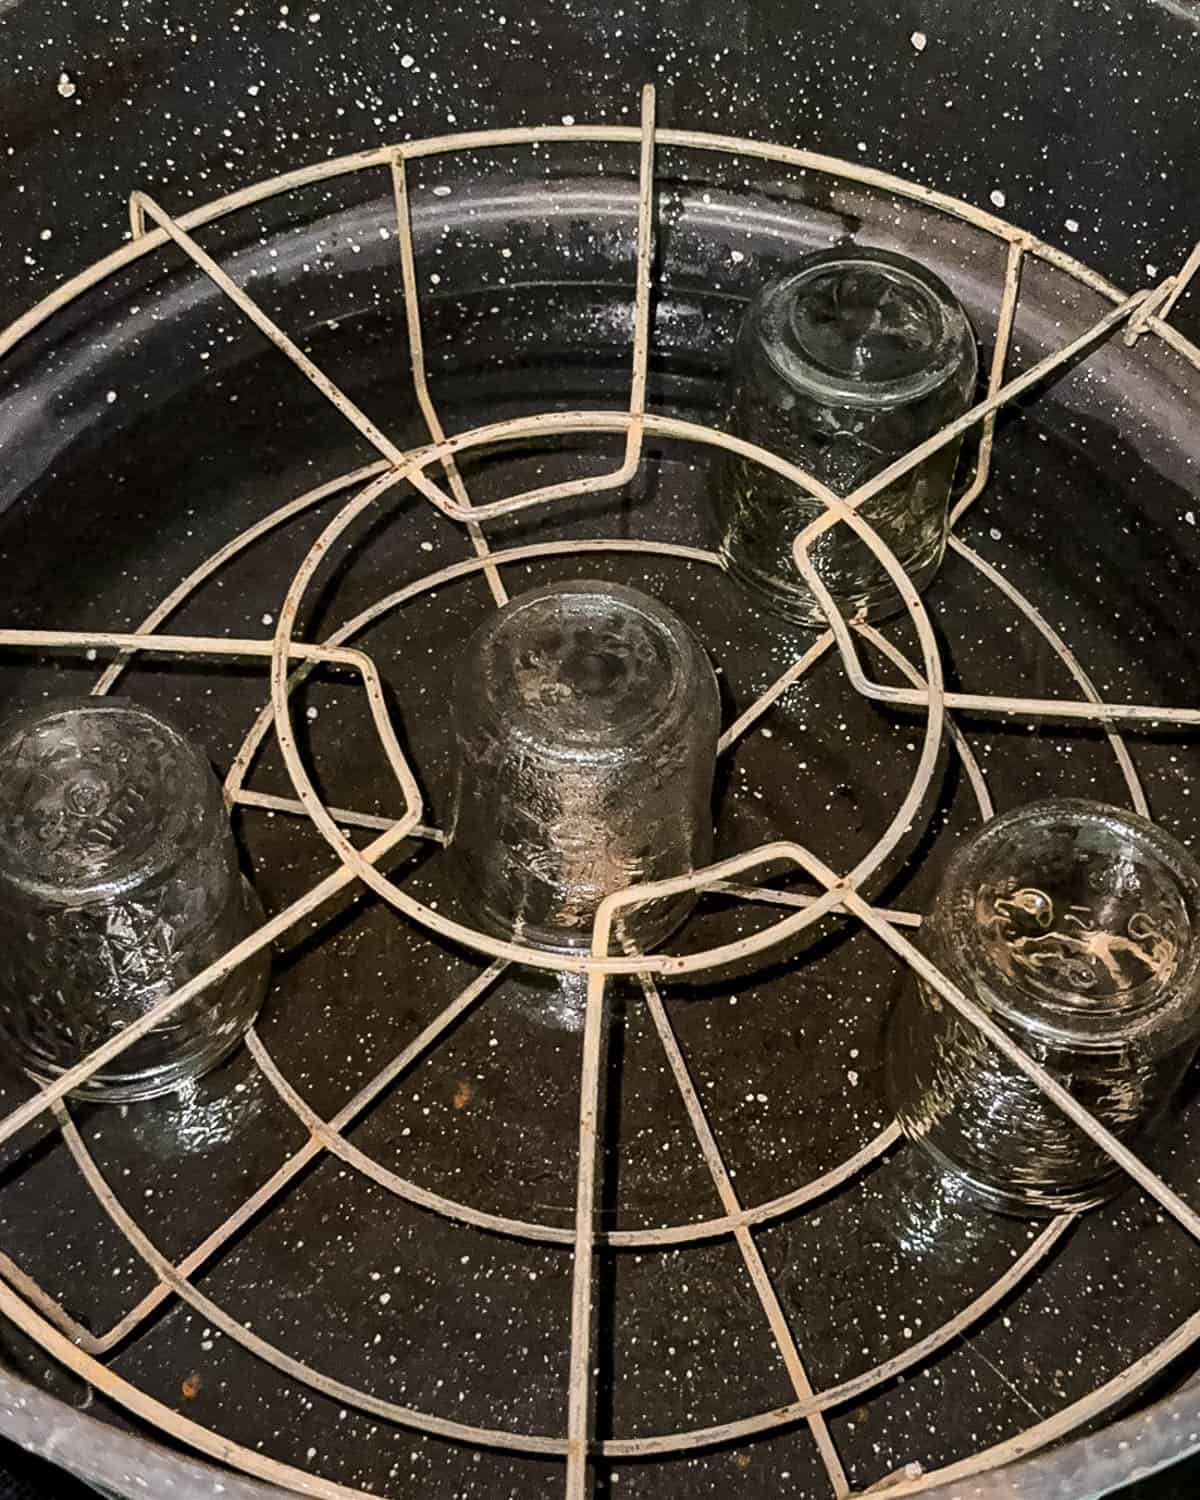
Get your jars ready. While the apples are cooking, set up your water bath canner. Fill it with enough water to cover jars by at least 1-2 inches and bring it to a boil. Wash 4 half-pint jars (or 2 pint jars) in hot, soapy water and keep them hot (you can leave them in the simmering canner water or use a dishwasher's hot cycle). Wash the lids and bands and set them aside.
Mash or puree. Once the apples are soft (they should collapse when pressed with a spoon), mash them with a potato masher for a rustic, chunky texture, or use an immersion blender for smooth sauce. Both are delicious - it's up to you.

Add sugar and cinnamon. Stir in 2 tablespoons of sugar and ½ teaspoon of cinnamon. Taste and adjust - sometimes I stop there, but if the apples are tart, I'll go up to 4 tablespoons of sugar and ¾ teaspoon of cinnamon. Simmer a few more minutes so the sugar dissolves.

Fill the jars. Working with one jar at a time, ladle the hot applesauce into jars using a canning funnel. Leave ½ inch of headspace at the top (this is important for sealing). Run a bubble popper, small spatula, or chopstick along the inside to release any trapped air bubbles. Wipe the rims clean with a damp paper towel, then place a lid on top. Screw on the band until it's fingertip-tight - snug, but not cranked down. Place the hot jar into the rack of your water bath canner.

Process in a water bath. Carefully lower the jars into the boiling water bath. Make sure there's at least 1-2 inches of water above the lids. Add more boiling water from a kettle if needed. Once the water returns to a full rolling boil, start timing: 15 minutes for pint jars (adjust for altitude if you live above 1,000 feet).

Cool and check seals. When the time is up, turn off the heat and let the jars rest in the water for 5 minutes before lifting them out with a jar lifter. Place them on a towel-lined counter, leaving space between jars. Don't tighten the lids or tip the jars. Let them cool undisturbed for 12 to 24 hours. After cooling, press the center of each lid; it should be flat, slightly sunken, and not spring back up. Any jars that didn't seal can be refrigerated and eaten within a week or frozen for later.
Label and store. Wipe the jars clean with a damp cloth and label with the date. Store sealed jars in a cool, dark place for up to one year.

Altitude Adjustments for Canning Applesauce
Processing times for water bath canning are based on sea level. If you live at higher elevations, you'll need to add extra time to keep your applesauce safe.
- 1,001-3,000 ft: add 5 minutes → 20 minutes total
- 3,001-6,000 ft: add 10 minutes → 25 minutes total
- 6,001-8,000 ft: add 15 minutes → 30 minutes total
- 8,001-10,000 ft: add 20 minutes → 35 minutes total
Pro tip: When in doubt, round up. It's always better to process a little longer than not enough.
Troubleshooting
- My applesauce looks too thin. This usually means you added too much water or your apples were extra juicy. Just simmer the sauce uncovered for a few extra minutes before filling jars to let it thicken up.
- My applesauce is too thick. No problem. Stir in a tablespoon or two of hot water or apple juice until it's the consistency you like.
- A jar didn't seal. What now? It happens! If a lid doesn't seal after cooling, pop that jar into the fridge and use it within a week. Or freeze it for up to 6 months. Don't try to reprocess the same jar - it's not worth the risk.
- The applesauce siphoned out during canning. Siphoning (when sauce leaks into the canner) is usually caused by not leaving enough headspace, boiling too vigorously, or taking jars out too quickly. As long as the jars still sealed and there's food inside, they're safe - they just might look a little messy.
- How do I know my jars are sealed? After 12-24 hours, press the center of each lid. A sealed jar won't pop back up. You may also hear that satisfying ping as they seal while cooling.
Helpful Tips from my Farmhouse Kitchen
- Don't add extra water. Stick to the ¼ cup - too much water will thin the sauce and mute the apple flavor.
- Adjust the sweetness. Some apples need more sugar, others need none. Taste before filling your jars.
- Choose your texture. Chunky or smooth - both work. Mash with a potato masher or blend for silky-smooth applesauce.
- Freezer option. Not up for canning? Let the applesauce cool completely, then freeze it in containers or freezer bags. It keeps up to 6 months.
- Always check seals. After cooling, press the center of each lid. If it pops, refrigerate that jar and use it within a week.
Serving Suggestions
- Classic snack - straight from the jar, warm or chilled.
- Breakfast boost - swirl into oatmeal, yogurt, or Oat Milk Chia Seed Pudding.
- On the side - serve warm with Pit Boss Pork Chops, Air Fryer Bone In Pork Chops, Thin Pork Chops in Air Fryer, Smoked Pork Loin Roast, and Smoked Whole Chicken.
- Baking shortcut - use in Apple Cinnamon Oatmeal Muffins, quick breads, or cakes for moisture and flavor.
- Sweet topping - spoon over Sourdough Discard Pancakes, Buttermilk Belgian Waffles, or even Ninja Creami Vanilla Ice Cream.
Storage Instructions
Pantry: Properly sealed jars will keep for up to 1 year in a cool, dark place. Always check the seal before opening.
Refrigerator: Once opened, store applesauce in the fridge and use within 7-10 days.
Freezer: If you don't want to can, let the applesauce cool, then transfer to freezer-safe containers or bags. Freeze for up to 6 months. Thaw overnight in the fridge before serving.

Recipe FAQs
Peeling gives a smoother sauce and helps it last longer on the shelf. If you prefer, you can leave the peels on and run the sauce through a food mill before canning.
Yes. If your apples are naturally sweet, you can reduce or omit the sugar. Sugar is not required for safe canning.
You can use any type, but my favorites are Gala, Honeycrisp, and McIntosh apples.
Every year, I set aside at least one Saturday in the fall to make this applesauce. It's simple, delicious, and always worth it when I open a jar in January. If you try it, let me know how you like to serve yours - my family debates whether it's better warm with pork or chilled with breakfast. 😊
Did you love this recipe?
Then please leave a 5-star rating and/or review below! You can also save it! Just tap the heart symbol ❤️ in the lower right corner of your screen, and the recipe will be stored in your own recipe box!📥
Printable Recipe

Easy Canned Applesauce
Ingredients
- 4 pounds apples (peeled, cored, sliced)
- ¼ cup water
- 2-4 tablespoons granulated sugar
- ½-¾ teaspoons ground cinnamon
Instructions
- Peel, core, and slice 4 pounds of apples into even pieces. Place them in a large pot with ¼ cup of water. Cover the pot and bring it to a simmer over medium heat. Cook for 20-30 minutes, stirring occasionally, until the apples are very soft and beginning to fall apart.
- While the apples are cooking, wash your jars, lids, and bands in hot, soapy water. Rinse well, then keep the jars hot in simmering water, or run them through a dishwasher cycle and leave them in there to keep warm until you're ready to fill them.
- Once the apples are tender, mash them with a potato masher for a chunky texture, or use an immersion blender for a smoother sauce. Stir in 2 to 4 tablespoons of sugar and ½ to ¾ teaspoon of cinnamon, adjusting both to your taste. Let the mixture simmer for another 2-3 minutes so the flavors meld together.
- Working one jar at a time, ladle the hot applesauce into prepared jars, leaving ½ inch of headspace. Run a spatula or bubble remover around the inside of each jar to release any air bubbles. Wipe the rims clean, place the lids on top, and screw bands on until fingertip-tight.
- Place the filled jars into a boiling water bath canner, ensuring they're covered with at least 1-2 inches of water. Once the water returns to a rolling boil, cover the canner with the lid and process the jars for 15 minutes (adjust the time as needed for altitude).
- When the processing time is complete, carefully lift the jars out with a jar lifter and set them on a towel placed on the counter to cool, undisturbed, for 12 to 24 hours. Check the seals once the jars have cooled, wipe them down, label them, and store them in a cool, dark place for up to 1 year.
Save This Recipe 💌
Notes
- You can safely reduce or omit the sugar - it's only for taste, not for canning safety.
- If your applesauce is too thin, simmer uncovered for a few minutes to thicken before filling jars.
- For chunky applesauce, mash with a potato masher; for smooth, use an immersion blender or food mill.
- If you don't want to can, the applesauce can also be frozen in containers or freezer bags for up to 6 months.
- Properly sealed jars keep up to 1 year in a cool, dark pantry. Once opened, refrigerate and use within 7-10 days.
Nutrition
The provided nutrition information is automatically calculated. Accuracy is not guaranteed.

Comments
No Comments