
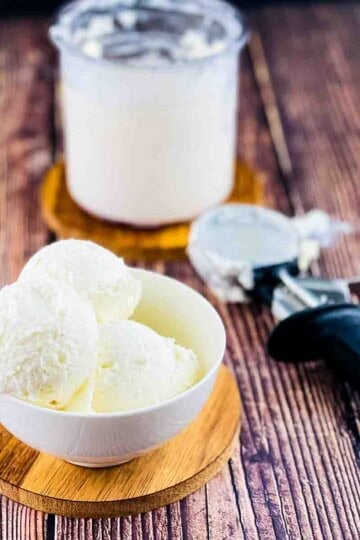
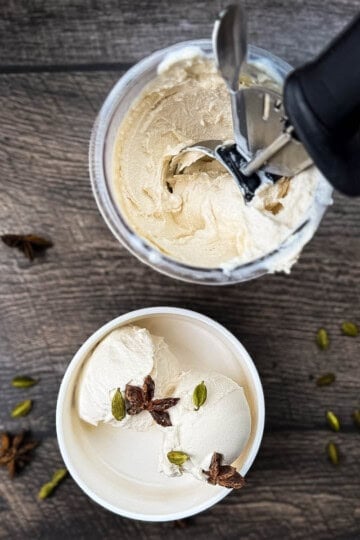
Made with real coconut milk, this Ninja Creami Coconut Ice Cream is creamy, loaded with coconut flavor, silky smooth, just sweet enough, and totally easy to make at home. If you love Ninja Creami recipes as much as I do, this one is about to become your new favorite.
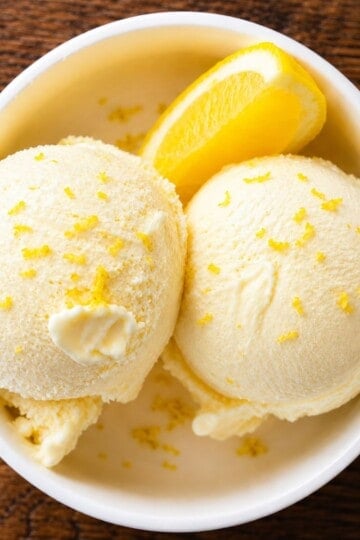
If you love this recipe, make my Ninja Creami Lemon Ice Cream and Ninja Creami Pumpkin Ice Cream next!

Want to save this recipe?
Enter your email & I'll send it to your inbox. Plus, get great new recipes from me every week!
Ninja Creami Coconut Ice Cream
This is actually a reader requested recipe (thank you, Al!). He loves everything coconut, so he asked if I could come up with an easy Ninja Creami recipe. Challenge accepted! A few test batches later, this one hit the spot. The texture is unreal, and the coconut flavor is so good.
After I made it, my husband (who LOVES homemade ice cream) asked if I could fill every empty pint container I had with this flavor.
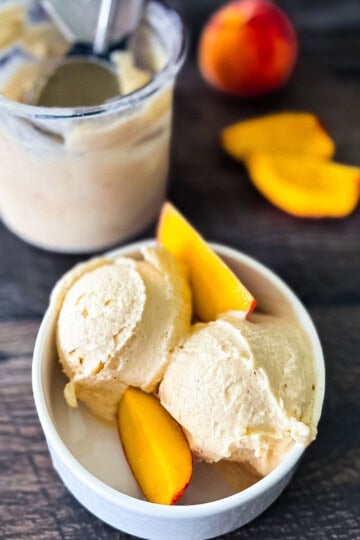
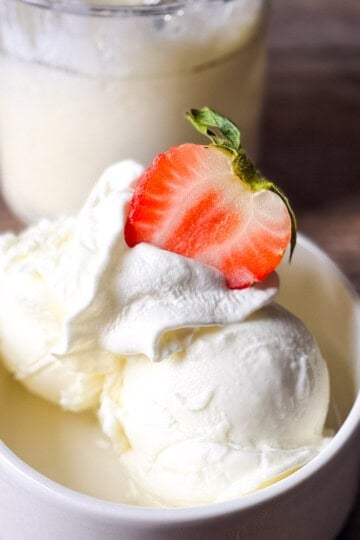
If you like this one, you will also LOVE my Ninja Creami Mango Ice Cream, Ninja Creami Strawberry Ice Cream, Ninja Creami Pineapple Dole Whip, and Ninja Creami Blueberry Ice Cream.

Why you'll love it
- Made with real coconut milk for that naturally creamy coconut ice cream flavor.
- No preservatives, artificial ingredients, or anything unpronounceable here.
- It's ready in minutes, just whisk, freeze, and spin.
- Mix-ins Galore: Mix in chocolate chips, toasted coconut, or crushed cookies. You name it.
- Dairy-free and vegan option included!
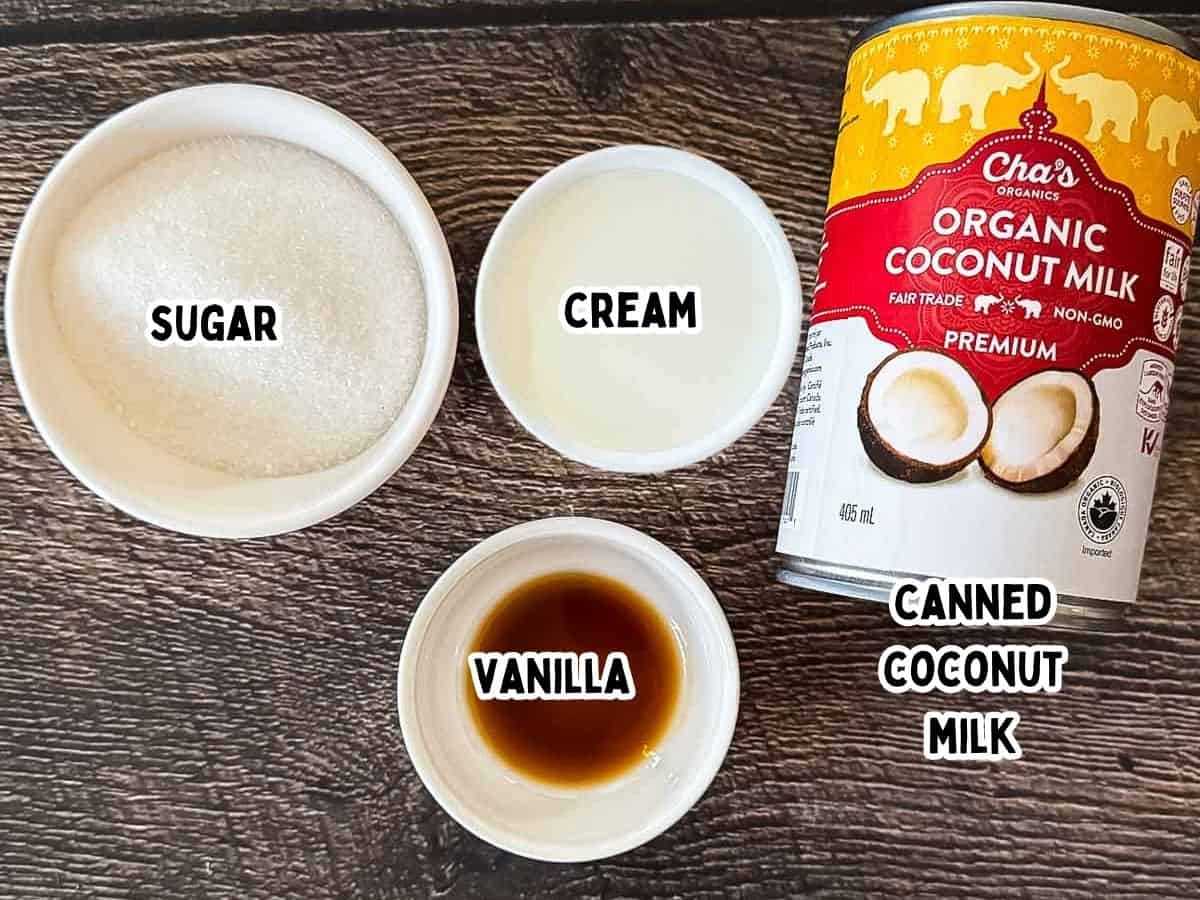
Ingredient Notes and Substitutions
- Coconut milk: I used canned full-fat coconut milk (the regular kind you'll find in the Asian food aisle). Shake the can really well before you open it so the solid coconut cream and the liquid coconut milk are well combined. I've tried this with both Cha's Organic Coconut Milk from Costco and Thai Kitchen, and both work well.
- Heavy cream: This just gives it that extra creamy consistency. If you want a dairy-free version, just use canned coconut cream instead.
- Sugar: I used regular old granulated sugar, but you could also use powdered sugar, coconut sugar, or your favorite sweetener in its place.
- Vanilla extract: A little splash of pure vanilla is all you need. If you want an extra coconut flavor punch, add half vanilla extract, half coconut extract.
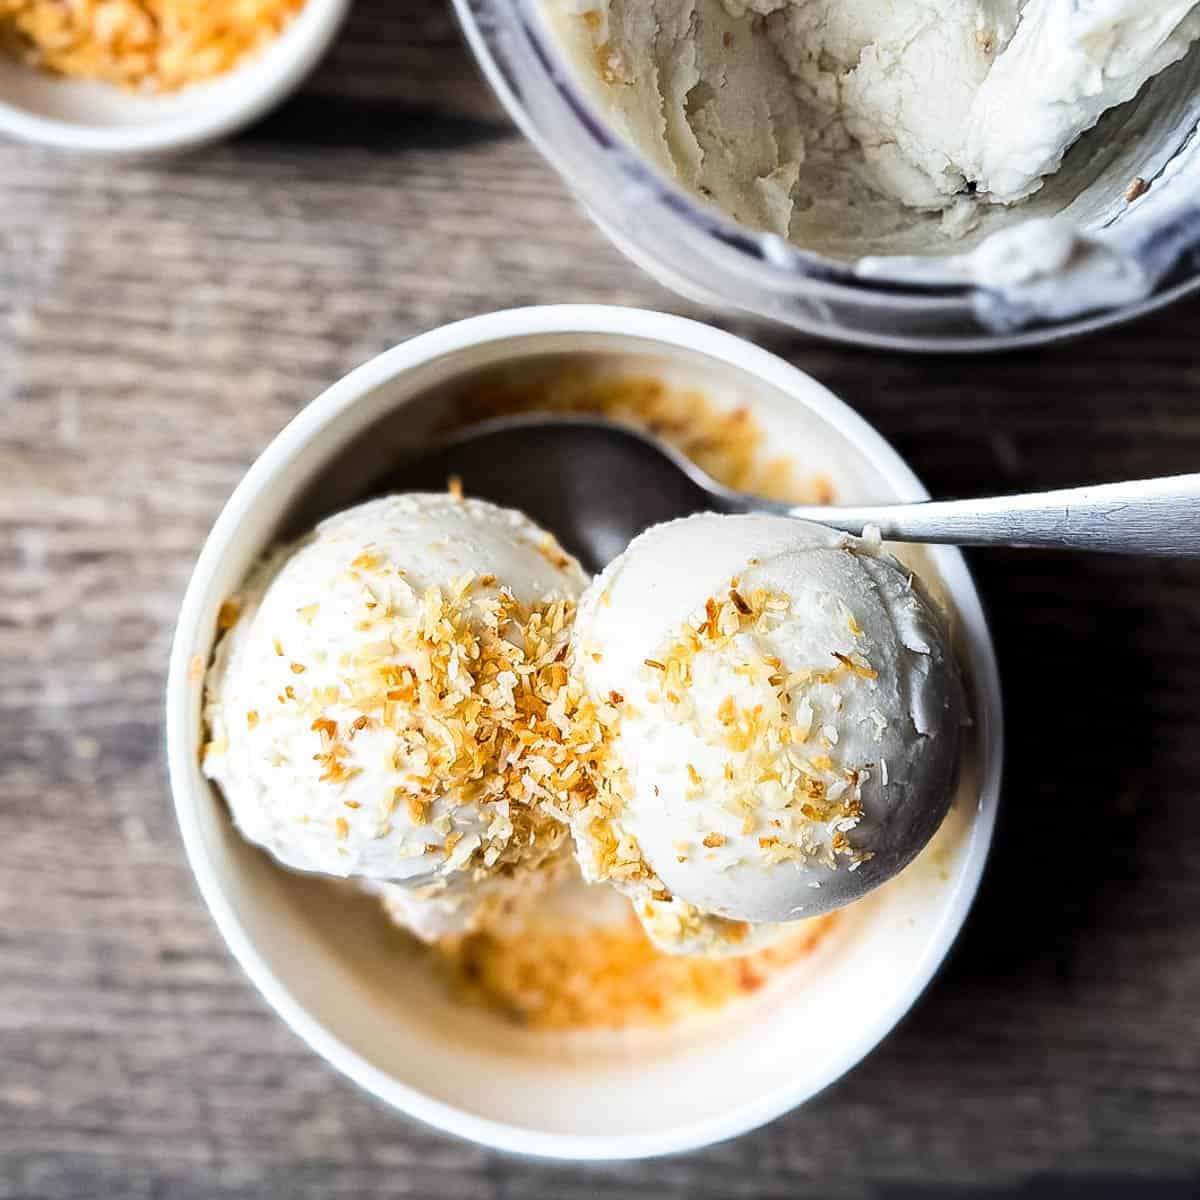
- Shredded coconut: This is completely optional, but I like to toast a little unsweetened coconut to mix into my ice cream for a little texture. You can also use sweetened coconut if you prefer. Toast the coconut low and slow, stirring often, and watch it closely. It goes from golden brown to "oh no" in seconds.
How to make it
Scroll down to the recipe card below for the full recipe with exact ingredient amounts.
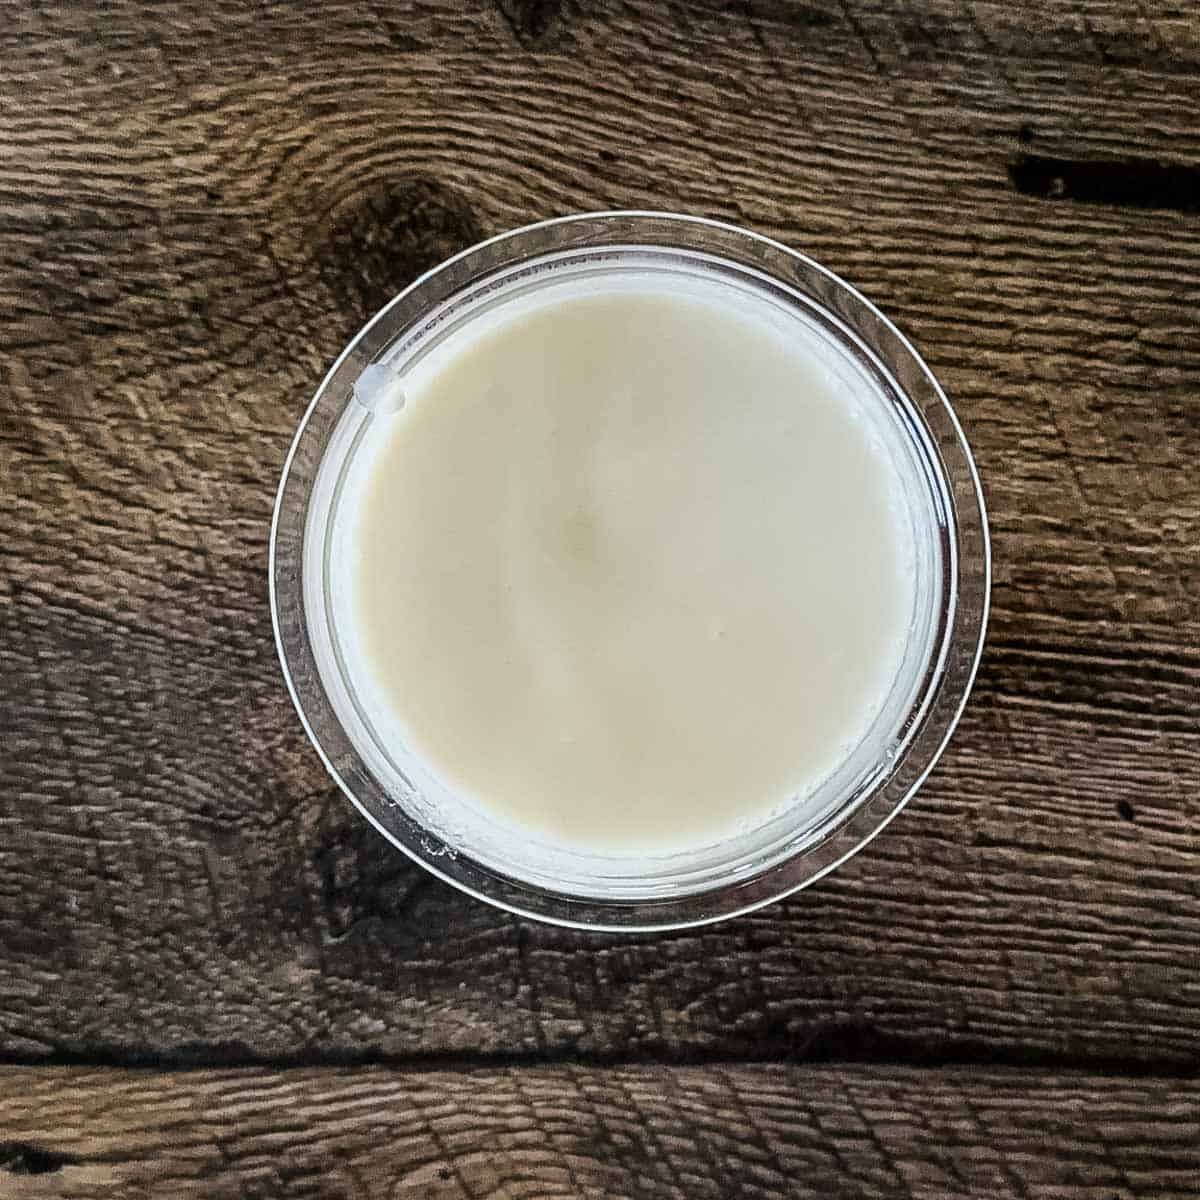
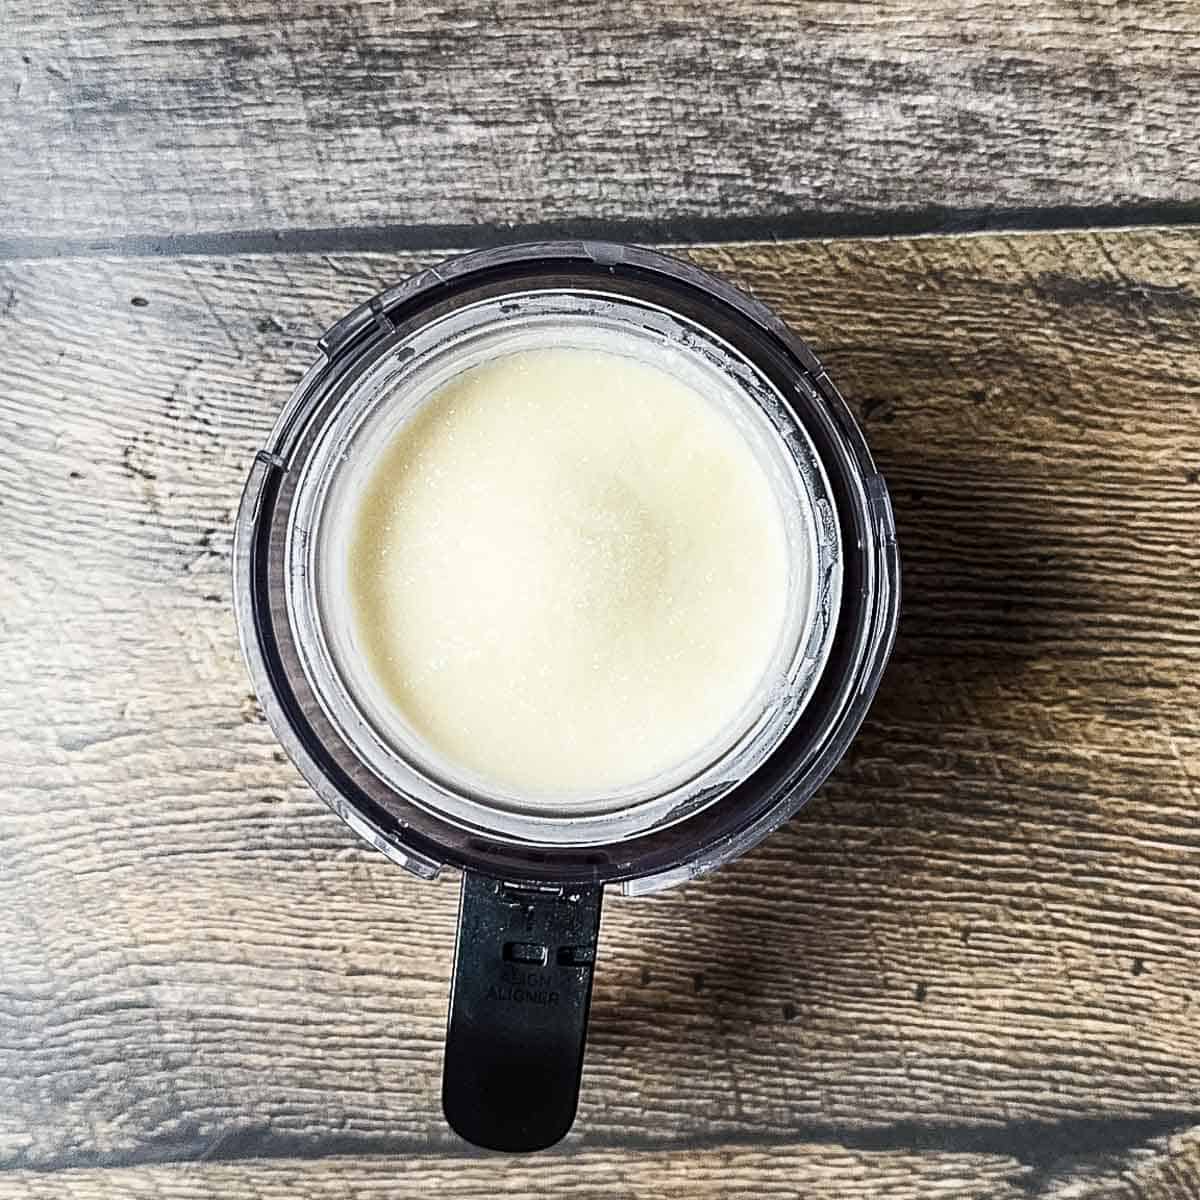
Make the Base: In a Ninja Creami pint container, whisk together the coconut milk, sugar, and vanilla extract until the sugar has dissolved and it looks smooth and creamy. Add the heavy cream just to the MAX FILL line. Whisk again until everything is combined.

Freeze the Base: Seal the lid and freeze for at least 24 hours, on a level surface so it freezes evenly.
Toast the Coconut: Before you pull the ice cream from the freezer, toast the coconut in a dry skillet over medium heat, stirring often, until the coconut is golden brown, about 2-3 minutes. It goes from golden to "oh no" in seconds, so remove it from the heat right away and let it cool.
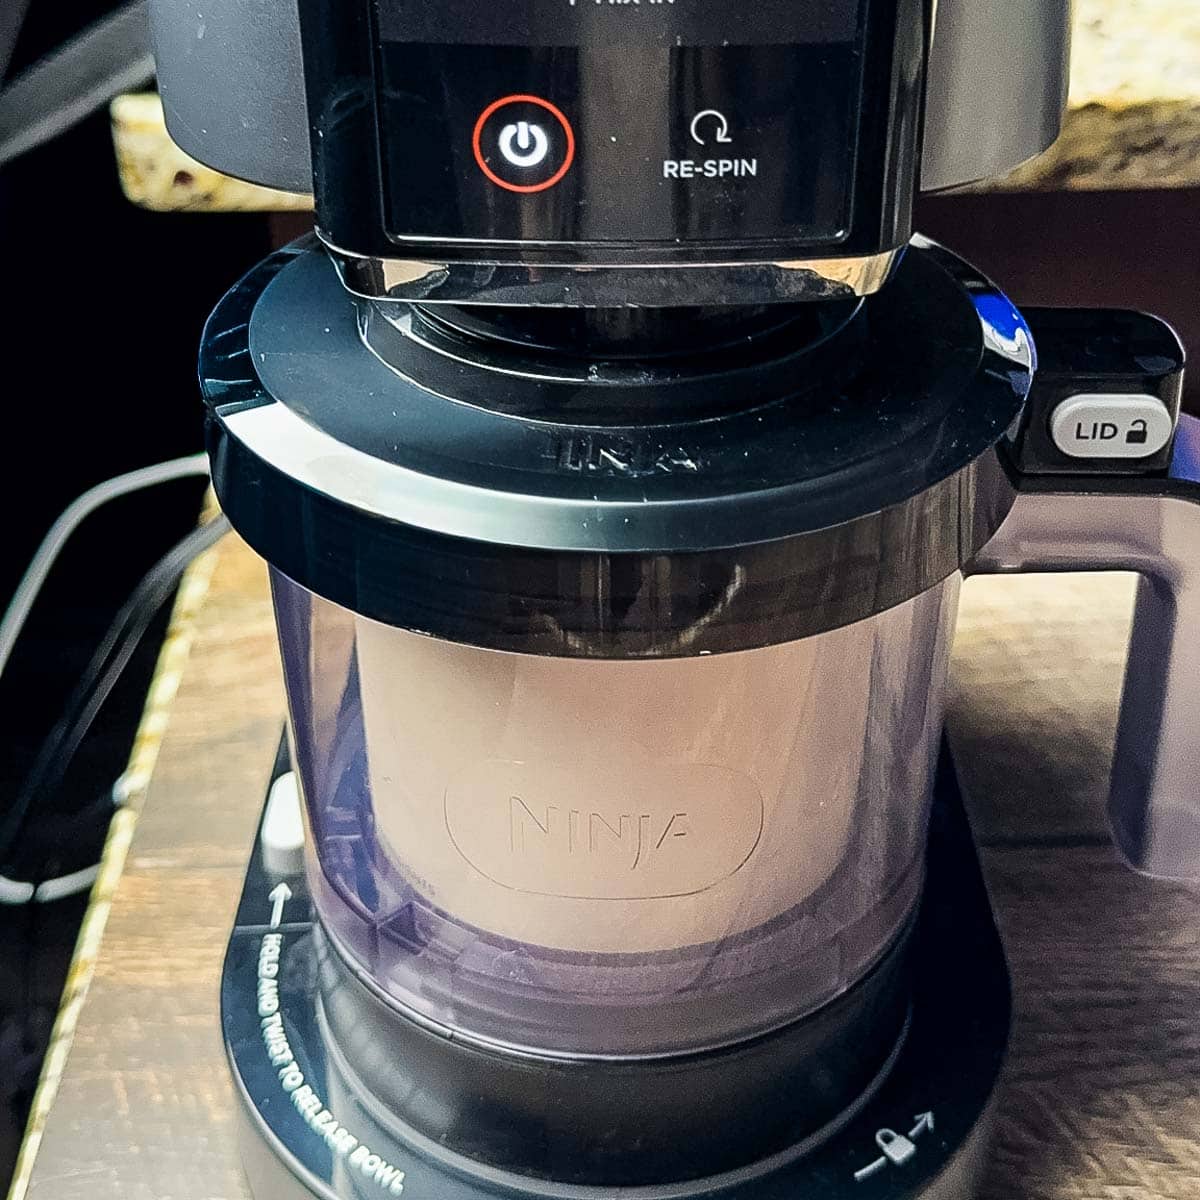
First Spin: Remove the frozen pint from the freezer and place in the outer bowl. Lock in the Ninja Creami machine and press the ICE CREAM button.
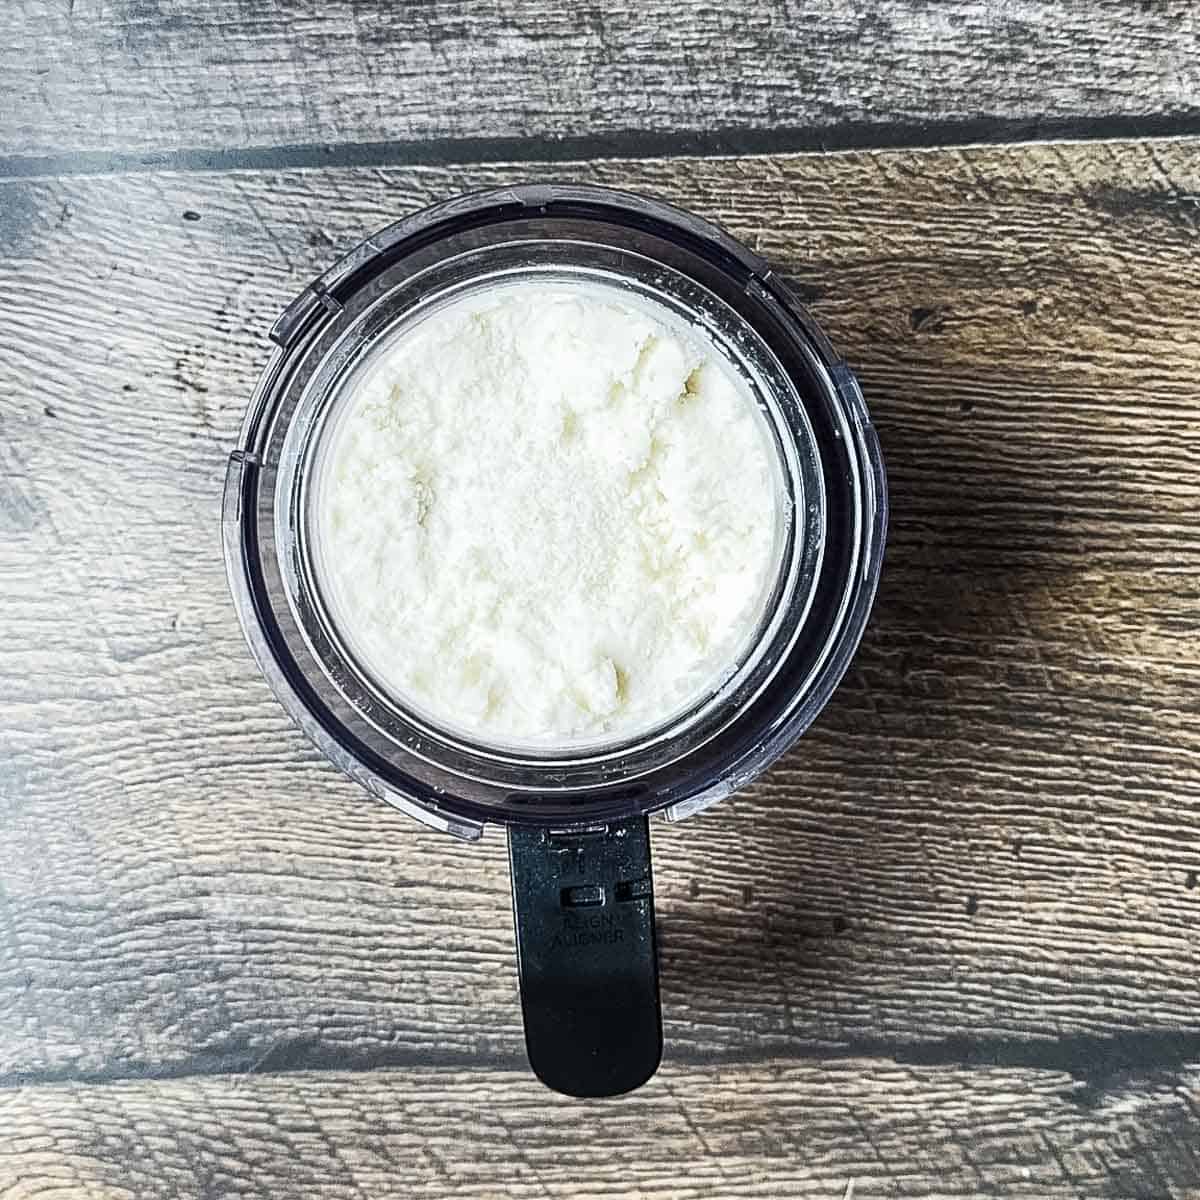
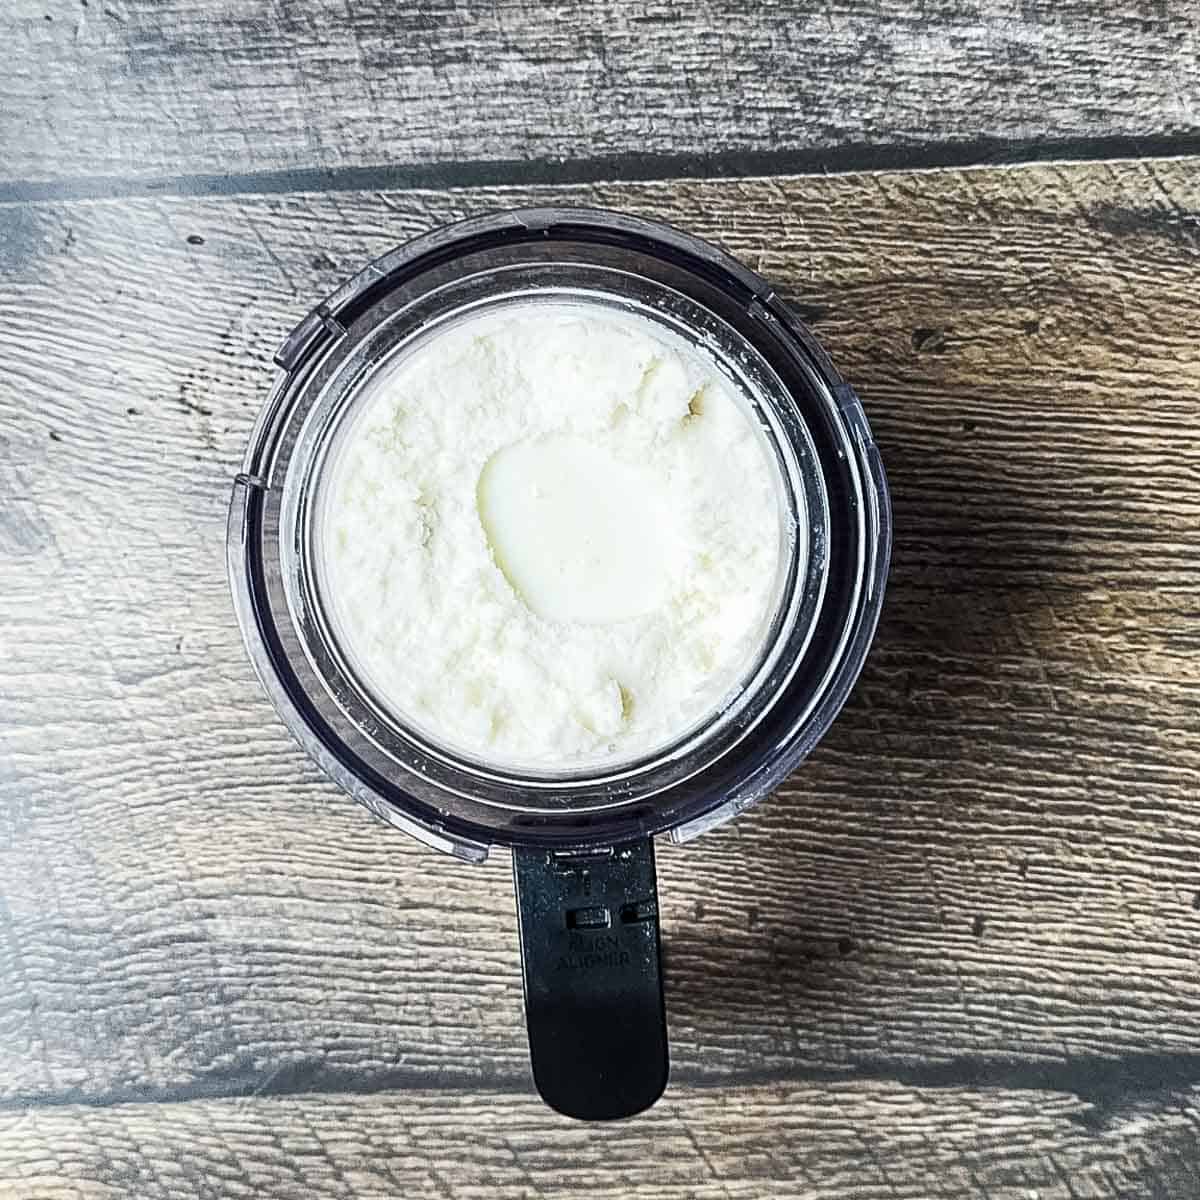
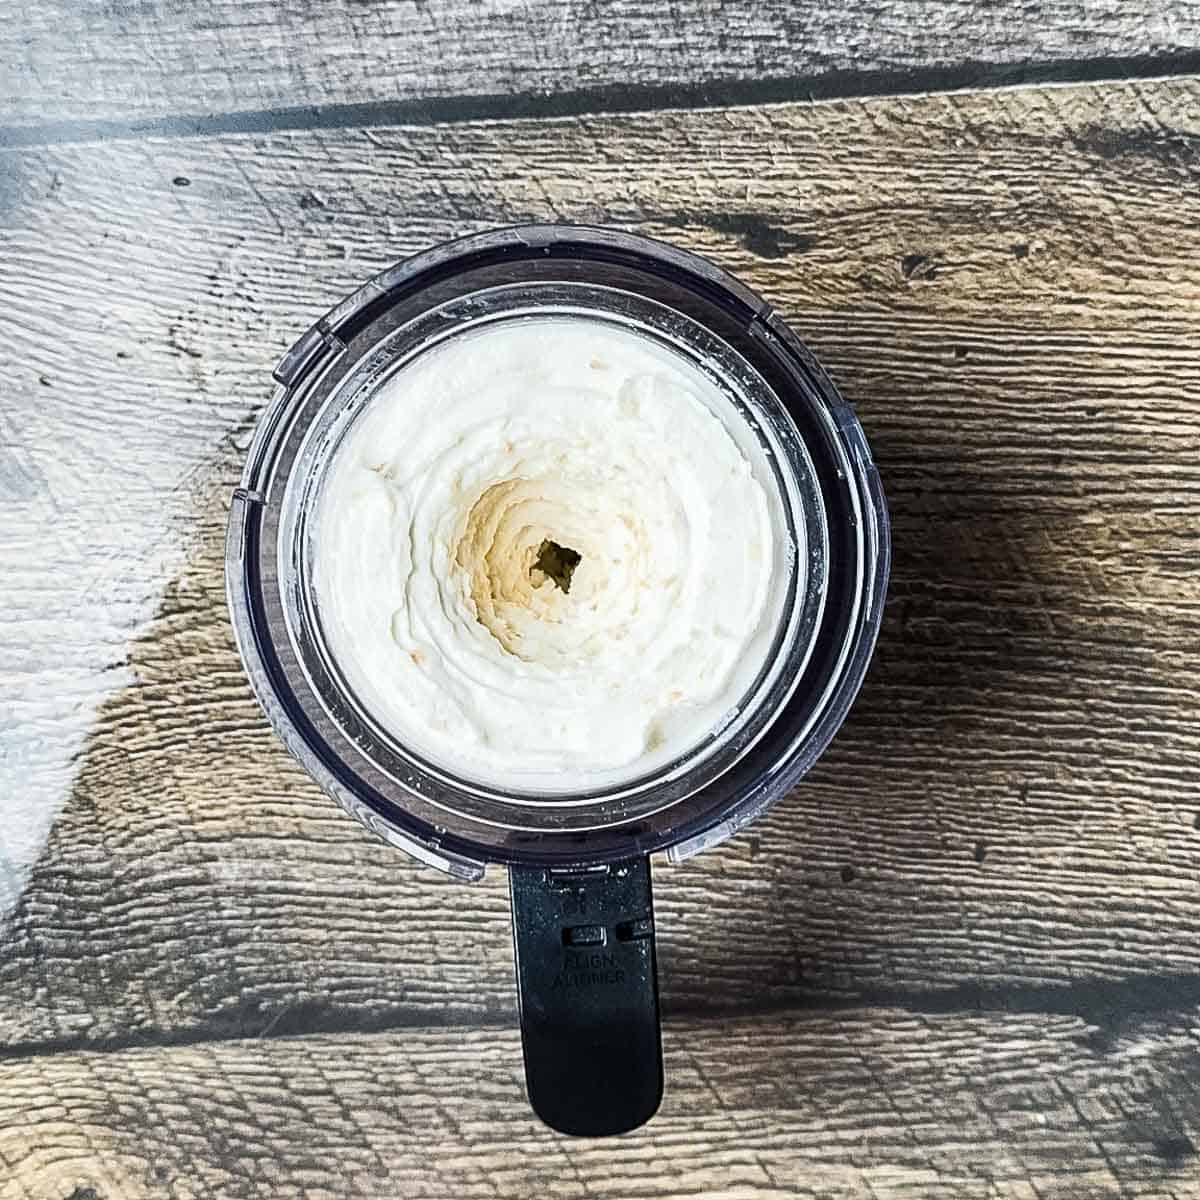
Re-Spin for a Creamier Texture: This usually looks crumbly after the first spin, so add a splash of coconut milk, regular milk, or cream and press the RE-SPIN button. This is when it turns that silky smooth texture we all know and love.
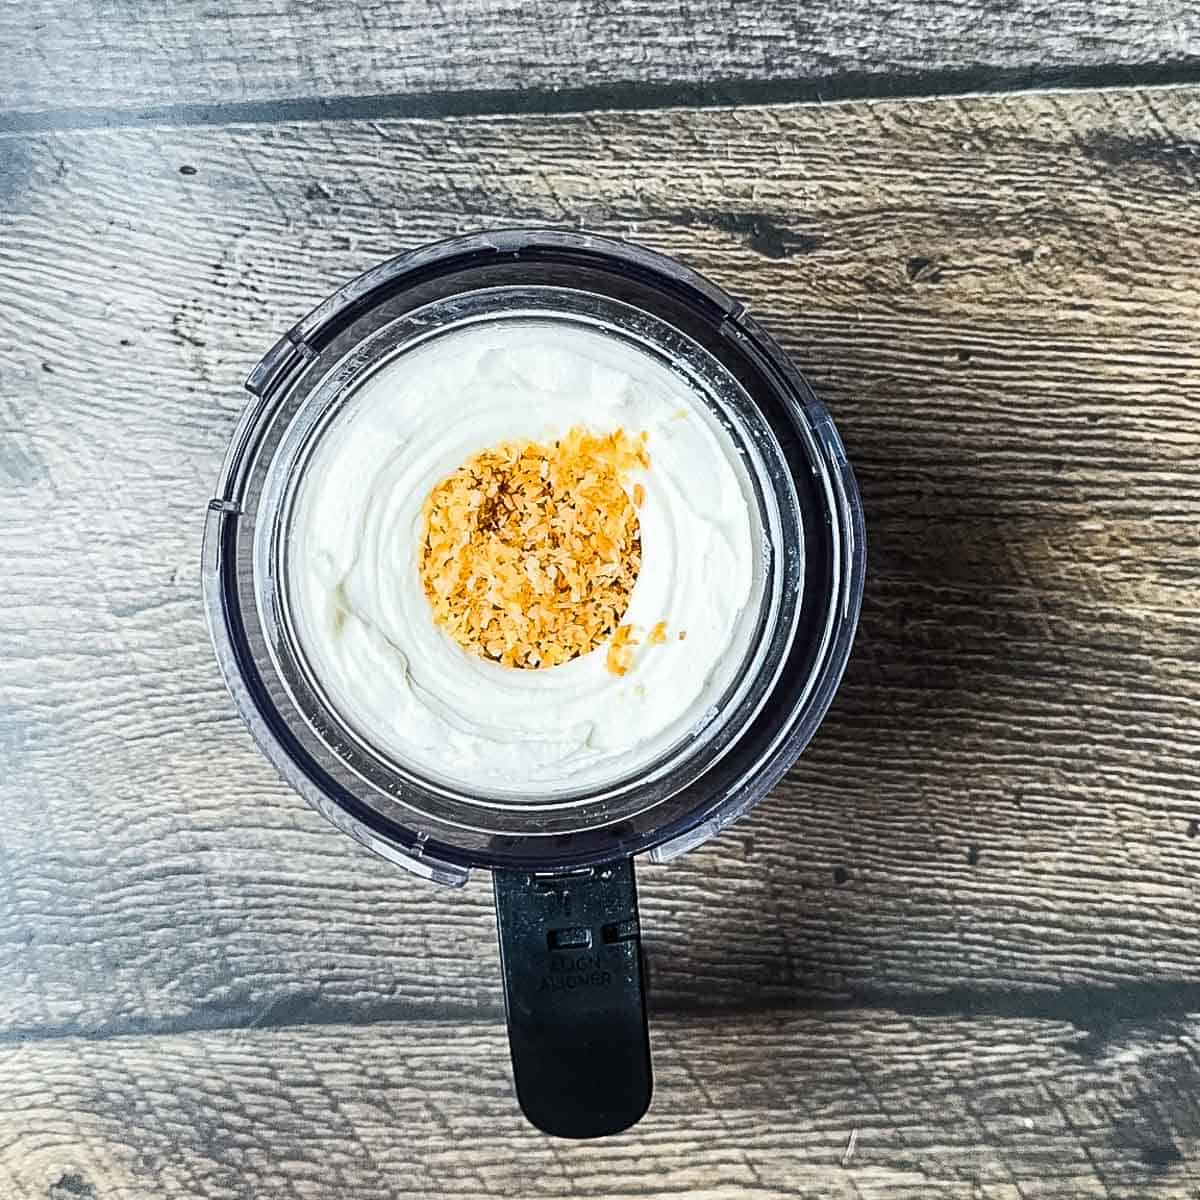
Mix in the Toasted Coconut: Add about ⅓ cup of your toasted coconut to the middle and press the MIX-IN button. Save the rest for topping.
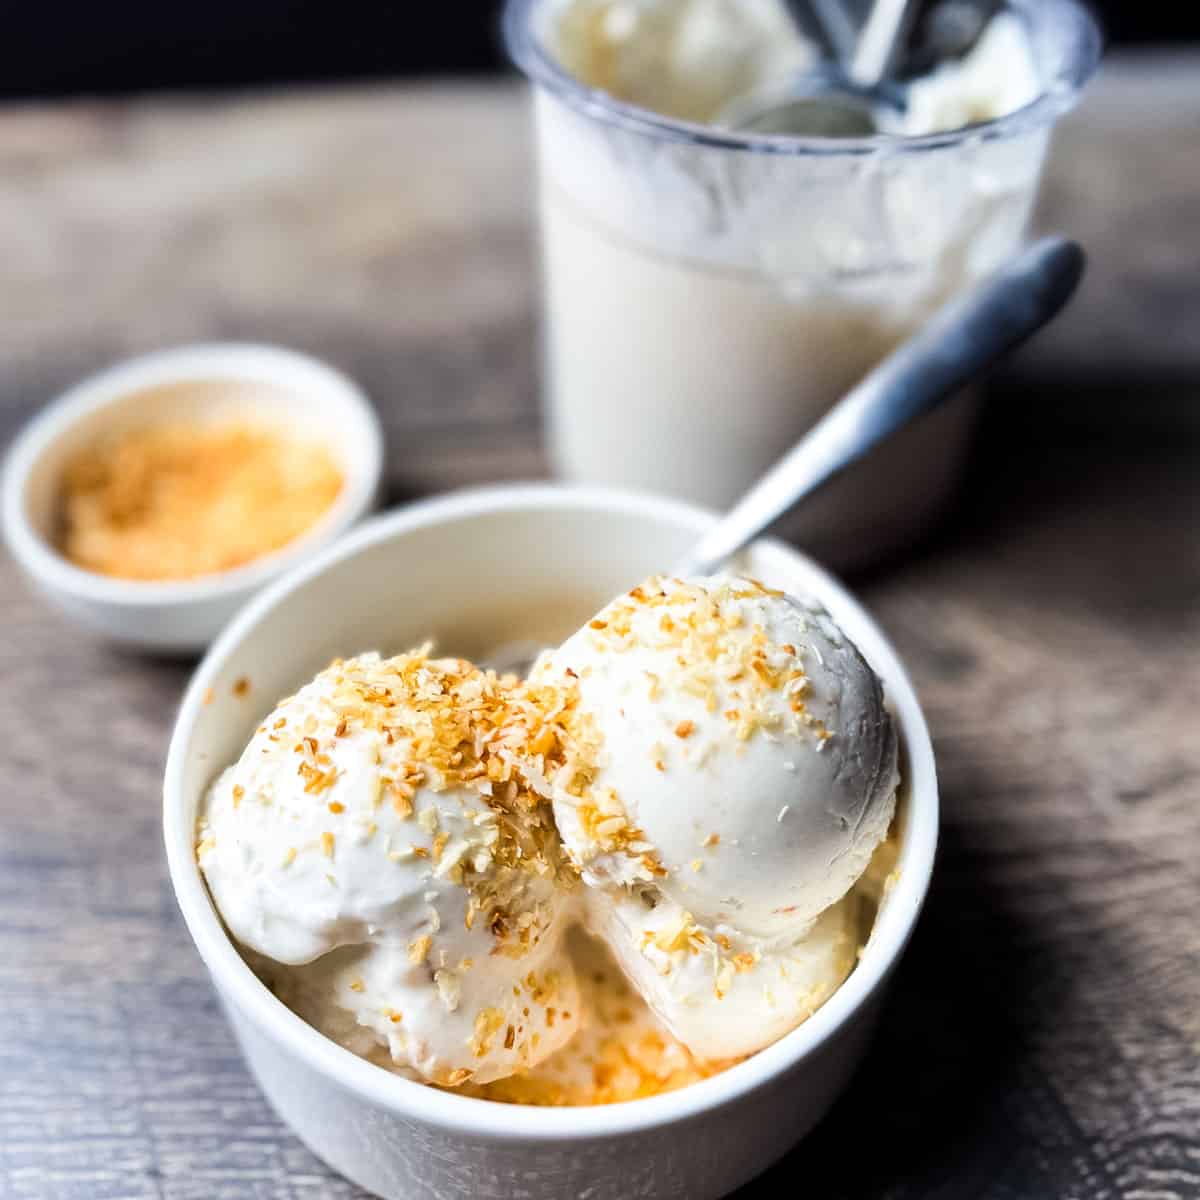
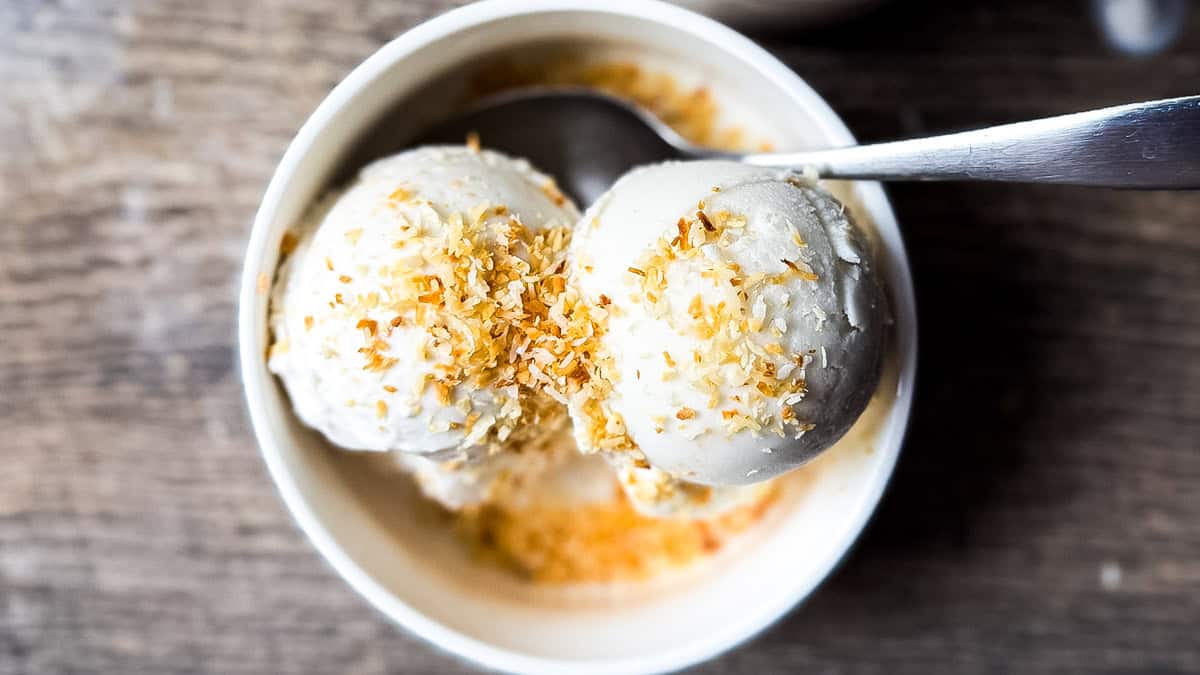
Serve and Enjoy: Scoop it into bowls or eat straight out of the pint. Sprinkle on that extra toasted coconut and enjoy. It's creamy, tropical, and so delicious. Enjoy!

Jeri's tips for success
- Shake the can first: Give that can of coconut milk a good shake first.
- Freeze it flat: Make sure your pint is sitting level in the freezer. It won't work if it's at an angle.
- Always re-spin: Don't skip the re-spin! The second spin is the secret to this coconut ice cream's perfect texture.
- Toast with care: Coconut browns fast, don't walk away!
Variations
Chocolate Coconut Ice Cream: Add 1 tablespoon of cocoa powder to the base, then mix in mini chocolate chips.
Pineapple Coconut Ice Cream: Blend the base with ¼ cup finely chopped pineapple before freezing for a piña colada flavor.
Honey Coconut Ice Cream: Replace the sugar with ¼ cup honey for a natural sweetness.
High-Protein Coconut Ice Cream: Mix in 1 scoop of vanilla protein powder with the base before freezing.

Ninja Creami Machine
The One I Use
Click below on the affiliate link to get the same Ninja Creami machine I use and love.
Storing and Serving Tips
How to Store Your Ninja Creami Coconut Ice Cream
Store any leftovers right in the Ninja Creami pint with the lid tightly sealed or in an airtight container. Put it back in the freezer as soon as you're done serving. It'll keep its flavor and texture for up to 2 weeks.
How to Serve After Freezing
When you're ready for another scoop, let the pint sit on the counter for about 5 minutes to soften up a bit. Then run it through the Ice Cream cycle to bring back that smooth, creamy texture, just like the first time.
Frequently Asked Questions:
You can, but the texture won't be nearly as creamy. Carton coconut milk is much thinner and has more water, which makes the ice cream more icy.
You can freeze the mixture in a shallow dish and stir it every 30 minutes until it's thick and scoopable, but it won't have that same whipped Creami texture. Still delicious, though!
Try chopped macadamia nuts, chocolate chunks, crushed graham crackers, or a swirl of caramel sauce or maple syrup. Anything that makes you think "tropical vacation" usually works.
More Ninja Creami recipes you'll love
Looking for more frozen treats? Try one of these reader favorites:


Did you make this Ninja Creami Coconut Ice Cream Recipe? If you did, can you do me a big favor and leave a rating and review letting me know how you liked it? This helps my website grow so I can continue to publish free recipes. Thank you! 😊
Printable Recipe

Ninja Creami Coconut Ice Cream
Ingredients
- 1 can canned coconut milk (13.5 ounces or 400 mL)
- ½ cup heavy cream (or canned coconut cream)
- ⅓ cup granulated sugar
- 1 teaspoon vanilla extract
- ⅓ cup shredded coconut (sweetened or unsweetened, for toasting)
Instructions
- In a Ninja Creami pint container, whisk together 1 can canned coconut milk, ⅓ cup granulated sugar, and 1 teaspoon vanilla extract until the sugar is dissolved. Add the heavy cream until it reaches the MAX FILL line. Whisk again to combine.
- Snap on the lid and place in your freezer on a level surface. Freeze for at least 24 hours.
- Before taking the ice cream out of the freezer, toast ⅓ cup shredded coconut in a dry skillet over medium heat, stirring often, until it turns golden brown, about 2-3 minutes. Pull it from the heat right away and let it cool.
- Remove the pint from the freezer. Remove the lid and insert it into the outer bowl, secure the lid assembly, and lock it into the Ninja Creami machine. Select the ICE CREAM function and let it run through the full cycle.
- After the first spin, the ice cream will probably look crumbly. Make a well in the center of the ice cream with the back of a small spoon and pour in 1 tablespoon of coconut milk, regular milk, or cream. Secure the lid assembly, lock it into place, and run on the RE-SPIN cycle. It should turn smooth and creamy.
- Scoop about ¼ cup of toasted coconut into the hole in the middle of the ice cream, secure the lid assembly, and use the MIX-IN function. Save the rest for topping.
- Scoop into bowls, sprinkle with the remaining toasted coconut, and enjoy!
Video
Save This Recipe 💌
Notes
Nutrition
The provided nutrition information is automatically calculated. Accuracy is not guaranteed.
Did you love this recipe?
Then please leave a 5-star rating and/or review below! You can also save it! Just tap the heart symbol ❤️ in the lower right corner of your screen, and the recipe will be stored in your own recipe box!📥
Jessica L says
This was the first recipe we made in the creami (minus the toasted coconut). We mixed in soft batch cookies and it was SO YUMMY the coconut flavor was not overbearing at all! Hardly noticed it. It was delicious thank you!
Jeri Walker says
Hi Jessica! I love that this was your first Creami recipe! Soft-batch cookies are a genius mix-in, and I'm so glad you loved the coconut flavor! Thanks so much for coming back to share how it turned out! 😊