

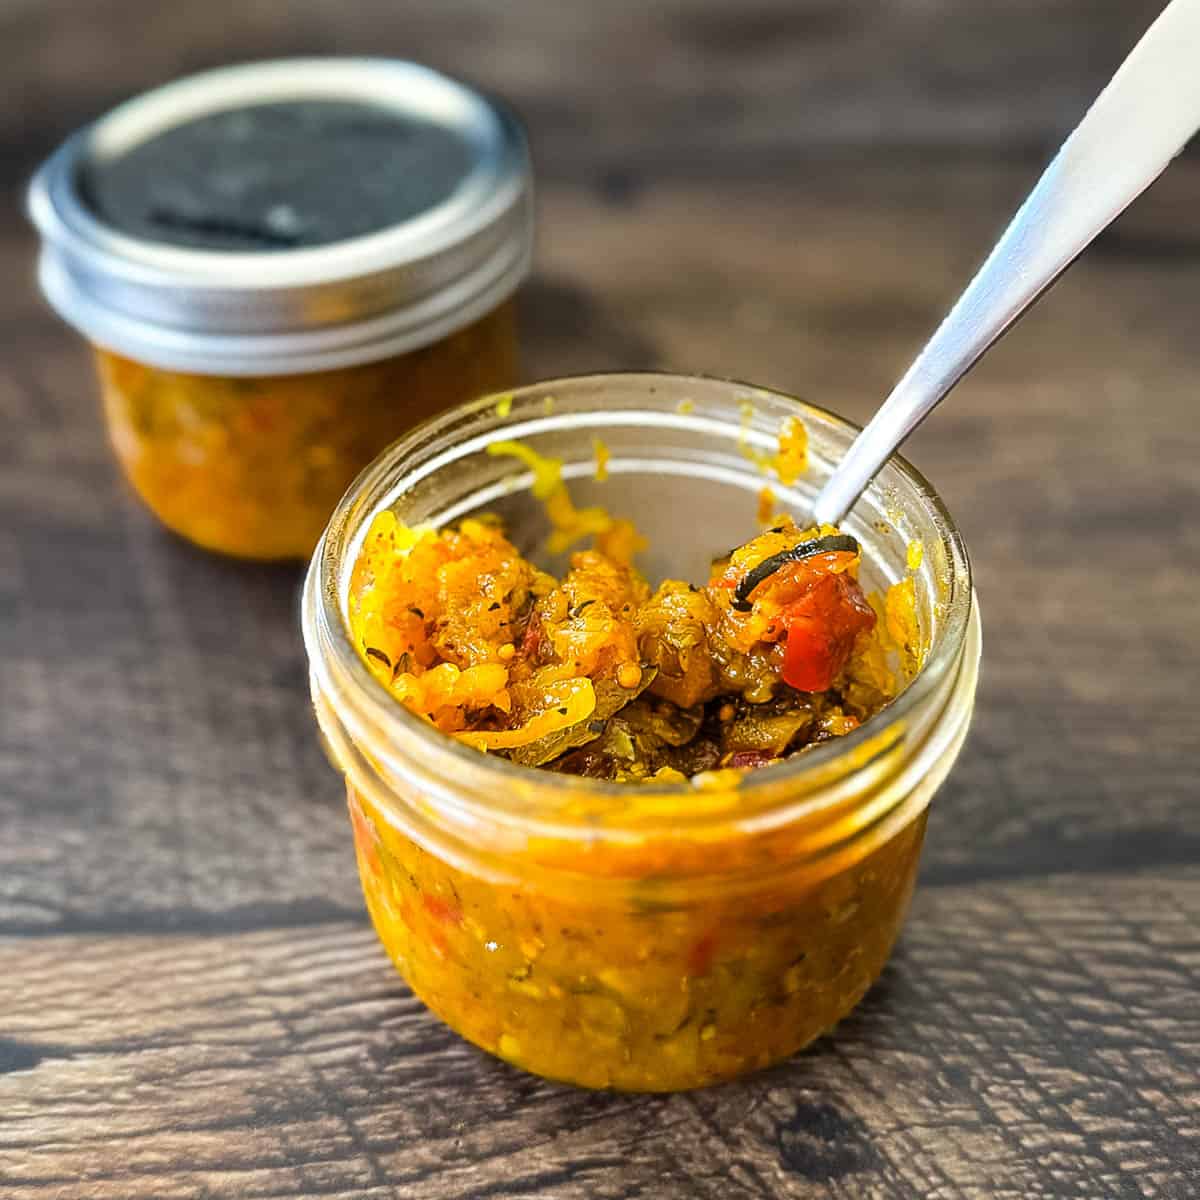
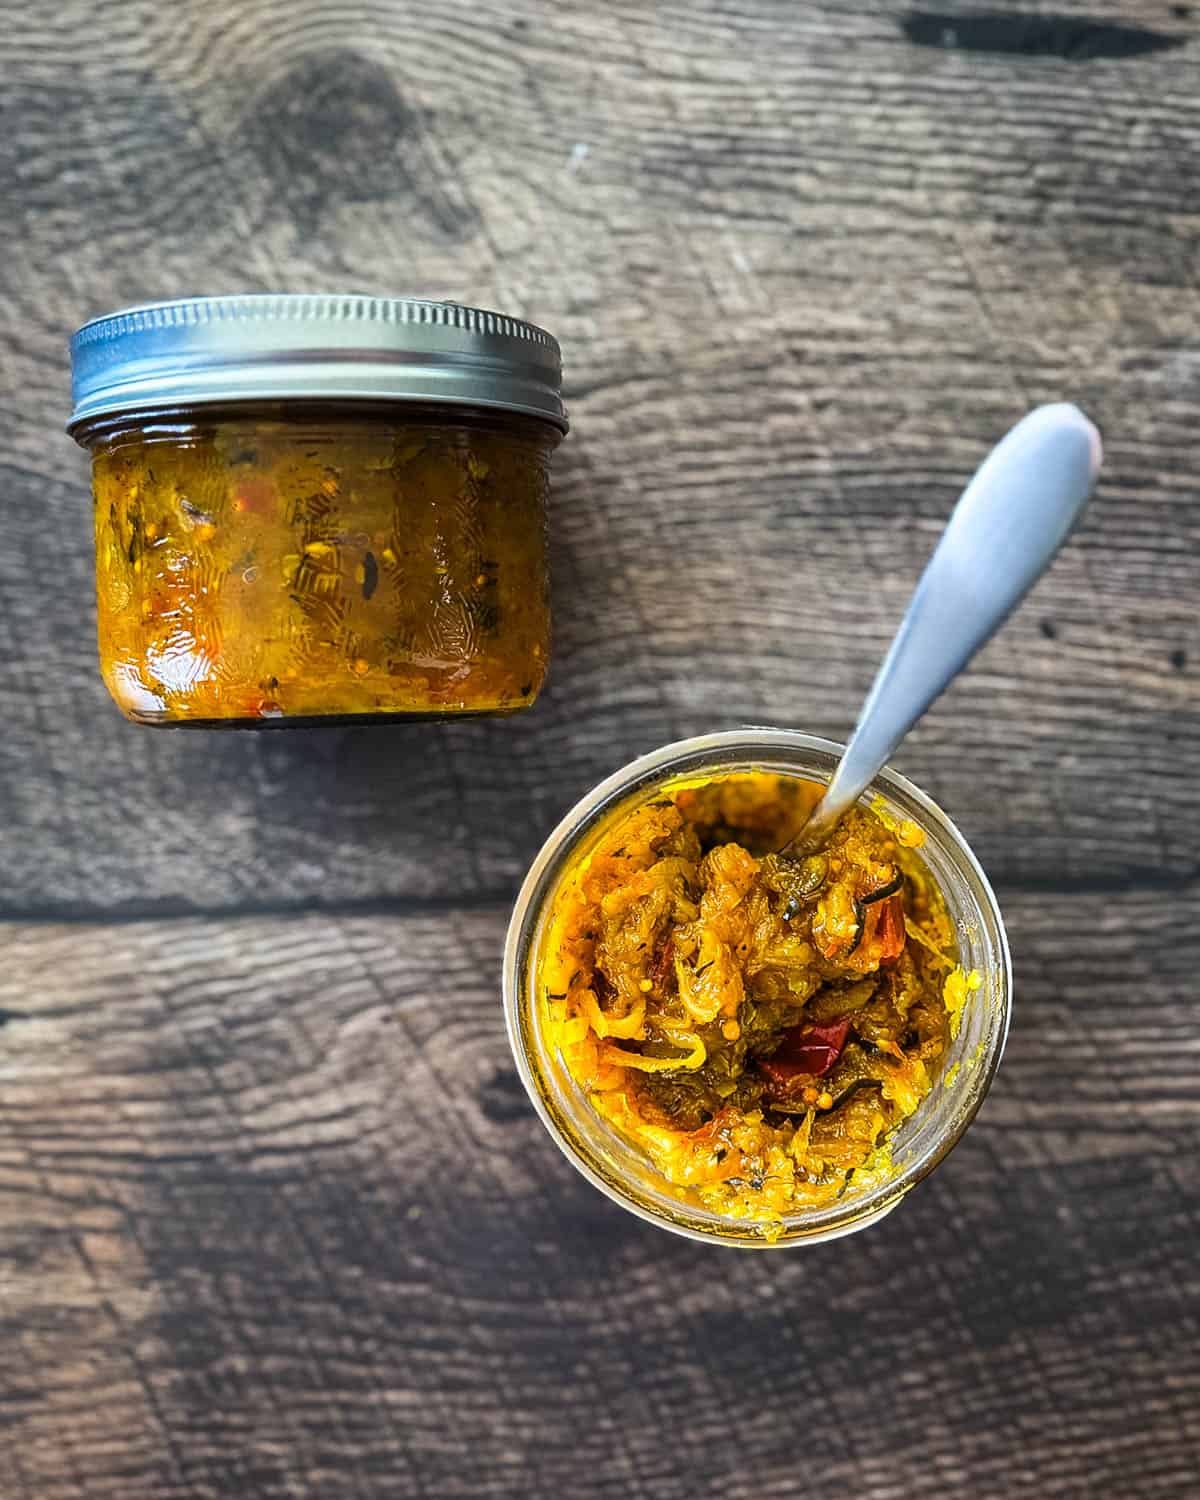
This homemade Zucchini Relish is sweet, tangy, and packed with zucchini, peppers, and onions, all simmered in a spiced vinegar-sugar brine. It's perfect on burgers, hot dogs, or stirred into potato salad.
If you're looking for the best zucchini relish recipe for water bath canning, you're in the right place - this beginner-friendly guide walks you through it step-by-step.
Want to save this recipe?
Enter your email & I'll send it to your inbox. Plus, get great new recipes from me every week!
Looking for more easy canning recipes? Try my Refrigerator Bread and Butter Pickles, Canned Cowboy Candy, and Dill Pickled Carrots!
Overrun with zucchini? This relish is the solution. Whether you're new to canning or looking for a flavorful addition to your pantry, this recipe is a winner.
Serve it on smash burgers, in my popular smashburger sauce, on smoked hot dogs, sandwiches, or stirred into potato salad for a homemade touch that's way better than store-bought.
Jump to:
Why You'll Love This Zucchini Relish
- Perfect for garden overload: If you're wondering what to do with that large zucchini in your garden, this recipe is perfect.
- Bold, classic flavor: It's sweet, tangy, and loaded with crunchy veggies - just like bread and butter pickles, but in spreadable form.
- Beginner-friendly: No pressure canner needed! This recipe uses a simple water bath method that's easy, even if you're new to canning.
- Great for gifting or stocking up: This small batch makes just enough to stash in your pantry or share with a friend.
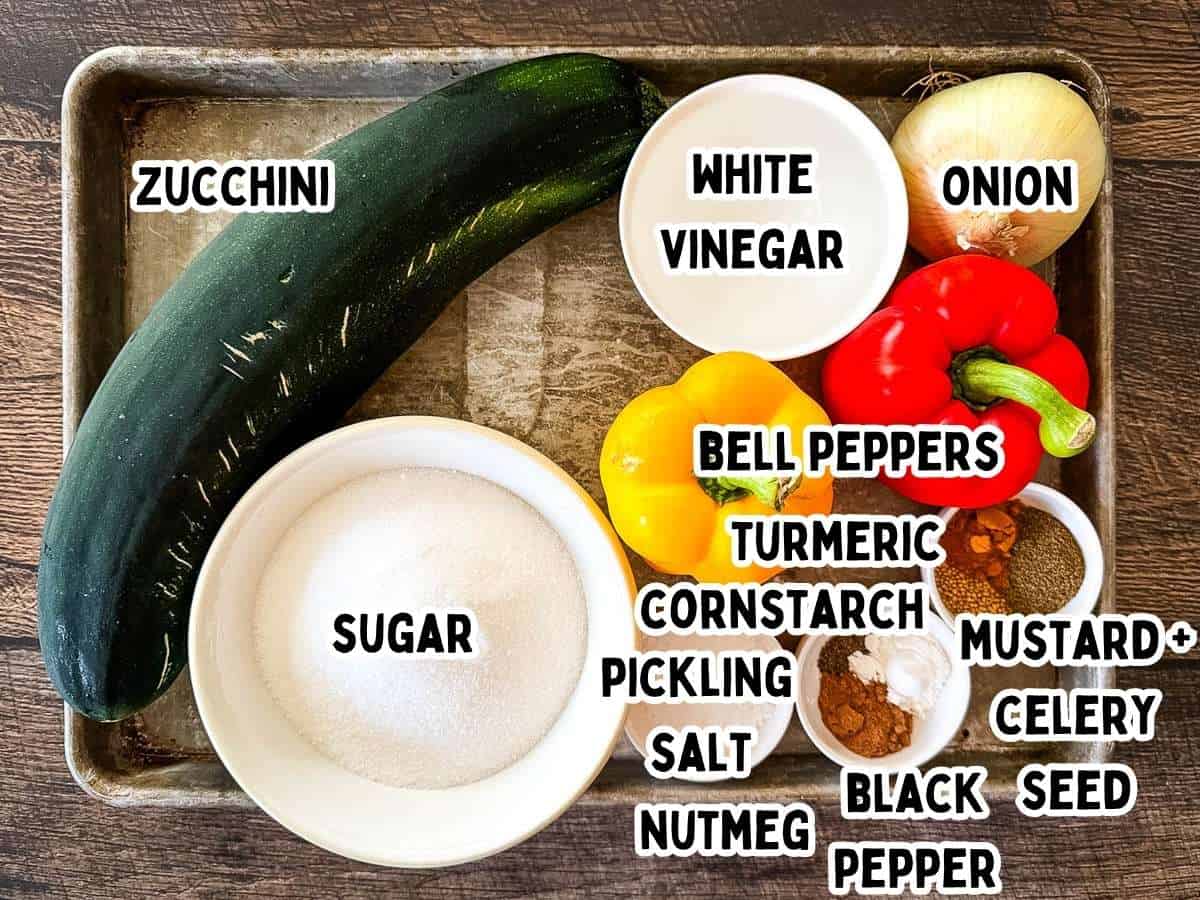
Ingredients for Zucchini Relish
- Zucchini: The base of the relish. I use finely chopped zucchini - no peeling required. I use my food processor to shred it quickly. If you' ve got one of those massive garden zucchinis, scoop out the seeds before chopping.
- Onion: I usually use yellow or white onion, but you can use a red onion too. Chop it to about the same size as the zucchini (or shred it in a food processor).
- Bell Peppers: I use them to add color to the relish so its not so boring. Use whatever color you have on hand - orange and yellow work too.
- Pickling Salt: Draws out moisture from the veggies and helps keep the relish crisp.
- White Vinegar: Use white vinegar that's labeled 5% acidity - this is key for safe canning. It gives the relish that classic tang and acts as a preservative. Do not use 'pickling vinegar' (which is usually 7% acidity) - it's too strong and will overpower the flavor. Stick with regular 5% white vinegar for this recipe.
- Sugar: This is a sweet relish, so don't be surprised by how much sugar goes in. You can reduce it slightly if you prefer a tangier flavor, but it's not recommended to cut it too much for canning safety.
- Seasonings: I use a mixture of mustard seed, celery seed, turmeric, ground nutmeg, black pepper, and a bit of cornstarch. I know, nutmeg sounds weird, but it adds an unexpectedly great flavor that has people asking for the recipe. Cornstarch helps thicken the relish just enough to make it spoonable without being runny.
How to Make Zucchini Relish
This is a zucchini relish recipe for water bath canning - no pressure canner needed. See the full step-by-step instructions in the recipe card below.
Quick Overview
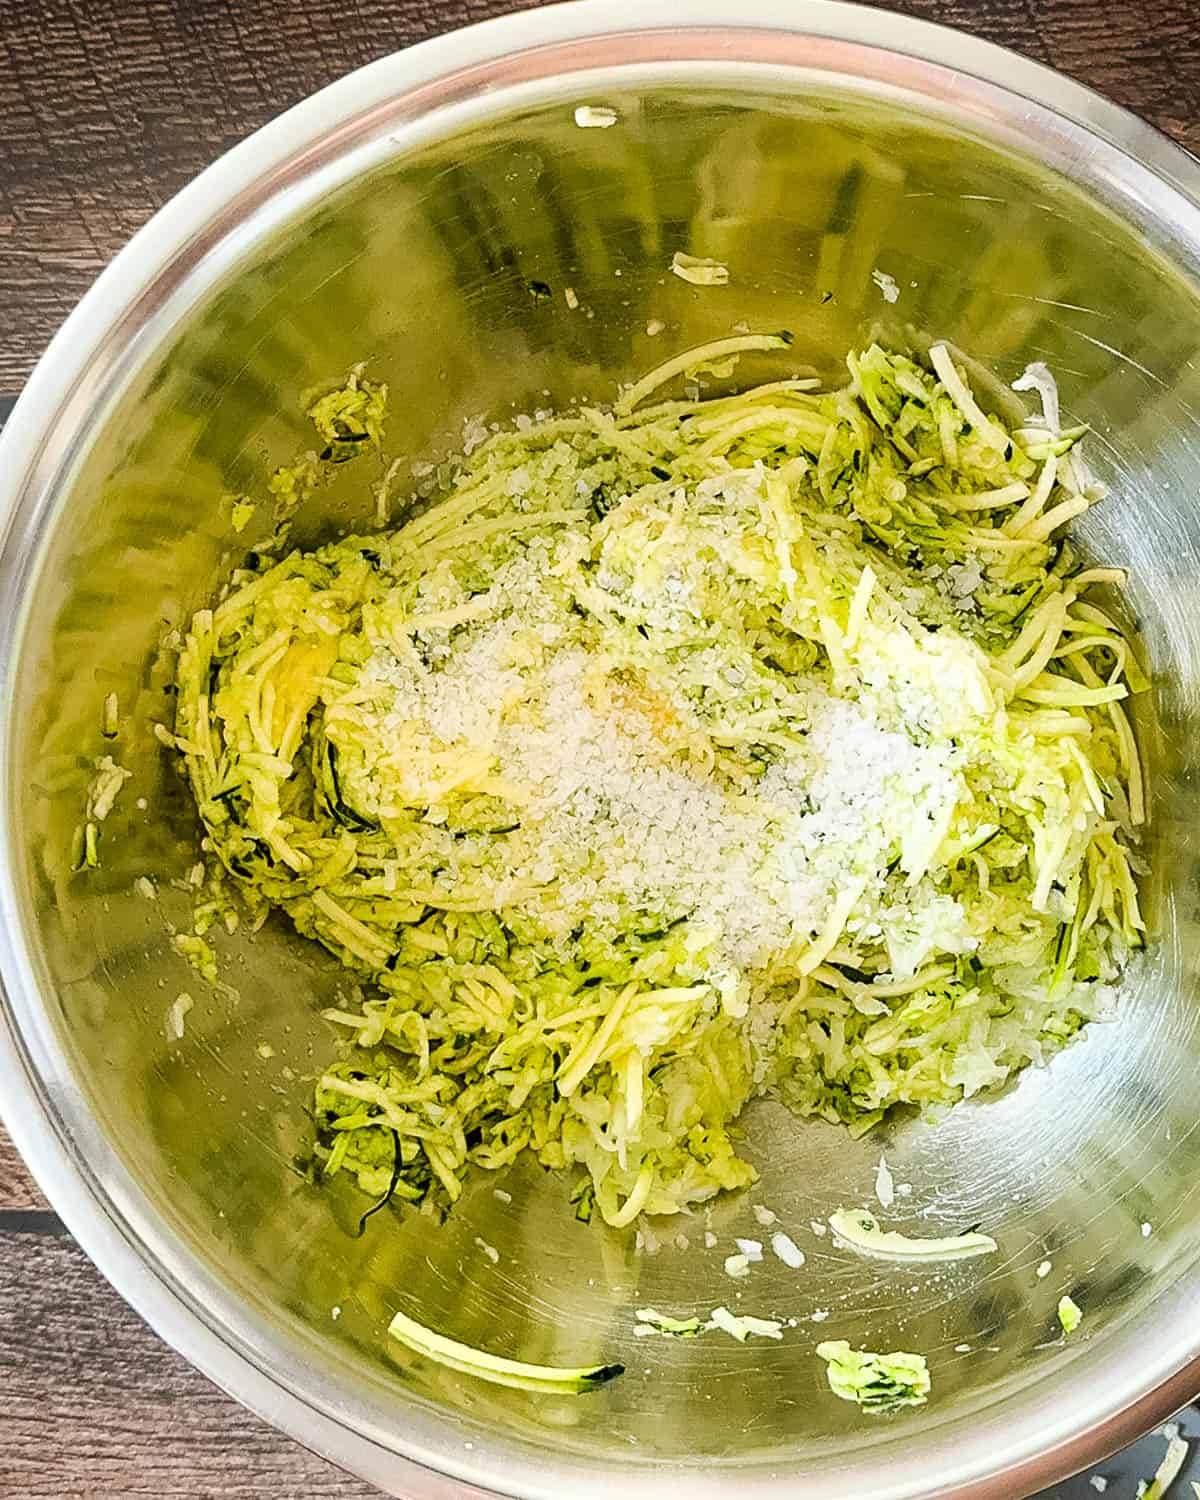
- Salt zucchini and onion and let sit for 6-8 hours
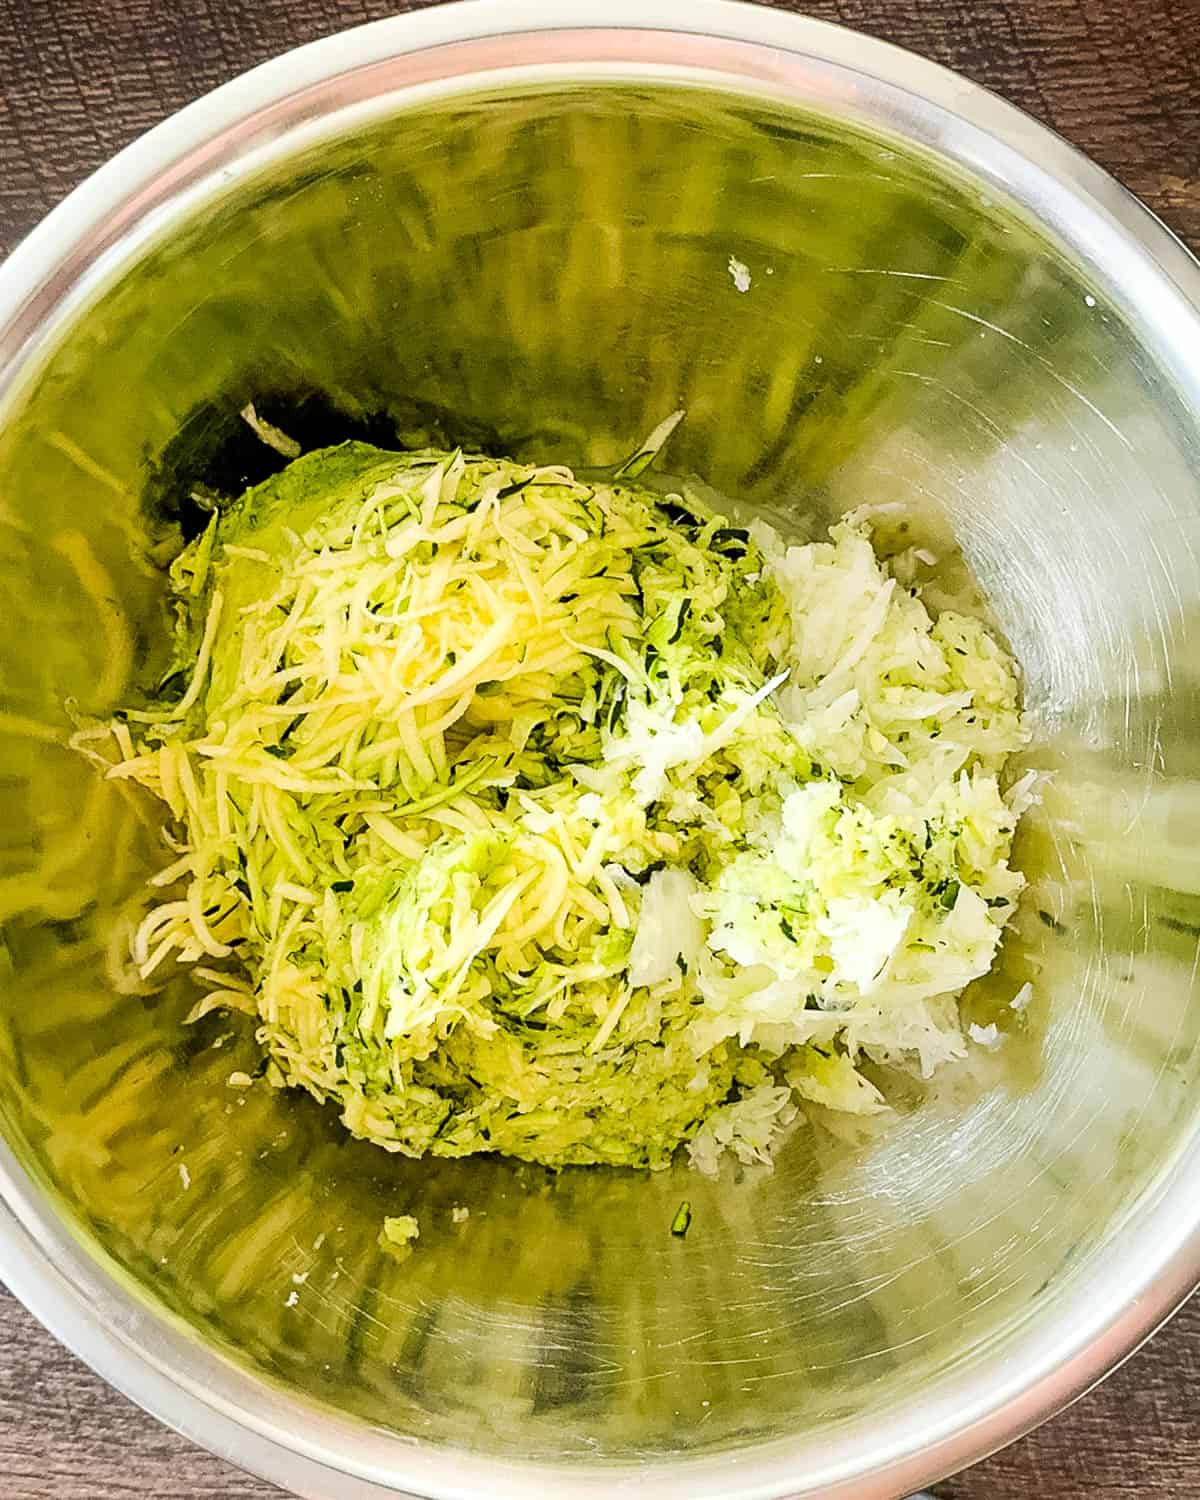
- Rinse and drain thoroughly
- Make the vinegar brine
- Add drained veggies and peppers to the pot
- Simmer for 30 minutes
- Fill sterilized jars and seal
- Process in a water bath canner for 10 minutes
- Cool jars and store
Step-by-Step Instructions
- Salt the veggies: In a large bowl, combine the chopped zucchini and onion with pickling salt. Cover with a clean kitchen towel and let it rest at room temperature for 6 to 8 hours - or overnight if that's easier. This step pulls out excess moisture, which keeps your relish crisp instead of watery.
- Rinse and drain: Transfer the salted veggies to a colander and rinse them really well under cold water. Then squeeze out as much liquid as you can using your hands or a clean kitchen towel. Don't skip this part - excess liquid will water down the final relish.
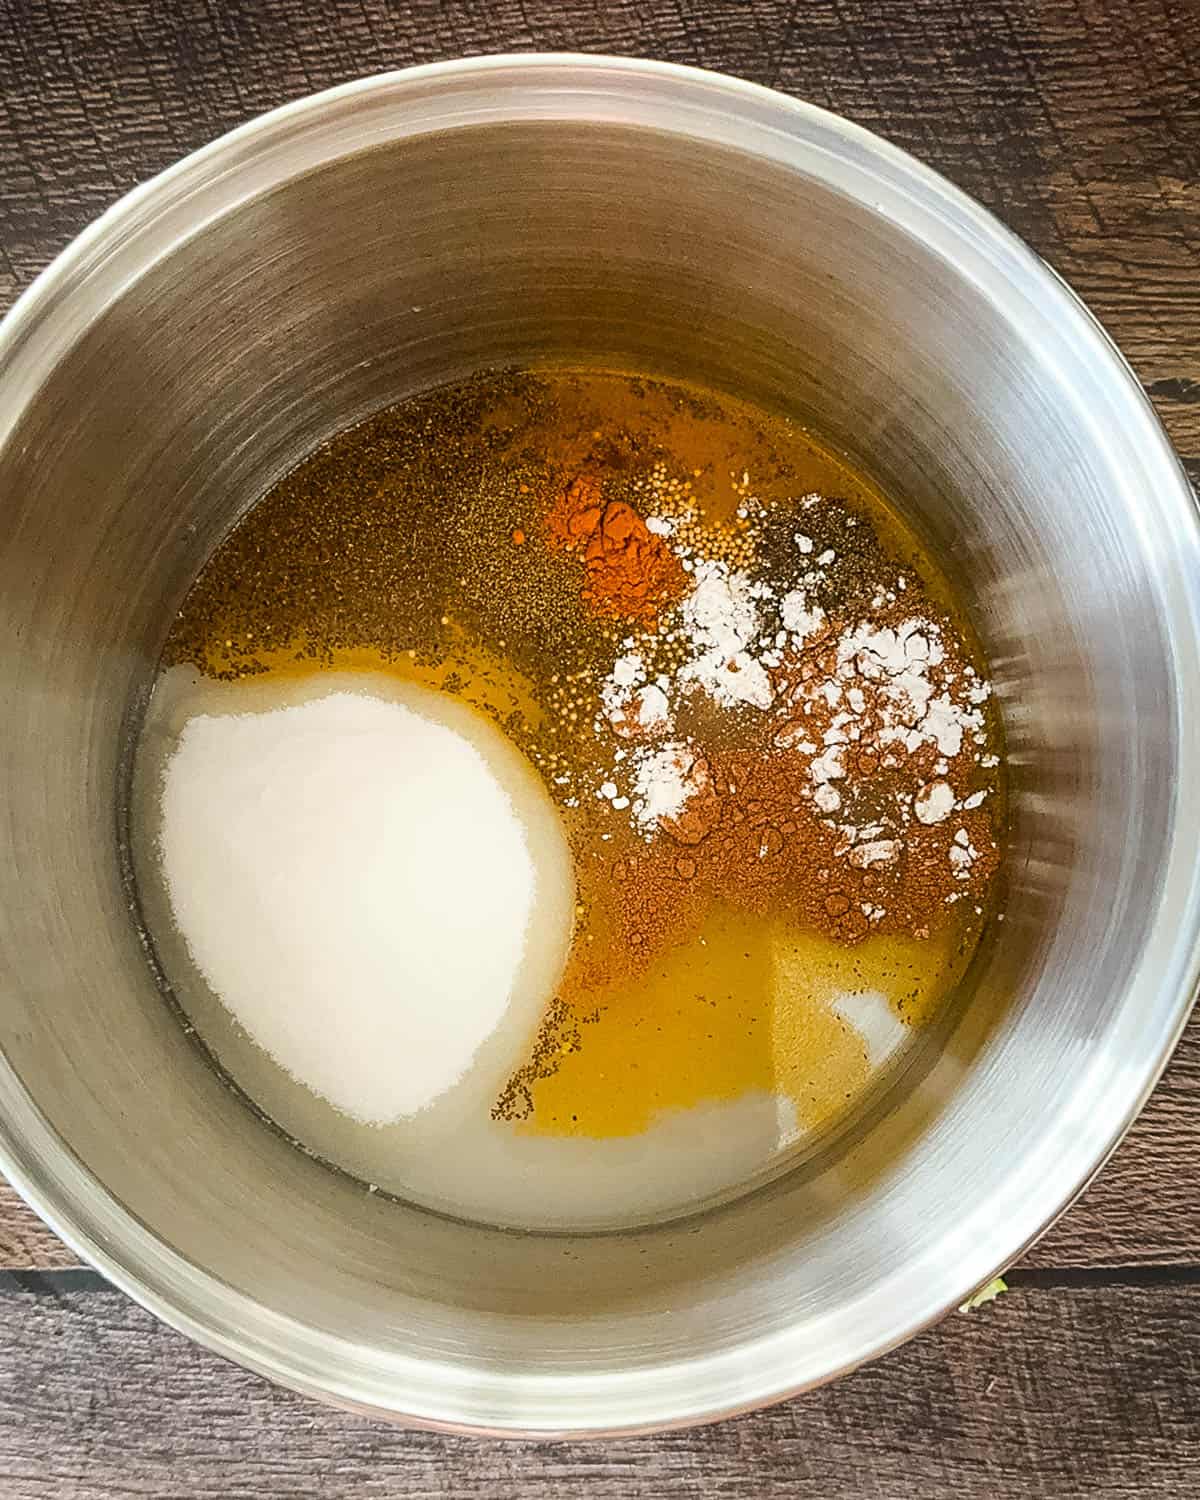
- Make the brine: In a large pot, combine white vinegar, sugar, mustard seed, celery seed, turmeric, black pepper, nutmeg, and cornstarch. Stir over medium heat until the sugar dissolves and the brine is smooth and glossy.
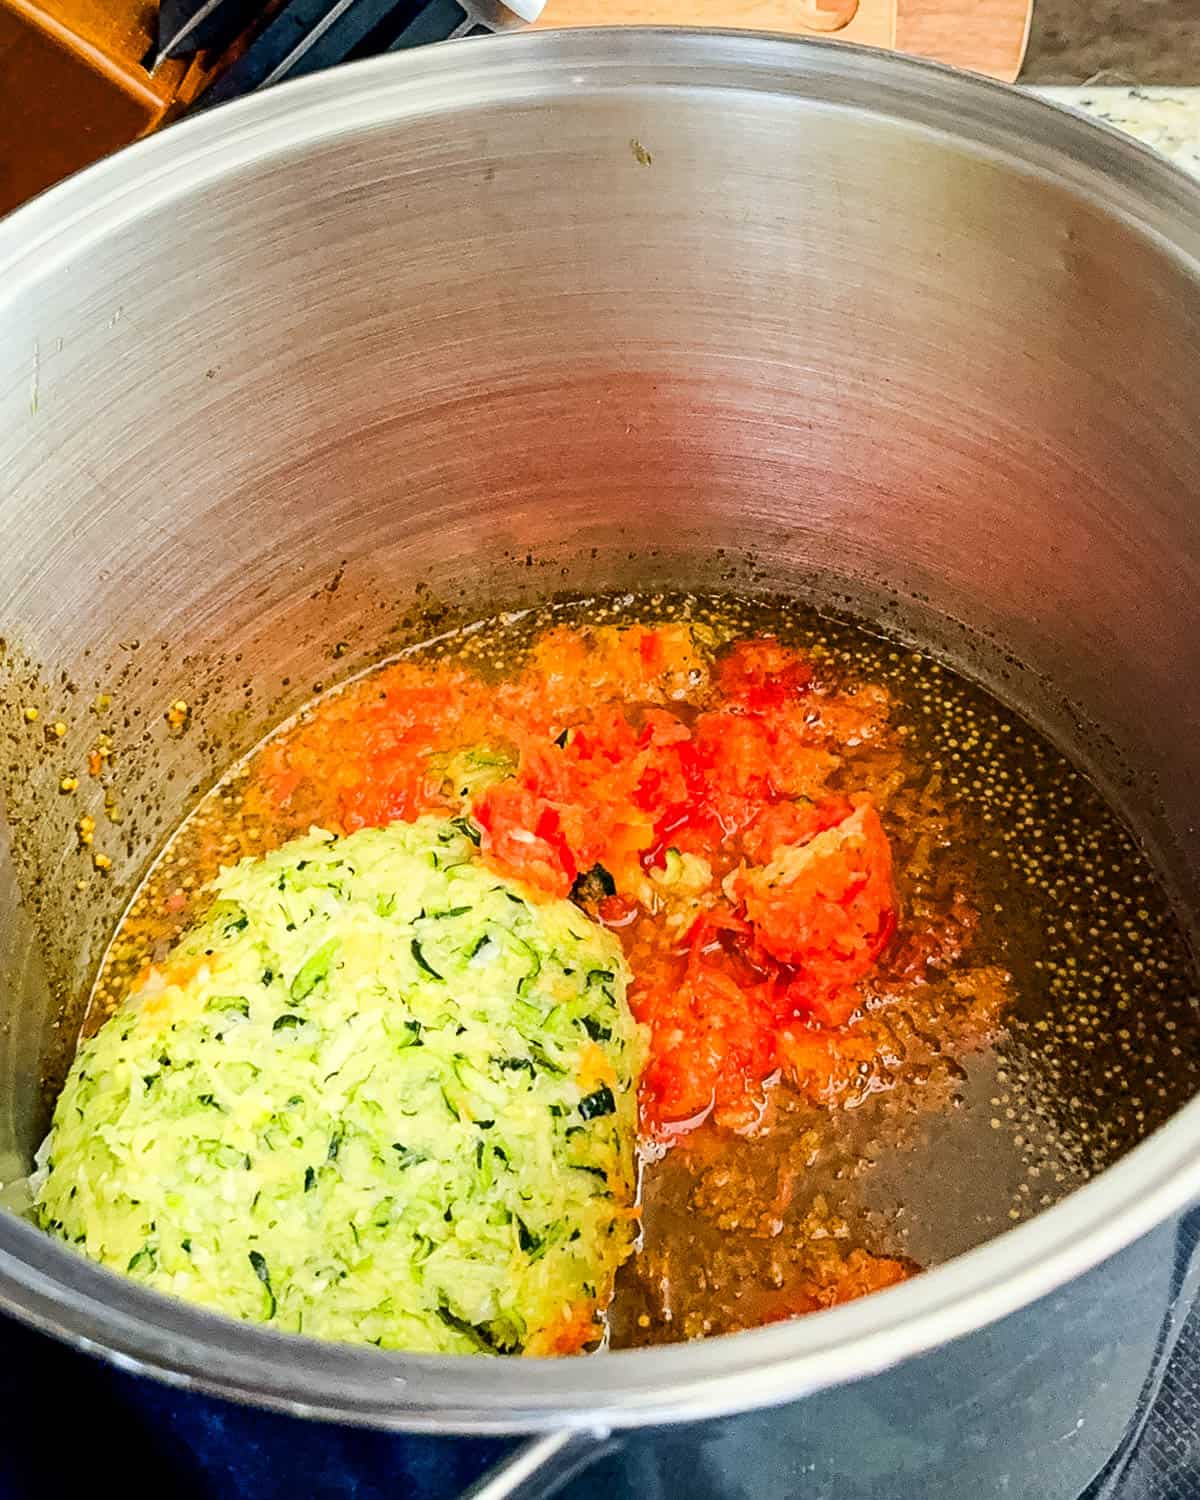
- Add the veggies: Stir the drained zucchini and onion mixture into the pot, then add your diced red and green bell peppers. Give everything a good stir. Bring the mixture to a gentle boil, then reduce the heat and simmer uncovered for 30 minutes. It will start to thicken slightly as it cooks.
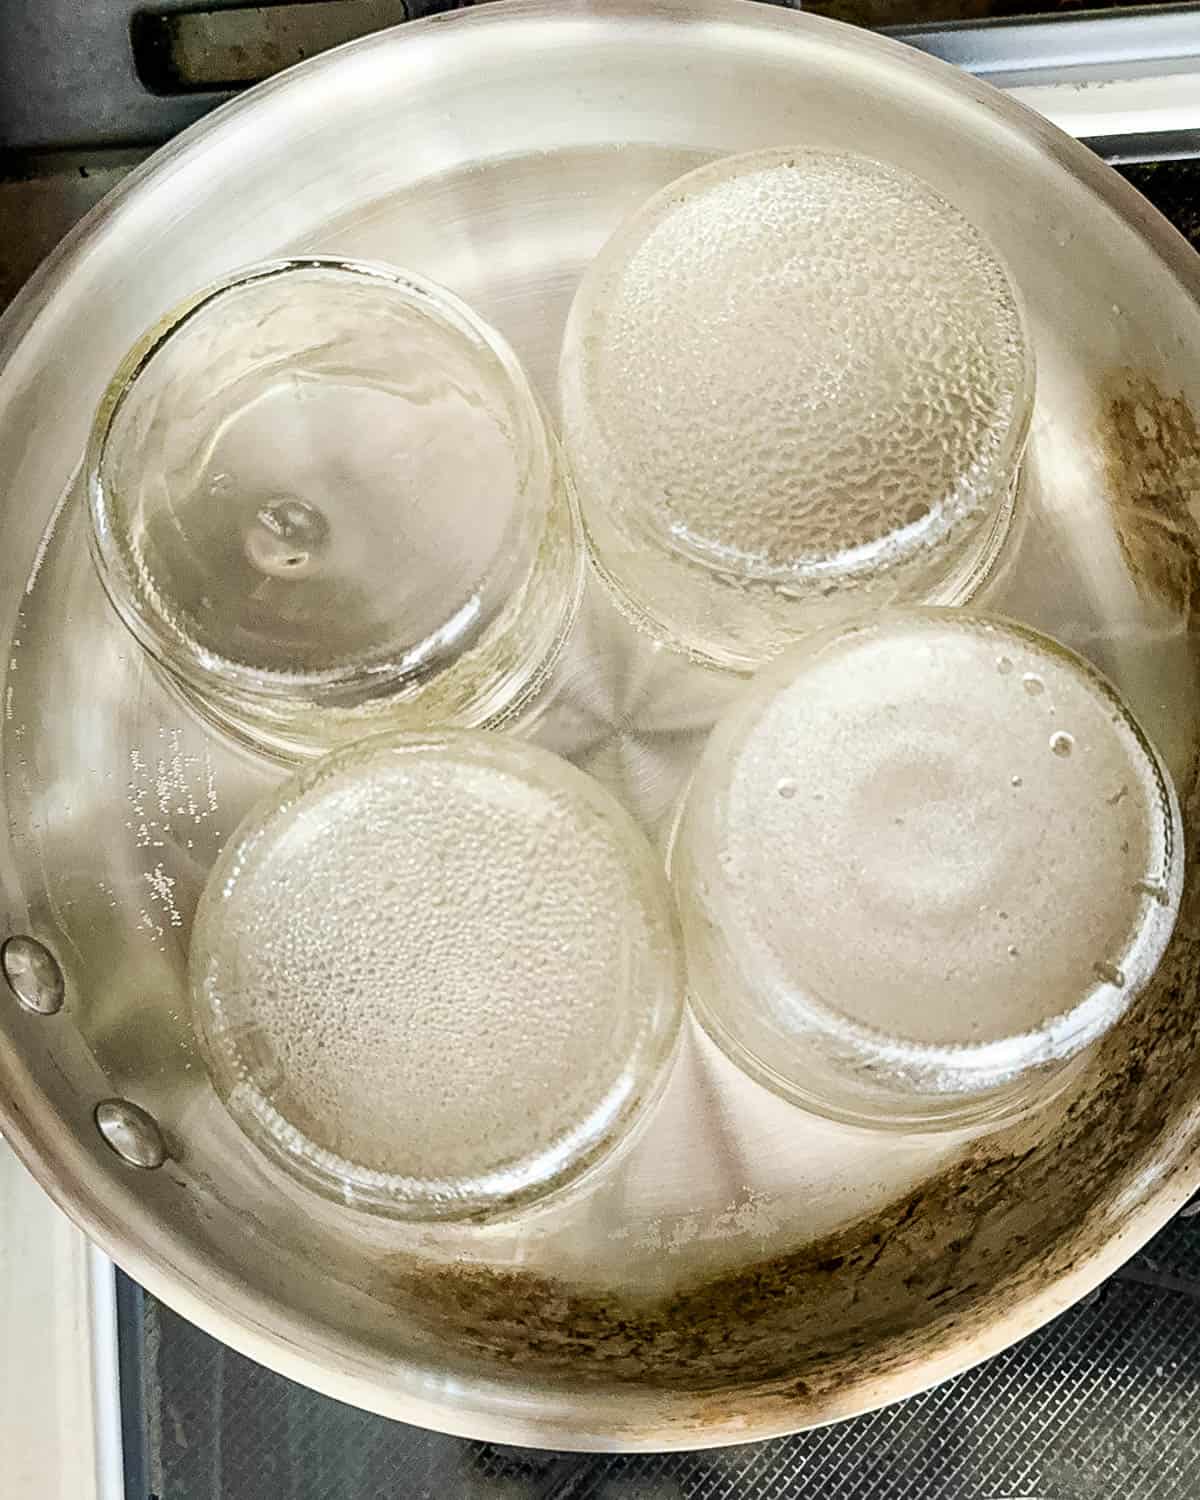
- Prepare the jars: While the relish simmers, sterilize your jars, lids, and bands. You can simmer jars in a large pot of hot water or run them through the dishwasher on a high heat cycle. Boil the lids separately in a small saucepan for 5 minutes and keep everything hot until you're ready to fill.
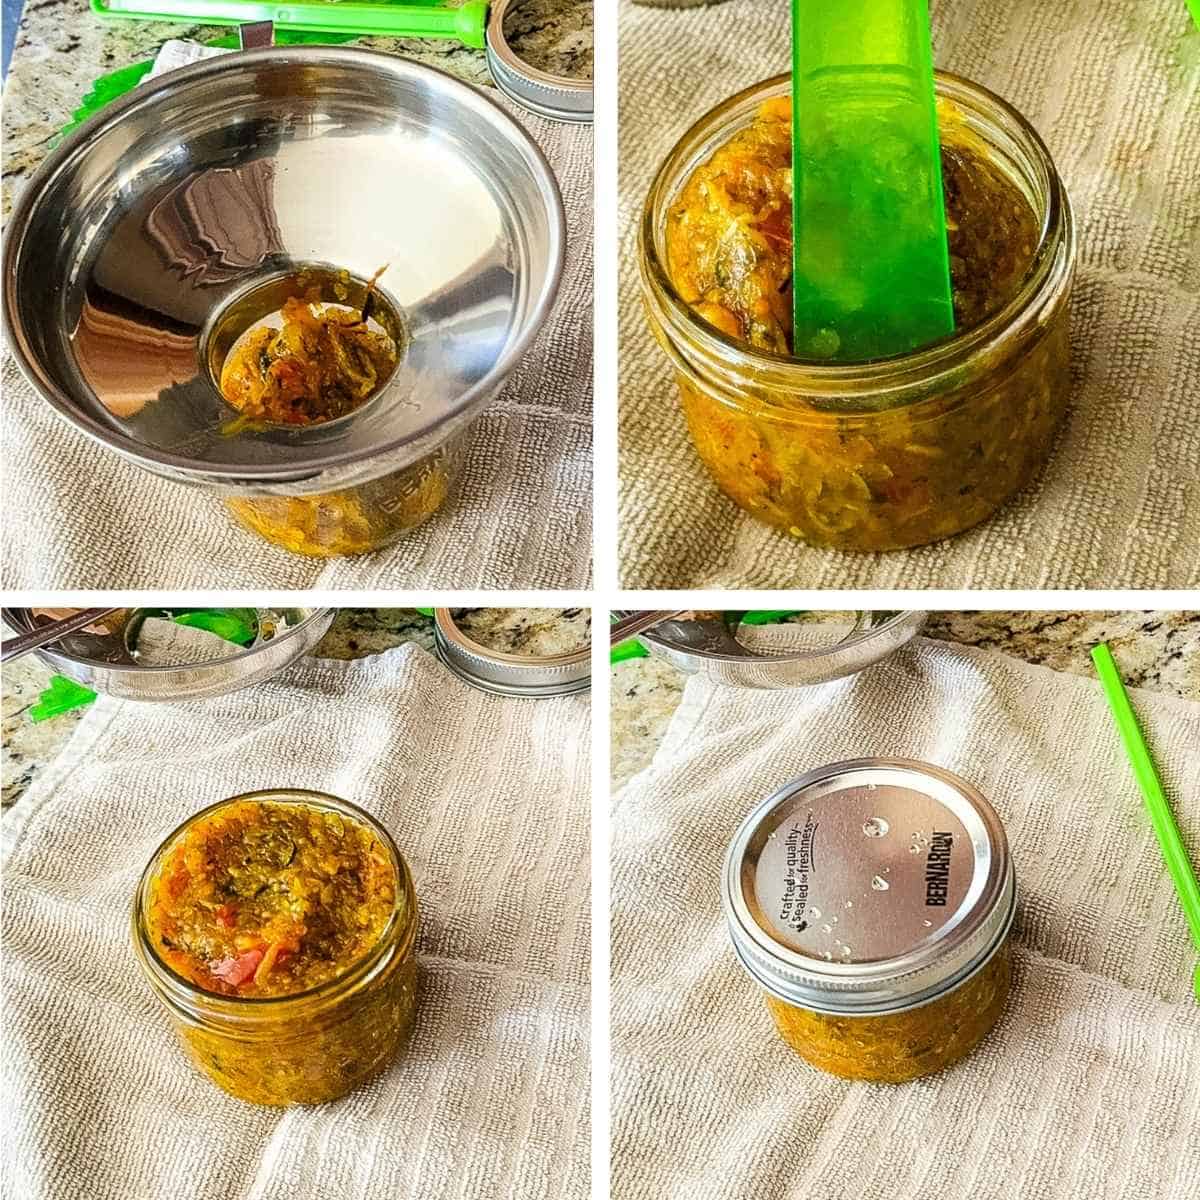
- Fill the jars: Spoon the hot relish into hot, sterilized jars using a canning funnel. Leave ½ inch of headspace at the top of each jar.
- Run a non-metallic utensil (like a bubble remover) around the inside edges to release any trapped air. (This helps prevent air pockets and ensures a proper seal). Adjust the headspace if needed after de-bubbling.
- Wipe the rims with a clean, damp cloth, then place the lids on and screw on the bands until they're fingertip tight.
- Water bath canning: Lower the filled jars into a boiling water bath, making sure they're fully submerged with at least 1 inch of water above the lids. Cover with a lid and bring back to a full boil. Once boiling, process the jars for 10 minutes (adjust for altitude if needed - see chart in the FAQ section below).
- Cool and store: Carefully remove the jars using a jar lifter and place them on a clean kitchen towel. Let them cool completely, undisturbed, for 12 to 24 hours. You should hear the lids "pop" as they seal. Once cooled, check the seals, label the jars, and store them in a cool, dark place.
Tips for Canning Success
- Use a food processor to speed up chopping.
- Always use vinegar with 5% acidity for safe canning. Check the label.
- Don't skip draining and pressing the veggies - this step keeps your relish from turning watery.
- Adjust for altitude: Live at a higher elevation? You'll need to increase the processing time to ensure food safety. If you're above 1,000 ft, add extra time based on your altitude. (See the chart in the FAQ section below.)
Recipe Notes
- Too salty? If your relish turns out saltier than expected, you likely didn't rinse it enough. You need to really rinse it well, then rinse it a few more times. You can still use it - mix a spoonful into mayo or cream cheese as a dip or spread.
- Best time to make this: Late summer, when zucchini is overflowing.
Variations
Add some heat: Want to give your relish a little kick? Try stirring in some crushed red pepper flakes, a diced jalapeño, or even a small hot pepper from the garden.
Change up the texture: You can chop the veggies really fine for a smoother, more traditional relish, or leave them a bit chunkier if you prefer a more rustic texture.
How to Use Zucchini Relish
This sweet and tangy zucchini relish is a pantry MVP. It's one of the best homemade relishes for smoked burgers, smoked sausages, and grilled hot dogs. It's also fantastic stirred into macaroni salad, egg salad, or tuna salad for a zippy twist. Serve it with smoked boneless chicken thighs, smoked pork tenderloin, dollop it onto crackers with cream cheese, or layer it into wraps and sandwiches for extra flavor.

Storage Tips
- Sealed jars: Store in a cool, dark place (like a pantry or basement) for up to 12 months.
- Opened jars: Refrigerate after opening and use within 2-3 months.
- Not canning? You can refrigerate the relish in clean jars for up to 3 weeks or freeze it for up to 6 months (leave 1" headspace).
FAQs
Yes! Portion into freezer-safe containers, leaving space for expansion. Thaw in the fridge before using.
Absolutely - just be sure to use a large pot and maintain the vinegar-to-veg ratio for safe preserving.
A little, yes - but keep at least 1 cup for proper balance and consistency. Too little and the relish may not preserve well.
This recipe doesn't use prepared mustard or mustard powder - just a bit of mustard seed for traditional flavor.
Adjust for Altitude
Altitude affects canning time - yes, even for water bath canning! At higher elevations, water boils at a lower temperature, which means your jars won't get hot enough to safely preserve the relish unless you increase the processing time.
Here's a quick guide:
| Elevation | Add This to Processing Time |
|---|---|
| 0-1,000 feet | No change (process 10 minutes) |
| 1,001-3,000 feet | Add 5 minutes (total: 15 minutes) |
| 3,001-6,000 feet | Add 10 minutes (total: 20 minutes) |
| 6,001-8,000 feet | Add 15 minutes (total: 25 minutes) |
| 8,001-10,000 feet | Add 20 minutes (total: 30 minutes) |
📍 Pro tip: If you're not sure of your elevation, Google your town name followed by "elevation."
It's always better to be safe than sorry when preserving food for shelf storage.


Did you love this recipe?
Then please leave a 5-star rating and/or review below! You can also save it! Just tap the heart symbol ❤️ in the lower right corner of your screen, and the recipe will be stored in your own recipe box!📥
Printable Recipe

Zucchini Relish Recipe
Ingredients
- 5 cups zucchini (shredded or finely chopped, unpeeled)
- 2 cups onion (chopped or shredded)
- 2 tablespoons pickling salt
- 2 medium bell peppers (chopped or shredded)
- 1¼ cups white vinegar (5% acidity only)
- 2 cups granulated sugar
- ½ tablespoon mustard seed
- 1 tablespoon celery seed
- 1½ teaspoons ground turmeric
- 1 teaspoon ground nutmeg
- ¼ teaspoon black pepper
- 2 teaspoons cornstarch
Instructions
- Salt the vegetables: In a large bowl, mix the shredded zucchini and chopped onion with the pickling salt. Cover with a clean towel and let sit at room temperature for 6 to 8 hours (or overnight). This helps draw out excess moisture and keeps the relish from getting watery.
- Rinse and drain thoroughly: After resting, rinse the salted vegetables in a colander under cold running water. Squeeze out as much moisture as possible using your hands or a clean kitchen towel. Don't skip this step! Rinse and rinse some more so you don't have salty relish.
- Make the brine: In a large pot, combine white vinegar, sugar, mustard seed, celery seed, turmeric, nutmeg, black pepper, and cornstarch. Stir over medium heat until the sugar dissolves and the brine thickens slightly.
- Add the veggies: Stir in the drained zucchini and onions, followed by the diced bell peppers. Bring to a gentle boil, then reduce heat and simmer uncovered for 30 minutes, stirring occasionally.
- Prepare jars and lids: While the relish simmers, sterilize 4 half-pint jars, lids, and bands. Keep them hot until ready to use. You can simmer them in hot water or run them through a dishwasher cycle.
- Fill the jars: Using a canning funnel, ladle the hot relish into hot jars, leaving ½ inch of headspace. Use a non-metallic utensil to remove air bubbles. Adjust headspace if needed, wipe rims clean, then add lids and screw on bands until fingertip tight.
- Water bath canning: Lower jars into a boiling water bath canner, ensuring they're fully submerged with at least 1 inch of water above the lids. Cover and bring back to a boil. Process for 10 minutes (or adjust for altitude - see chart in the FAQ section above).
- Cool and store: Remove jars with a jar lifter and set them on a towel. Let cool undisturbed for 12-24 hours. Check seals, label, and store in a cool, dark place for up to 1 year.
Save This Recipe 💌
Notes
- A food processor helps. You can chop by hand, but a food processor saves a lot of time and gives a consistent texture.
- Use 5% white vinegar only. This is crucial for safe canning. Don't use "pickling vinegar" (7%) - it's too strong.
- Rinse thoroughly. If your relish turns out too salty, you probably didn't rinse the veggies enough. Rinse them really, really well - at least a few times.
- Don't skip the draining step. Make sure you really squeeze out excess water from the salted zucchini and onion. This keeps the relish from getting watery.
- Sterilize everything. Jars, lids, and bands should be hot and sanitized before filling to avoid contamination.
Storage
- Sealed jars will last up to 12 months in a cool, dark place.
- Refrigerate opened jars and use them within 2-3 months.
- No time to can? Store in the fridge for 2-3 weeks or freeze for up to 6 months (leave 1" headspace).
- Let jars cool undisturbed for 12-24 hours after canning to ensure proper sealing. You should hear that satisfying "pop" as they seal.
Nutrition
The provided nutrition information is automatically calculated. Accuracy is not guaranteed.

Comments
No Comments