


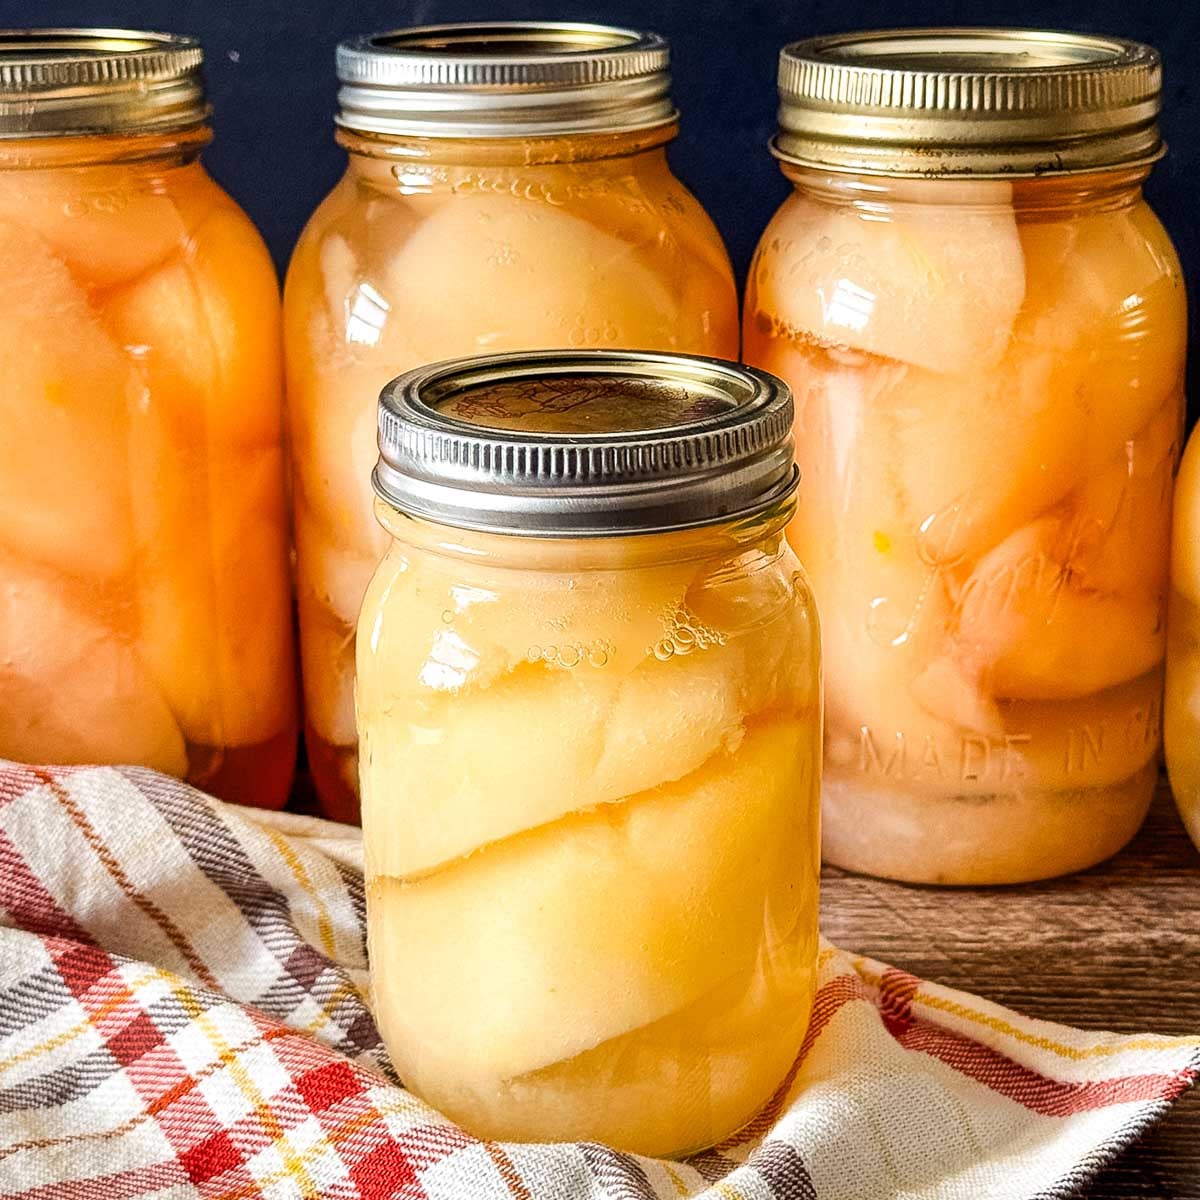
These canned pears are hot-packed in a light syrup and processed in a boiling-water canner for an easy way to preserve fresh pears. This recipe makes 4 pint jars, with options for using very light, light, or medium syrup, or canning the pears in apple juice, white grape juice, or water.
Want to save this recipe?
Enter your email & I'll send it to your inbox. Plus, get great new recipes from me every week!
I make canned pears every fall when the pears start ripening faster than we can eat them. The biggest thing I've learned is to start with pears that are ripe but still firm. If they're already soft, they'll get much softer during processing and won't hold their shape nearly as well.
I often make these alongside my canned applesauce or canned peaches since they all use a boiling-water canner.
Jump to:
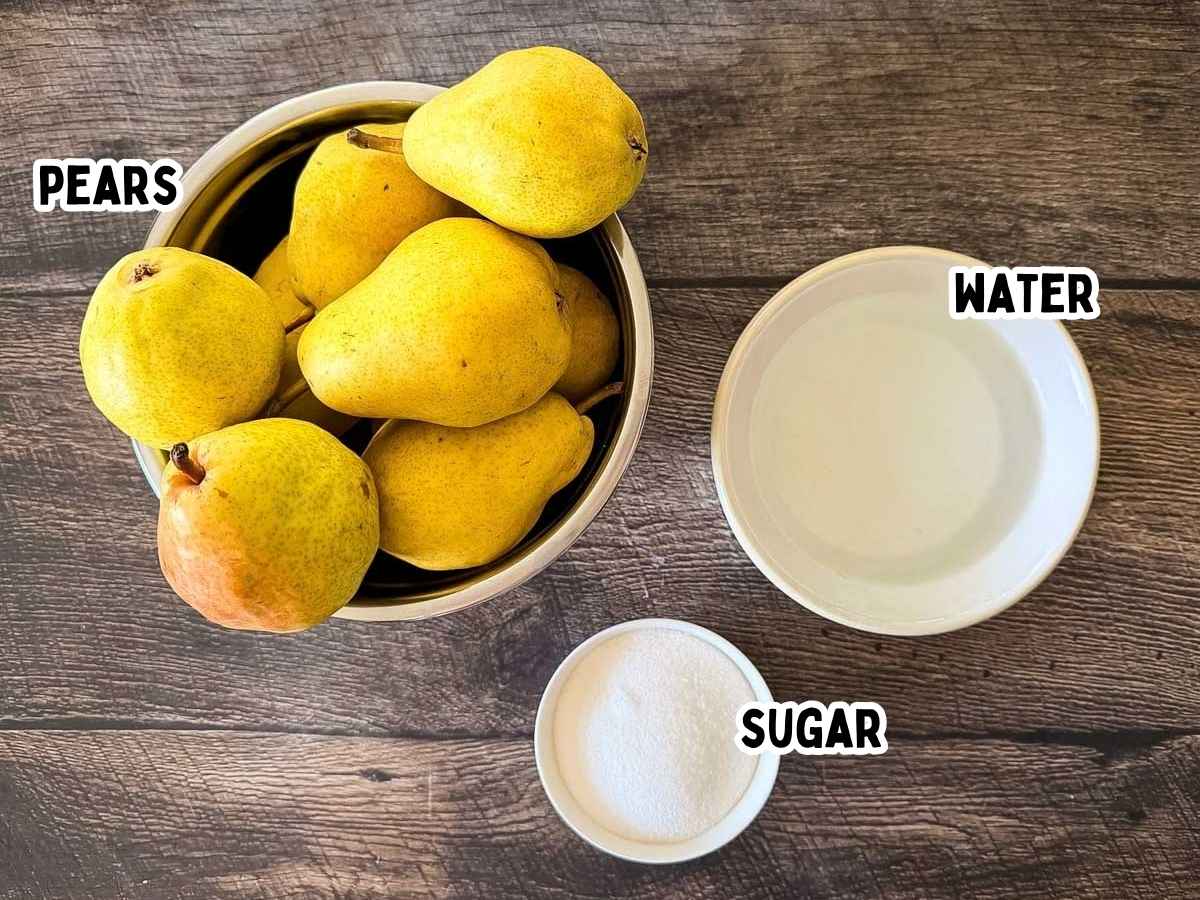
Ingredients You'll Need
You only need a few simple ingredients to make home-canned pears.
- Pears. You'll need about 5 pounds of ripe but firm pears for 4 pint jars. I recommend Bartlett, Anjou, or Bosc. Pears are ready to can when they give slightly when gently pressed near the stem but are still firm overall. Don't use overripe pears because they can become very soft during processing. Important: This recipe is for regular European pears. Asian pears require additional acidification before canning; I've included the amounts in the FAQ below.
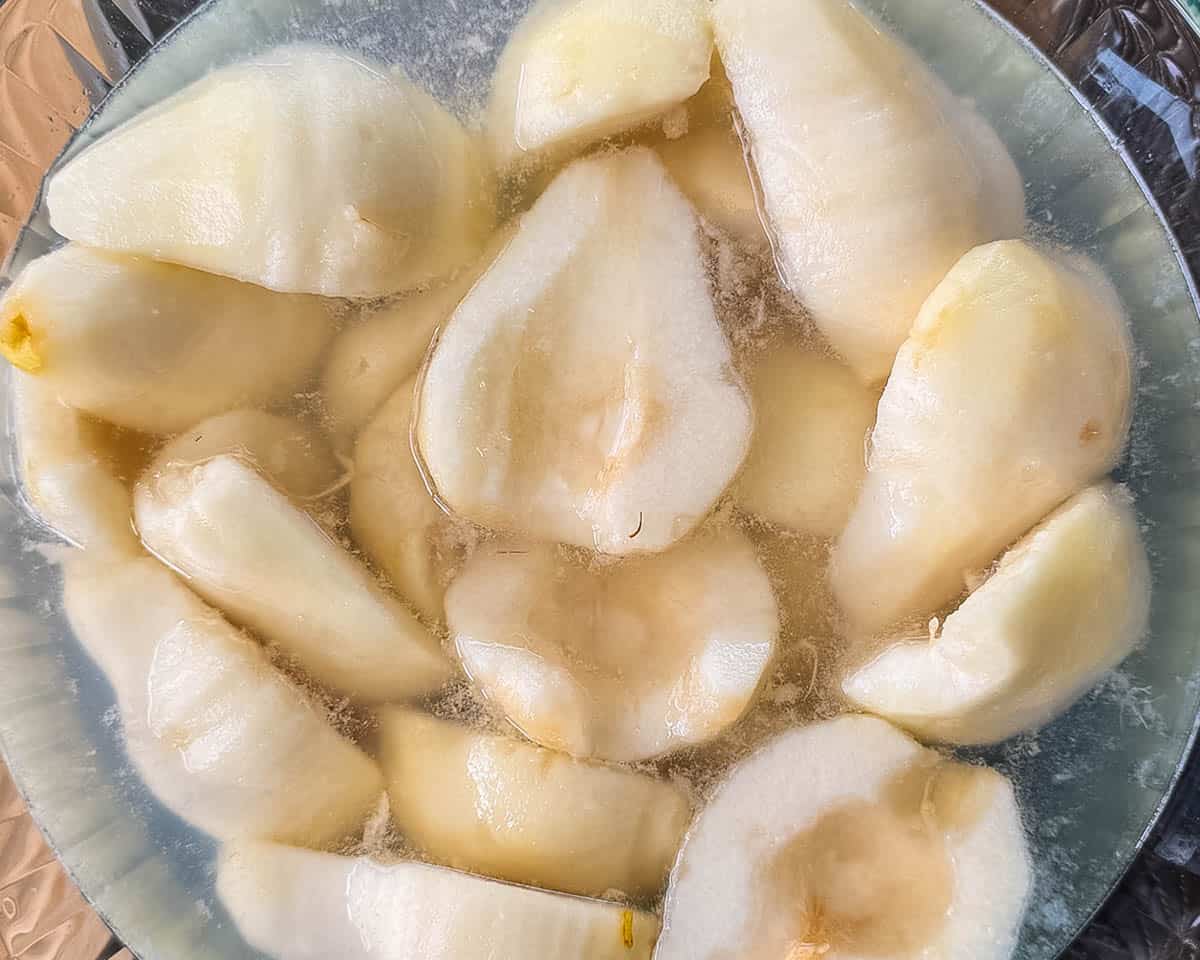
- Browning solution. I keep the peeled pears submerged in a bowl with 4 cups of cold water mixed with 3 tablespoons of bottled lemon juice while I'm working. This prevents them from turning brown before I get them into the jars. You can also use Fruit-Fresh or an ascorbic acid solution prepared according to the package directions. The browning solution isn't added to the jars.
- Sugar and water. I use 3 cups of water and ¾ cup of granulated sugar to make a light syrup for this small batch. Sugar isn't required for safe canning, so you can use a different syrup strength, apple juice, white grape juice, or plain water instead.
A complete list of ingredients and amounts is in the printable recipe card below.
How to Can Pears
Prepare the Canner and Jars
Fill a boiling-water canner with enough water to cover the filled jars by at least 1 inch. Start heating the water while you prepare the pears.
Wash the jars, lids, and bands in hot, soapy water and rinse well. Keep the jars hot until you're ready to fill them. I either keep mine in hot water or run them through the dishwasher and leave them inside until I need them.
Peel and Core the Pears
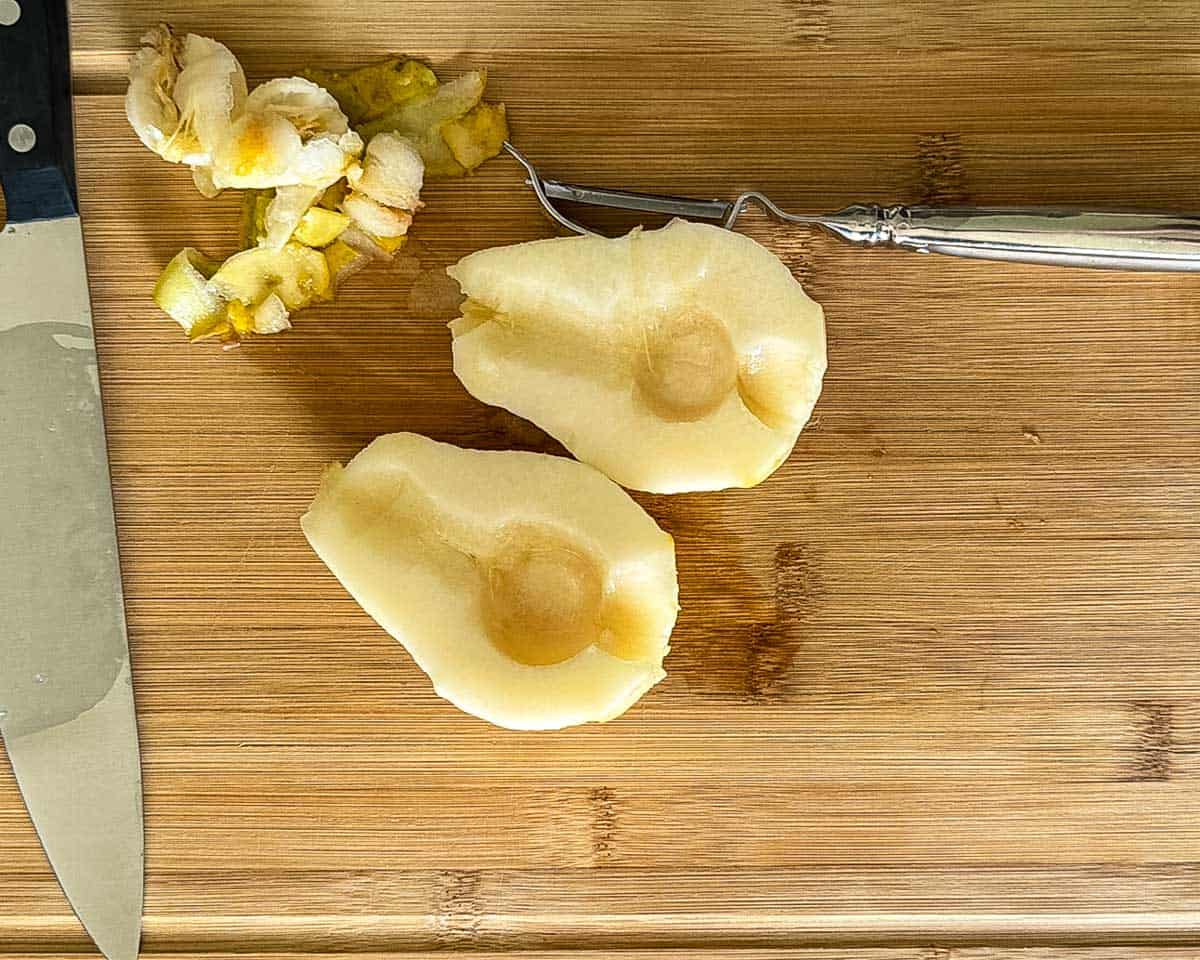
Wash and peel the pears. Cut them in half lengthwise, then use a spoon or melon baller to scoop out the cores. Trim off the stems and blossom ends.
Place each prepared pear half directly into the browning solution as you work. Keeping them submerged makes a noticeable difference in preventing discoloration.
Make the Light Syrup
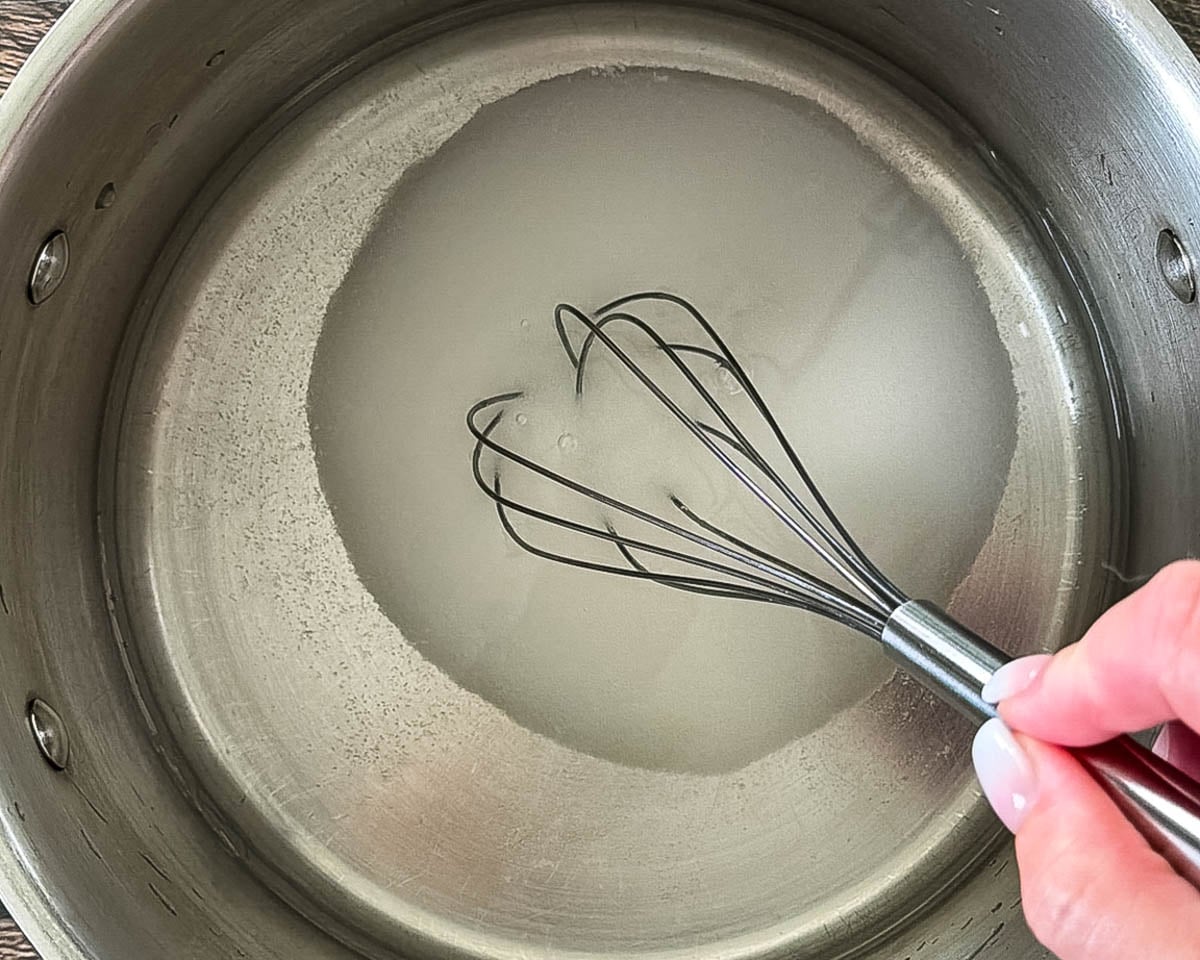
Combine 3 cups of water and ¾ cup of granulated sugar in a large pot. Heat over medium-high heat, stirring until the sugar dissolves, then bring the syrup to a boil.
Hot Pack the Pears
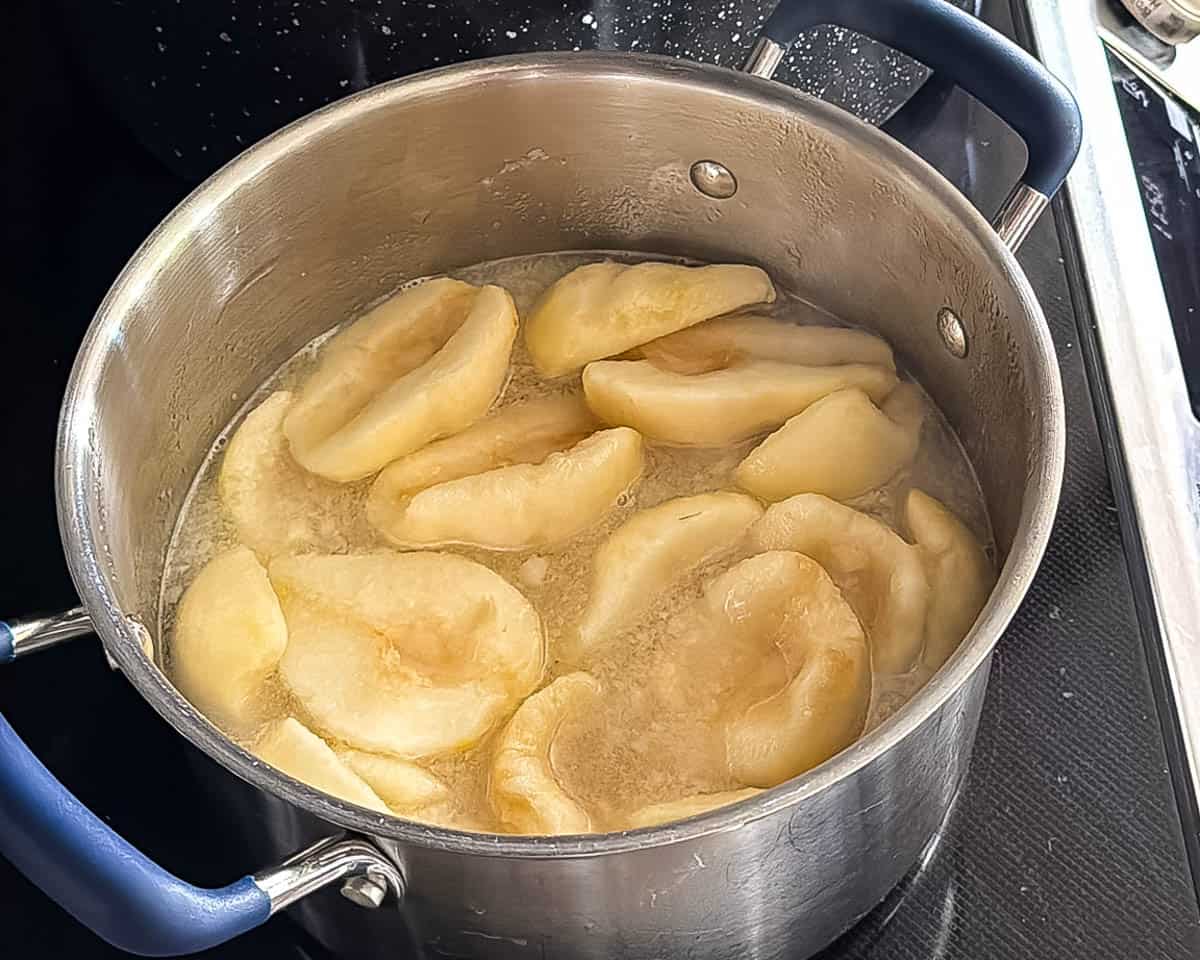
Drain the pears well and add them to the boiling syrup. Return everything to a boil, then boil gently for 5 minutes.
Hot packing is the preferred method for pears and produces better-quality canned fruit than raw packing.
Fill the Jars
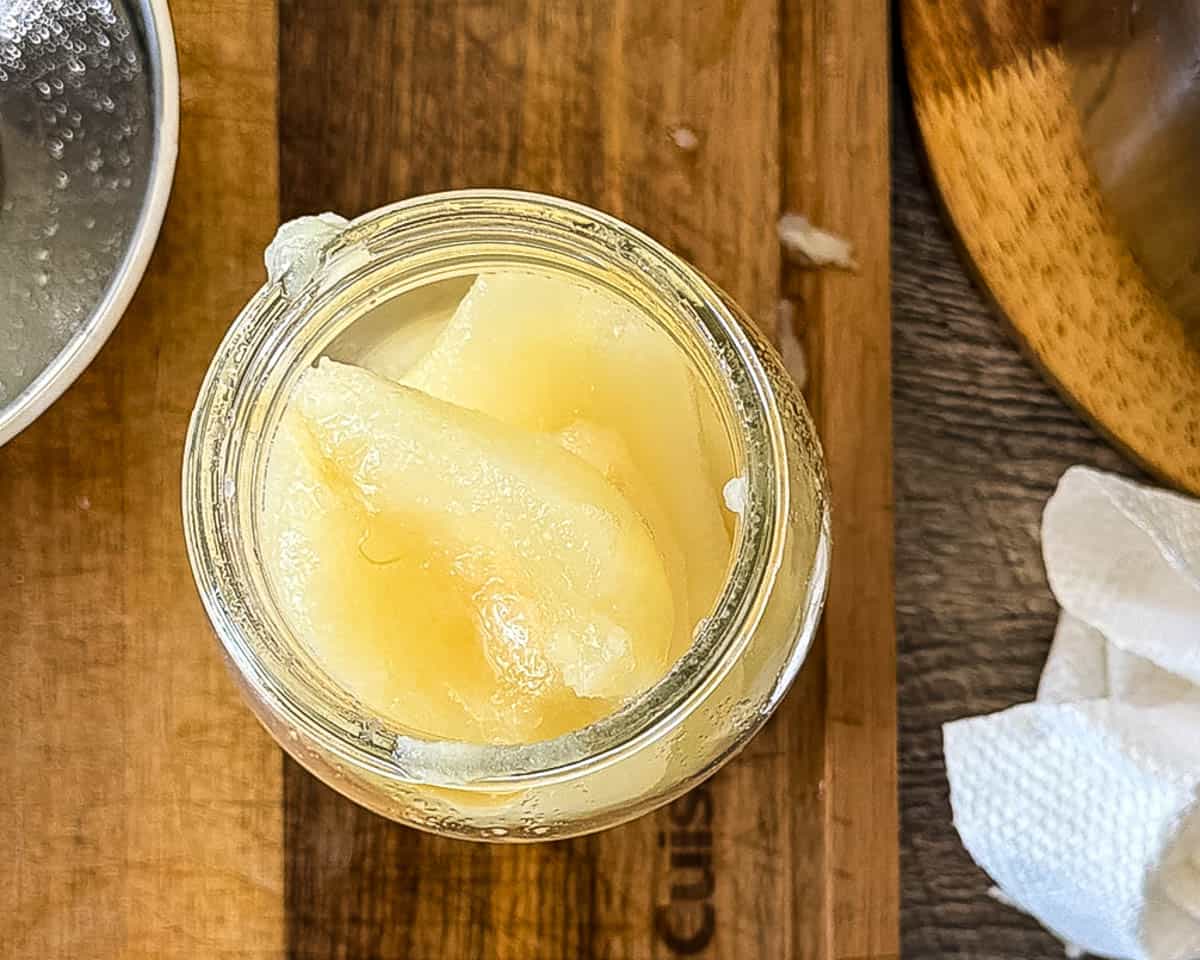
Using a slotted spoon, pack the hot pear halves into hot pint jars, placing them cavity side down if possible.
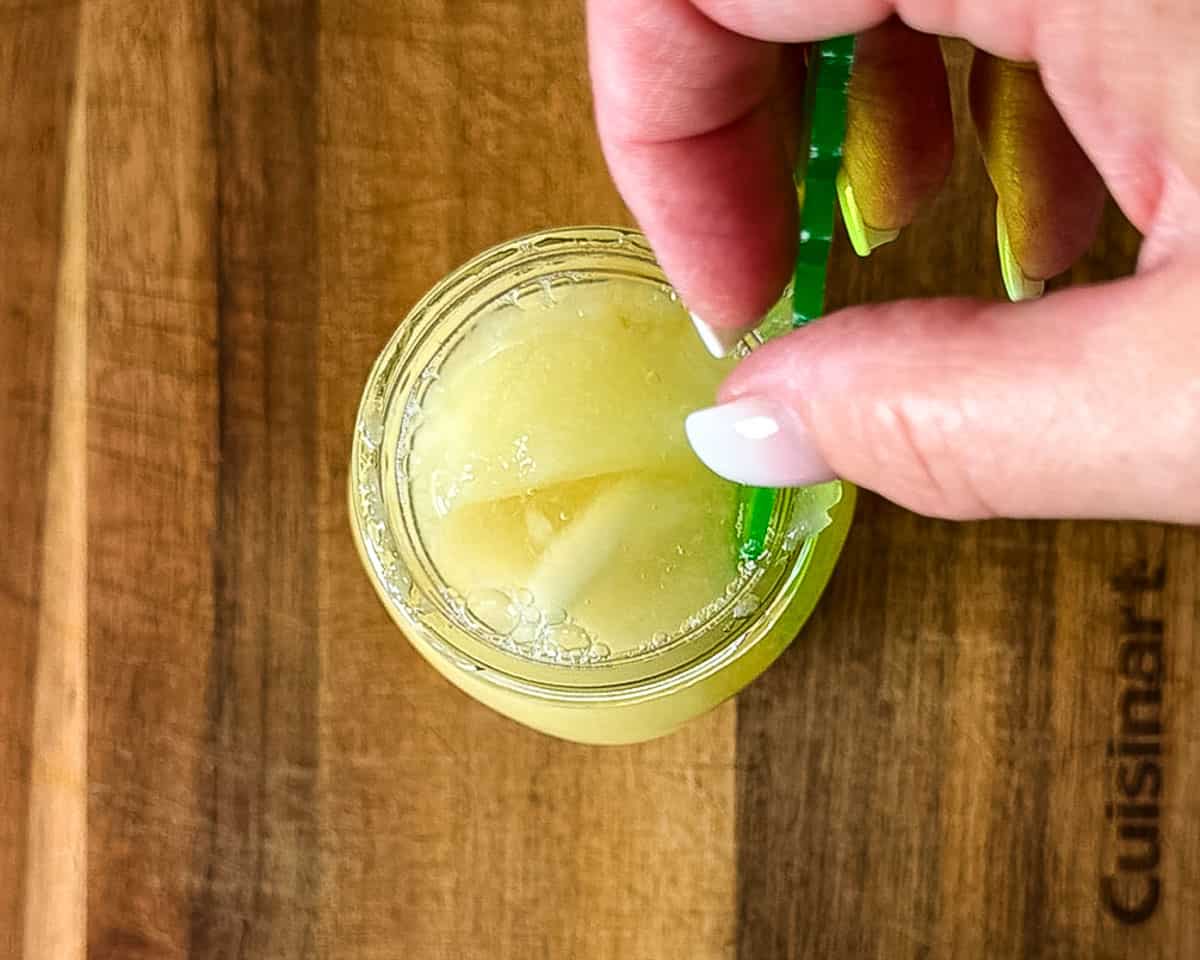
Ladle the hot syrup over the pears, leaving ½ inch of headspace. Run a bubble remover or thin spatula around the inside of each jar to release trapped air bubbles, then check the headspace again and adjust it to ½ inch if needed.
Apply the Lids
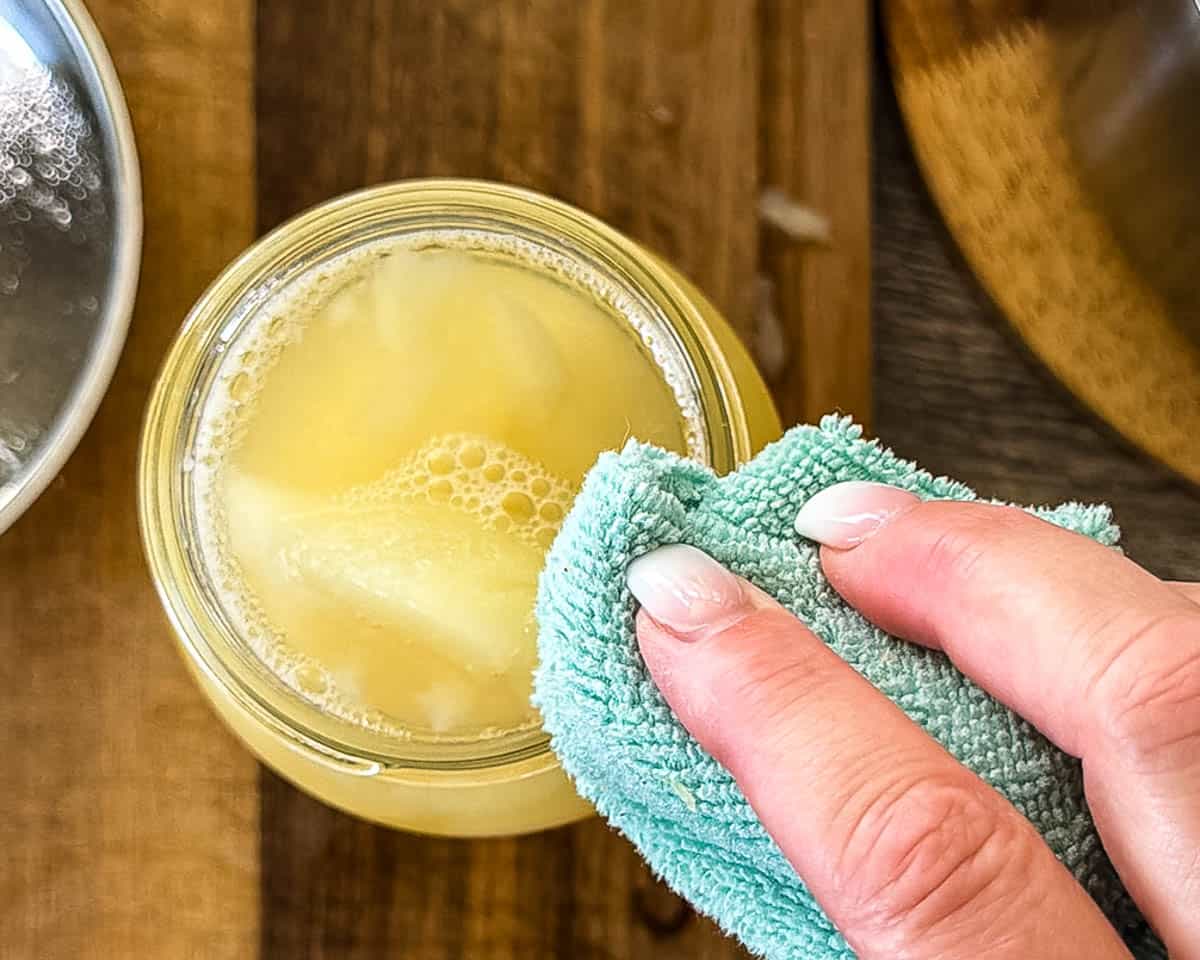
Wipe the rims of the jars clean with a damp cloth. Center a lid on each jar, then screw on the bands until fingertip-tight. Don't overtighten the bands.
Process the Pears
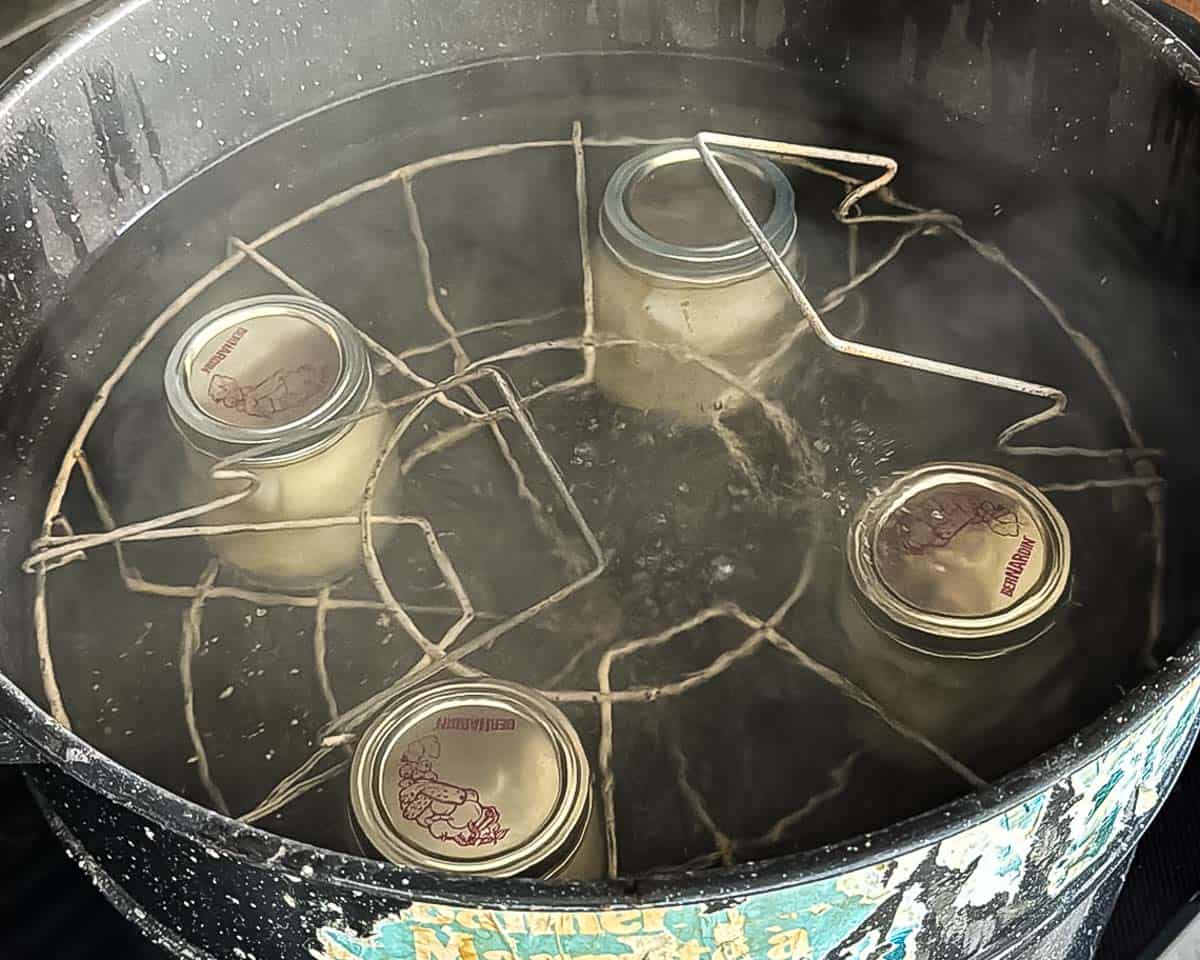
Place the filled jars in the boiling-water canner. The jars should be covered by at least 1 inch of water.
Cover the canner and bring the water to a full rolling boil. Once the water is boiling, start the processing time.
For pint jars, process according to your elevation:
- 0-1,000 feet: 20 minutes
- 1,001-3,000 feet: 25 minutes
- 3,001-6,000 feet: 30 minutes
- Above 6,000 feet: 35 minutes
If you're using quart jars, I've included the processing times in the FAQ and recipe card below.
Cool and Check the Seals
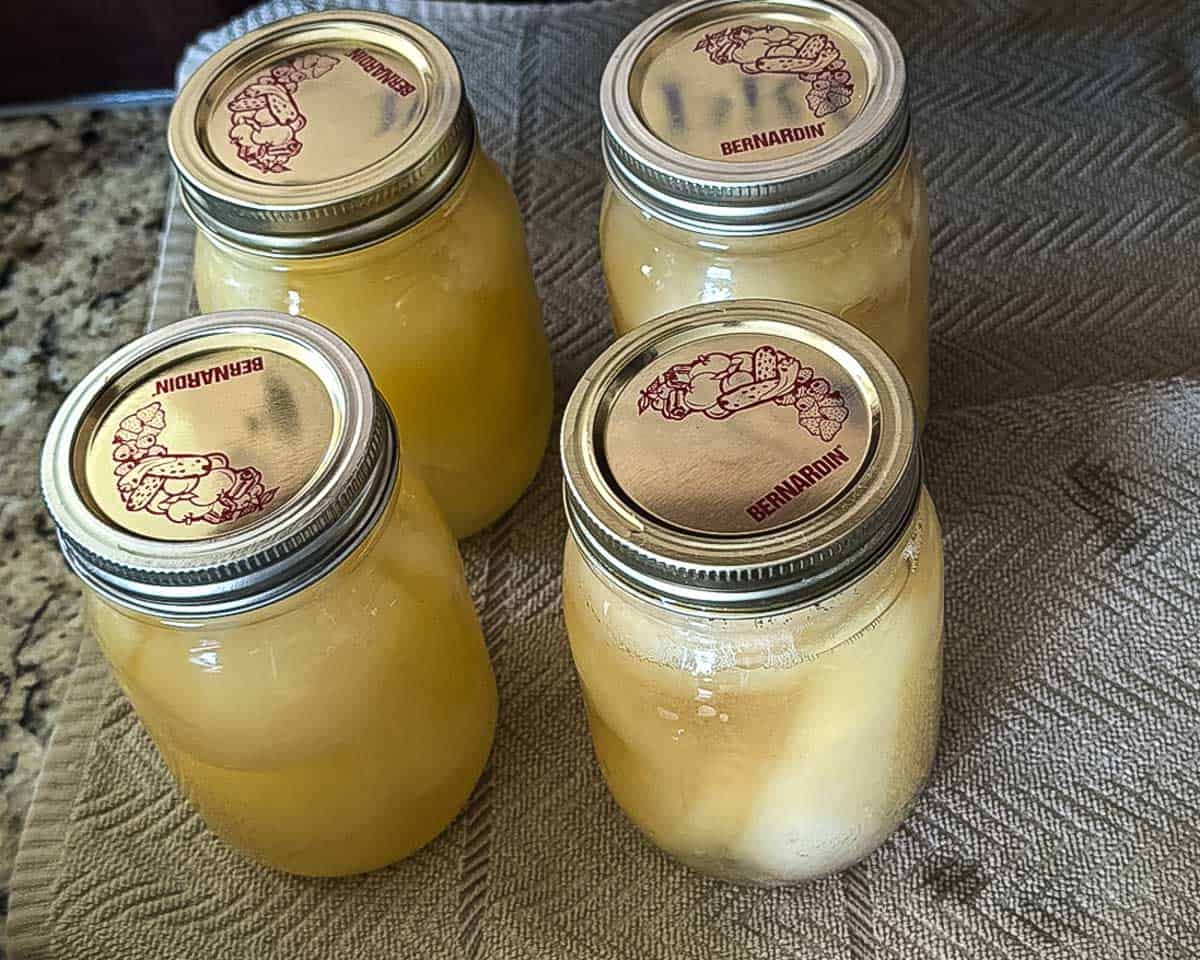
When the processing time is complete, turn off the heat and remove the canner lid. Wait 5 minutes, then lift each jar straight up with a jar lifter and place it on a kitchen towel or cooling rack.
Leave space between the jars and let them cool undisturbed for 12-24 hours. Don't tighten the bands or press down on the lids while they're cooling.
Once completely cool, check each seal. The center of the lid should be slightly concave and shouldn't flex when pressed.
Remove the bands, wipe down the jars, label them with the date, and store them in a cool, dark, dry place.
Jeri's Tips
- Don't wait until the pears are too ripe. This is probably my most important tip. Use pears that are ripe enough to have good flavor but still feel firm. Very soft pears don't hold up nearly as well during canning.
- Put peeled pears directly into the browning solution. Don't wait until you've finished peeling the entire batch. I drop each pear into the solution as I go so the first ones don't turn brown while I'm still working.
- Hot pack the pears. Boiling them gently in the syrup for 5 minutes before filling the jars gives you better-quality canned pears.
- Don't overtighten the bands. Fingertip-tight is all you need.
- Check your altitude before starting. Processing times increase above 1,000 feet.
- Label every jar. I always add the date before putting the jars away so I know which ones to use first.
Syrup Options
You don't have to use the same syrup strength I do. Sugar helps the pears maintain their flavor, color, and texture, but it isn't required for safe canning.
| Syrup Type | Water | Sugar |
| Very Light | 6½ cups | ¾ cup |
| Light | 5¾ cups | 1½ cups |
| Medium | 5¼ cups | 2¼ cups |
| Apple or White Grape Juice | Use juice in place of syrup | n/a |
| Plain Water | Use water without added sugar | n/a |
These amounts make enough syrup for approximately a full 9-pint canner load. The printable recipe card uses 3 cups of water and ¾ cup of sugar for my smaller 4-pint batch.
Serving Suggestions
- Straight from the jar. Chill the pears and serve them as an easy snack or dessert.
- For breakfast. Spoon them over oatmeal or yogurt, or serve them with my sourdough French toast.
- For dessert. Spoon them over Ninja Creami vanilla ice cream, add them to a crisp or crumble, or layer them with whipped cream and granola.
- With pork or ham. Serve them alongside smoked pork tenderloin or double smoked ham.
Storage
- Sealed jars: Store in a cool, dark, dry place. For best quality, use within one year.
- Opened jars: Refrigerate and use within one week.
- Unsealed jars: If you discover an unsealed jar within 24 hours, refrigerate it and use it within a week, freeze it, or properly reprocess it within 24 hours.
- Before using: Always inspect home-canned food before eating it. Don't taste food from a jar with a failed seal or other signs of spoilage, such as leaking, bulging, spurting liquid, mold, or an unusual odor. When in doubt, discard it.
FAQs
Regular European pears such as Bartlett, Anjou, and Bosc don't require added lemon juice when following this tested water-bath canning method. The lemon juice in the browning solution is only used to prevent the cut pears from browning.
However, Asian pears are different and require acidification. Add 1 tablespoon of bottled lemon juice per pint jar or 2 tablespoons per quart jar before processing.
Hot packing is preferred because it produces better-quality canned pears. For this recipe, gently boil the pears in the syrup for 5 minutes before filling the jars.
Yes. Process quart jars according to your elevation: 0-1,000 feet: 25 minutes, 1,001-3,000 feet: 30 minutes, 3,001-6,000 feet: 35 minutes, above 6,000 feet: 40 minutes.
Plan on approximately 11 pounds of pears for a 9-pint canner load. The exact amount will vary depending on the size of your pears and how much you remove during peeling and coring.
Yes. Sugar isn't required for safe canning. You can can the pears in plain water, apple juice, or white grape juice instead. Sugar does help the fruit retain its flavor, color, and texture.
If you discover an unsealed jar within 24 hours, refrigerate it and use it within a week or freeze it for longer storage. You can also reprocess it within 24 hours if you followed the tested canning method in this recipe. Transfer the pears and liquid to a clean jar, use a new lid, and process again for the full recommended processing time.
More Canning Recipes You'll Love
Want more ways to stock your pantry? Try these canning recipes next:
Printable Recipe
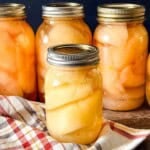
Easy Canned Pears in Light Syrup
Ingredients
For the Pears
- 5 pounds ripe but firm pears such as Bartlett, Anjou, or Bosc
- 3 tablespoons bottled lemon juice for browning solution
- 4 cups cold water for browning solution
For the Light Syrup
- 3 cups water
- ¾ cup granulated sugar
Instructions
- Prepare the canner and jars. Fill a boiling-water canner with enough water to cover the filled jars by at least 1 inch. Begin heating the water. Wash the jars, lids, and bands in hot, soapy water and rinse well. Keep the jars hot until ready to fill.
- Prepare the browning solution. Fill a large bowl with cold water and add 3 tablespoons of bottled lemon juice.
- Prepare the pears. Wash and peel the pears. Cut them in half lengthwise and remove the cores, stems, and blossom ends. Place the prepared pear halves in the browning solution as you work to prevent discoloration.
- Make the light syrup. Combine 3 cups of water and ¾ cup of sugar in a large pot. Heat over medium-high heat, stirring until the sugar dissolves. Bring to a boil.
- Hot pack the pears. Drain the pears well and add them to the boiling syrup. Return to a boil, then boil gently for 5 minutes.
- Fill the jars. Using a slotted spoon, pack the hot pear halves into hot pint jars. Ladle hot syrup over the pears, leaving ½ inch of headspace. Remove air bubbles and adjust the headspace to ½ inch if necessary.
- Apply the lids. Wipe the jar rims clean. Center the lids on the jars and screw the bands on until fingertip-tight.
- Process. Place the jars in the boiling-water canner, making sure they're covered by at least 1 inch of water. Cover and bring the water to a full rolling boil. Once boiling, process pint jars for 20 minutes at elevations up to 1,000 feet. Adjust the processing time for higher elevations (see Notes).
- Cool. When the processing time is complete, turn off the heat and remove the canner lid. Wait 5 minutes, then carefully remove the jars with a jar lifter, keeping them upright. Cool undisturbed for 12-24 hours.
- Check and store. Check the seals once the jars are completely cool. Remove the bands, wipe and label the jars, and store properly sealed jars in a cool, dark, dry place.
Save This Recipe 💌
Notes
- Altitude adjustments for pint jars: Process for 20 minutes at 0-1,000 feet, 25 minutes at 1,001-3,000 feet, 30 minutes at 3,001-6,000 feet, and 35 minutes above 6,000 feet.
- Quart jars: Process for 25 minutes at 0-1,000 feet, 30 minutes at 1,001-3,000 feet, 35 minutes at 3,001-6,000 feet, and 40 minutes above 6,000 feet.
- Asian pears: This recipe is intended for regular European pears such as Bartlett, Anjou, and Bosc. Asian pears require acidification. Add 1 tablespoon of bottled lemon juice to each pint jar or 2 tablespoons to each quart jar before processing.
- Sugar: Sugar isn't required for safe canning. Pears can also be canned in plain water, apple juice, or white grape juice.
- Syrup strength: This recipe uses a light syrup for a small 4-pint batch. For a full canner load of about 9 pints, use 6½ cups water + ¾ cup sugar for very light syrup, 5¾ cups water + 1½ cups sugar for light syrup, or 5¼ cups water + 2¼ cups sugar for medium syrup. You can also use apple juice, white grape juice, or plain water.
- Browning solution: The lemon-water mixture is only used to prevent the prepared pears from browning. Drain the pears before adding them to the syrup; don't add the browning solution to the jars.
- Unsealed jars: If a jar doesn't seal, refrigerate and use it within one week, freeze it, or properly reprocess it within 24 hours.
- Storage: For best quality, use properly sealed jars within one year.
Nutrition
The provided nutrition information is automatically calculated. Accuracy is not guaranteed.
Did you love this recipe?
Then please leave a 5-star rating and/or review below! You can also save it! Just tap the heart symbol ❤️ in the lower right corner of your screen, and the recipe will be stored in your own recipe box!📥
Comments
No Comments