

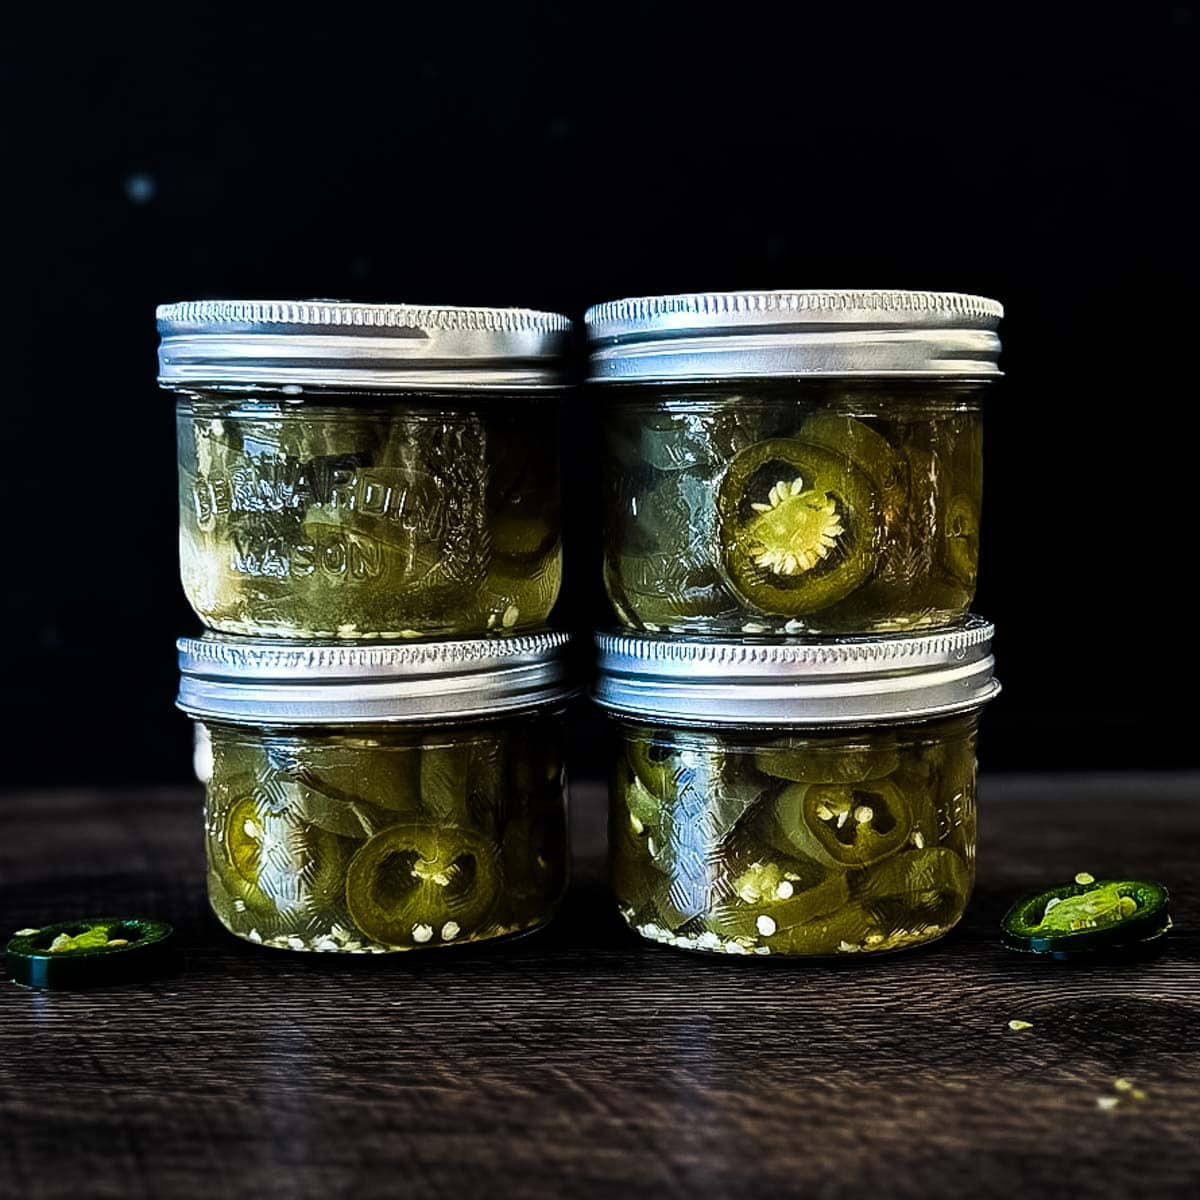
This Canned Jalapeño Peppers recipe is an easy way to preserve a bumper crop of fresh jalapeños. The sliced peppers are packed with garlic in a tangy vinegar brine and processed in a boiling water canner, giving you jars of spicy pickled jalapeños ready for tacos, nachos, sandwiches, burgers, and more.
Want to save this recipe?
Enter your email & I'll send it to your inbox. Plus, get great new recipes from me every week!
If you like this recipe, be sure to check out my Small-Batch Refrigerator Pickled Jalapenos or Small Batch Canned Cowboy Candy next! Then, browse all my Canning Recipes.
Unlike a quick refrigerator pickle, this recipe is processed in a boiling water bath, so properly processed and sealed jars can be stored in the pantry until you're ready to open one.
Canning Safety: Always use commercially produced white vinegar labeled 5% acidity, don't reduce the amount of vinegar, and follow proper boiling water canning procedures. For additional information on safely canning pickled peppers, see Ball's Home-Style Pickled Jalapeños and the National Center for Home Food Preservation's pickled pepper guidelines.
Recipe Overview
- Yield: About 4 half-pint jars
- Canning method: Water bath canning (no pressure canner needed).
- Processing time: 10 minutes for half-pint jars at elevations of 0-1,000 feet. See the altitude adjustment chart below.
- Shelf life: Up to 1 year stored in a cool, dark place.
- Perfect for: Smoked Brisket Tacos, BBQ Pulled Pork Nachos, Easy Smoked Burgers, sandwiches, or straight out of the jar if you like it hot.
Note: Always adjust processing times for your altitude, and let the jars sit for at least 2 weeks before opening so the flavor has time to develop.
Jump to:

Why You'll Love These Canned Jalapeño Peppers
Store-bought canned jalapeños are convenient, but they're often mushy and fall flat in flavor. Once I started canning my own, I noticed the difference right away. Using a vinegar brine with garlic and a touch of sugar gives you peppers with fresh jalapeño flavor and a more balanced taste than anything from a can on the shelf.
It's also one of the best ways to use up a bumper crop of garden jalapeños. A few jars of these in the pantry means you always have something to add heat and tang to a meal, no store run required.
Ingredients You'll Need
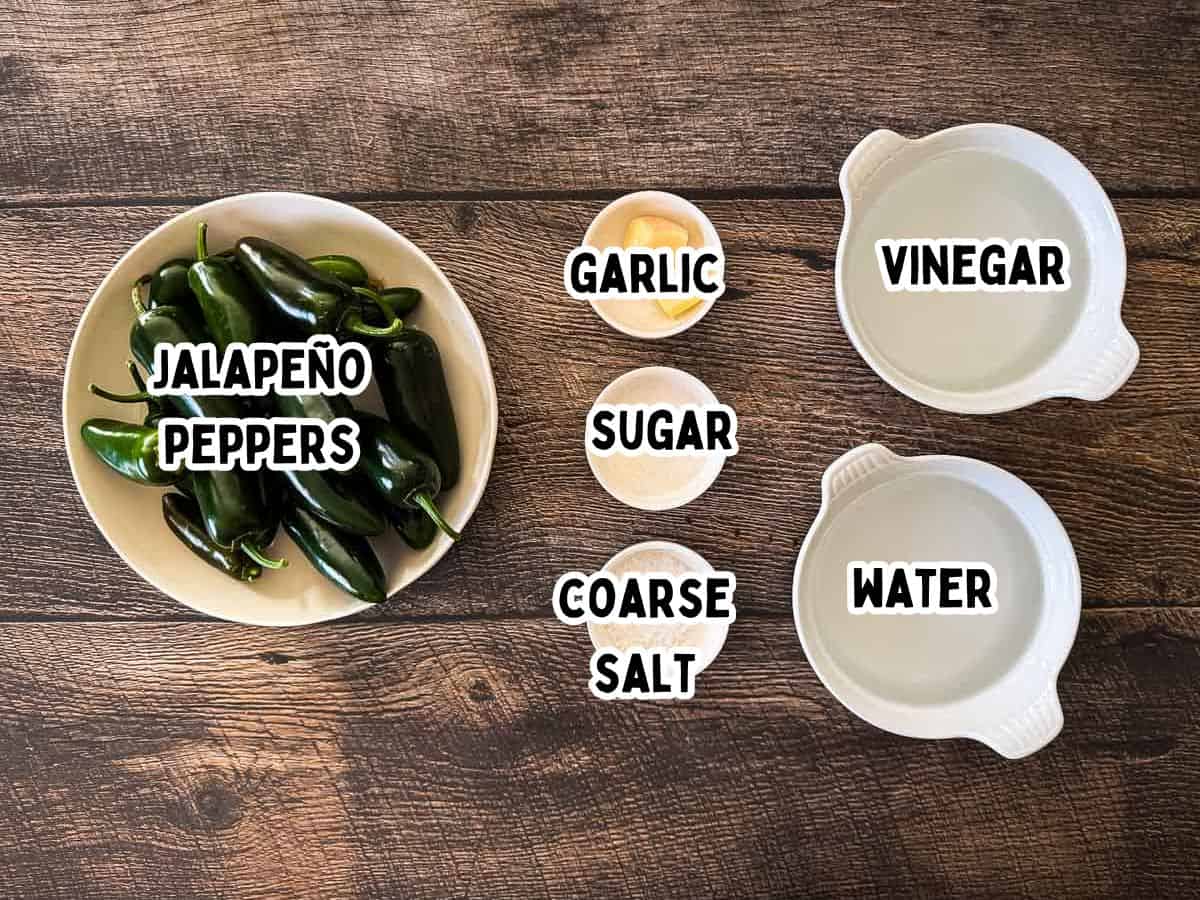
- Jalapeños. Wash and slice into ¼-inch rings. Remove the seeds and membranes if you prefer a milder heat, or leave them in for a spicier taste.
- Garlic Cloves. Peeled and cut in half; one goes into the bottom of each jar to infuse the brine with subtle garlic flavor.
- White Vinegar (5% acidity). Provides the acidity needed for the pickling brine. Always use commercially produced vinegar labeled 5% acidity, and don't reduce the amount.
- Water. Combines with the 5% acidity white vinegar to make the pickling brine.
- Pickling Salt (coarse salt). Seasons the peppers without clouding the brine. Pickling salt is ideal because it doesn't contain the additives commonly found in table salt.
- Granulated Sugar. A small amount balances the sharp acidity of the vinegar without making the jalapeños overly sweet.
- Pickle Crisp (optional). Add to each jar according to the package directions if you prefer firmer pickled jalapeños.
Tools You'll Need
- Canning jars with lids
- Canning tongs
- Canning funnel
- Water bath canner
How to Make Canned Jalapeño Peppers
Prepare your jars and canner. Wash the jars, lids, and bands according to the manufacturer's directions. Keep the jars hot until you're ready to fill them, and have your canning tongs, funnel, and water bath canner ready to go.
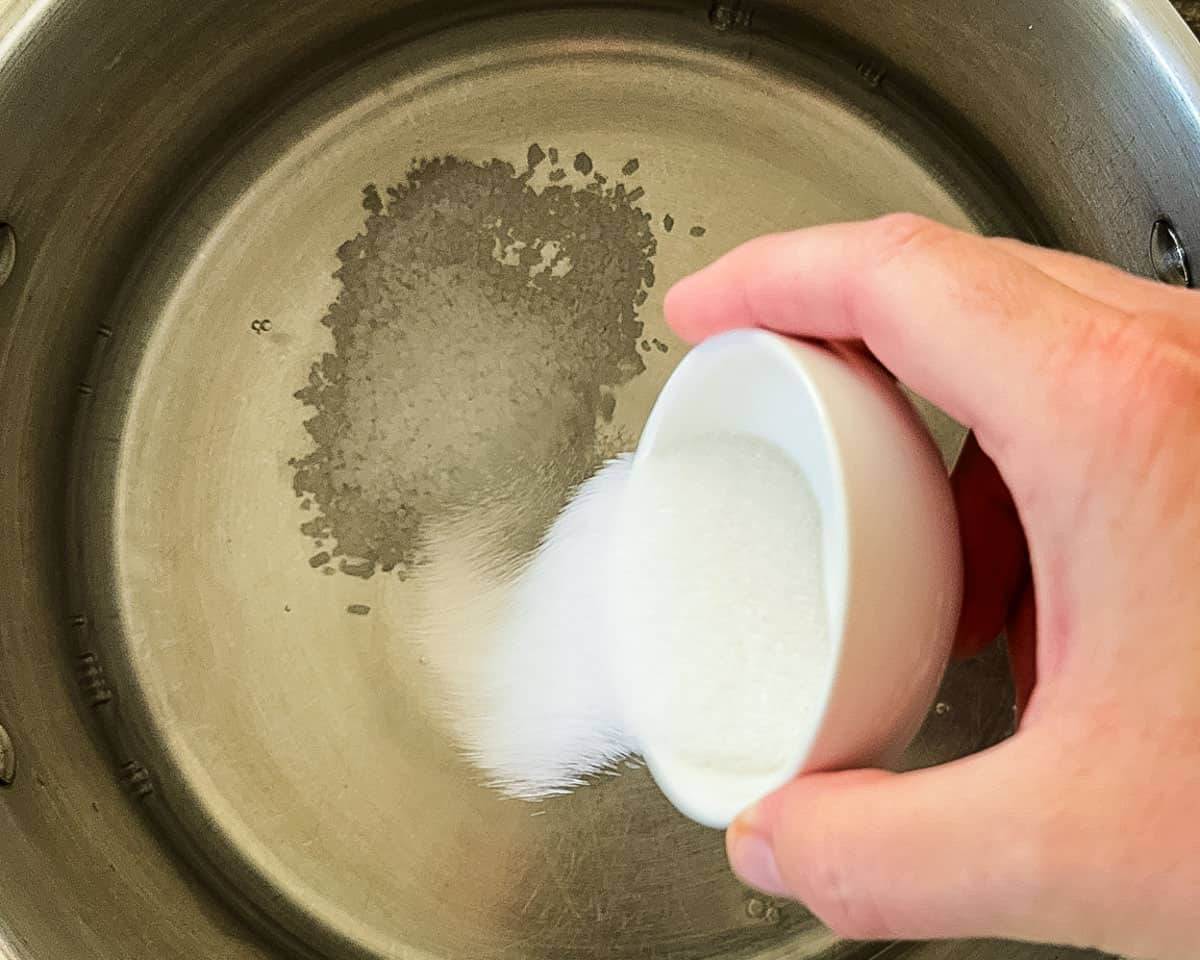
Prepare the brine. In a large saucepan or Dutch oven, combine the white vinegar, water, coarse salt, and sugar. Bring the mixture to a boil, making sure the sugar and salt dissolve completely.
Heat the peppers. Add the sliced jalapeños to the boiling brine and heat briefly, about 5 minutes, just until the peppers go from bright green to a duller green.
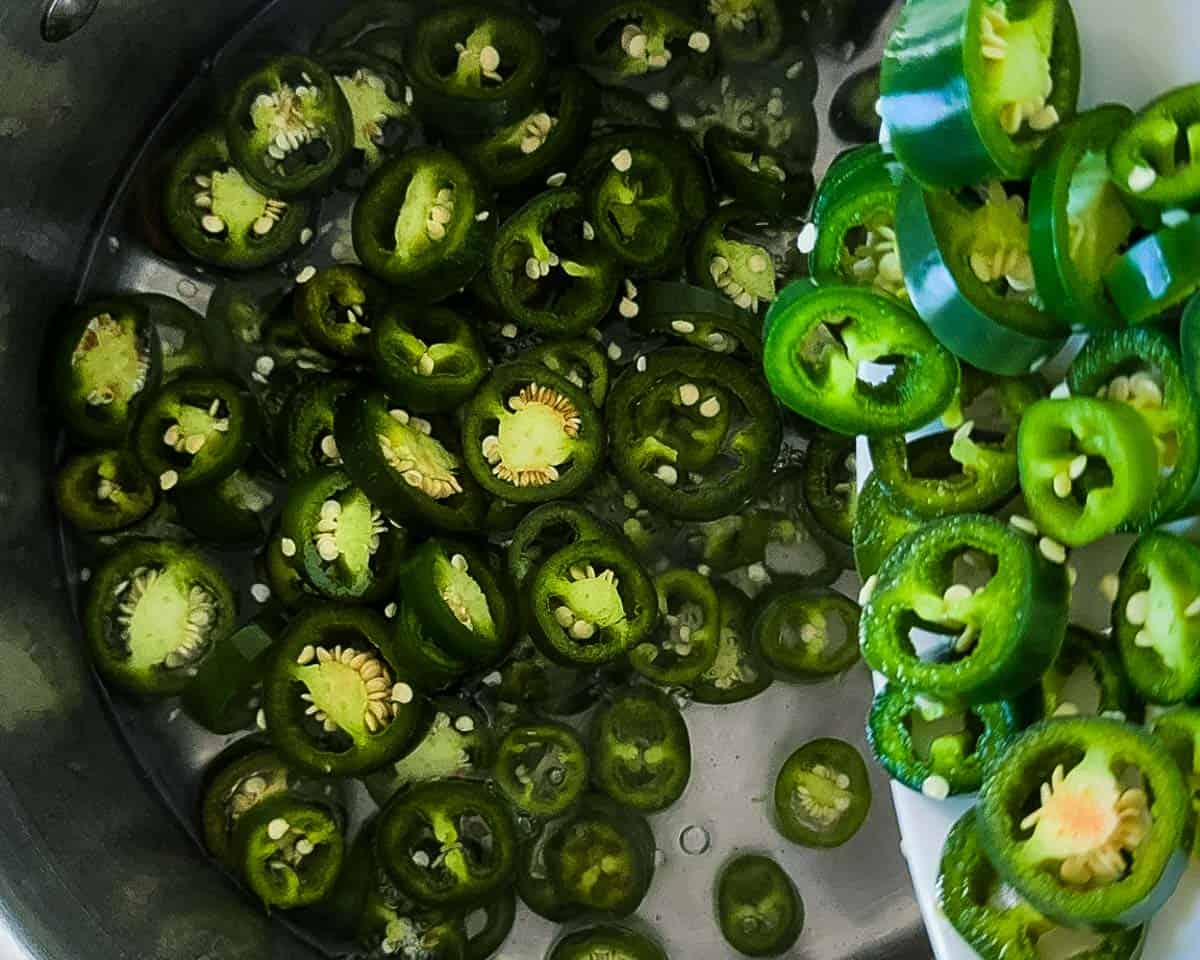
Fill the jars. Place half a garlic clove in each hot half-pint jar. If using Pickle Crisp, add it to each jar according to the package directions. Using a slotted spoon and canning funnel, pack the hot jalapeño slices into the jars, leaving ½-inch headspace.
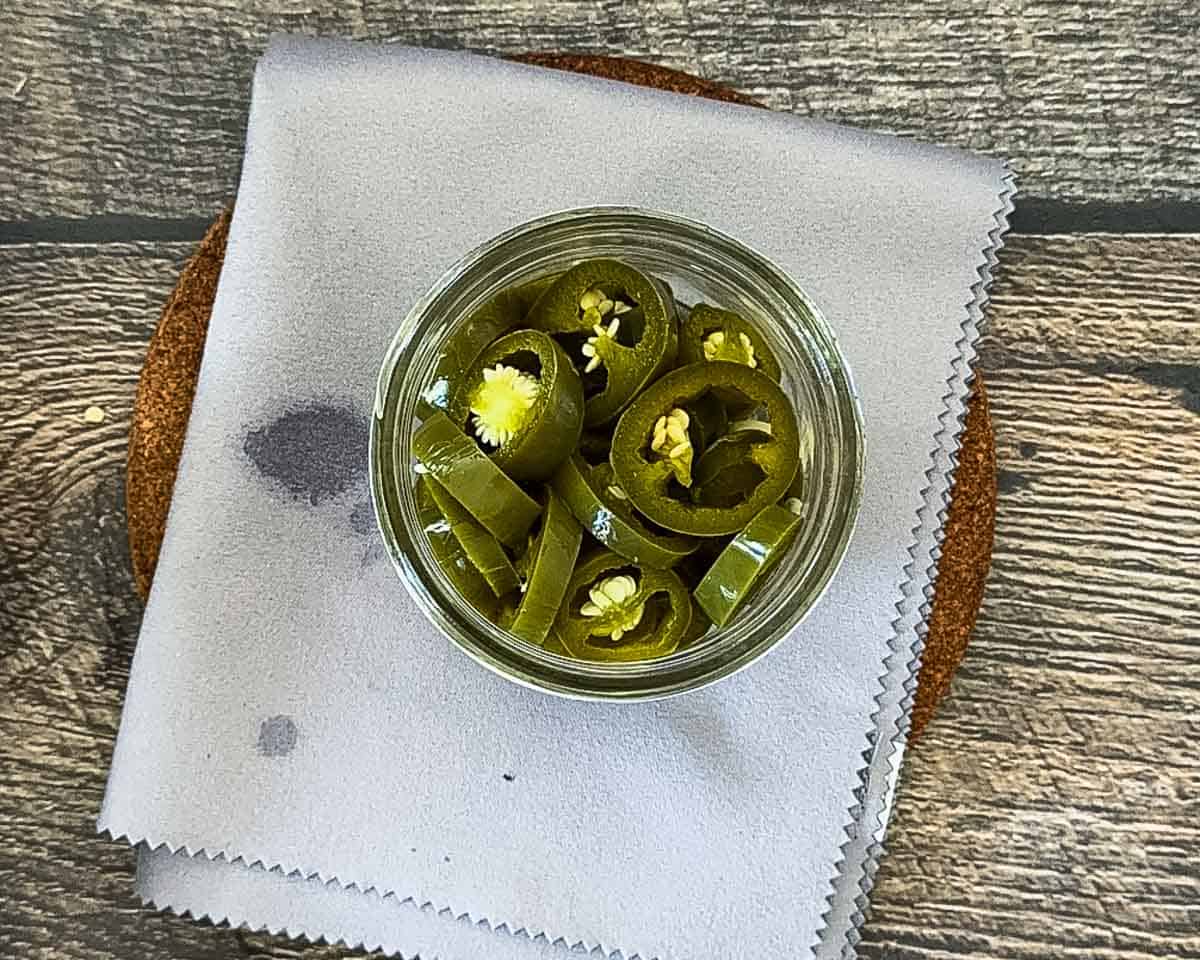
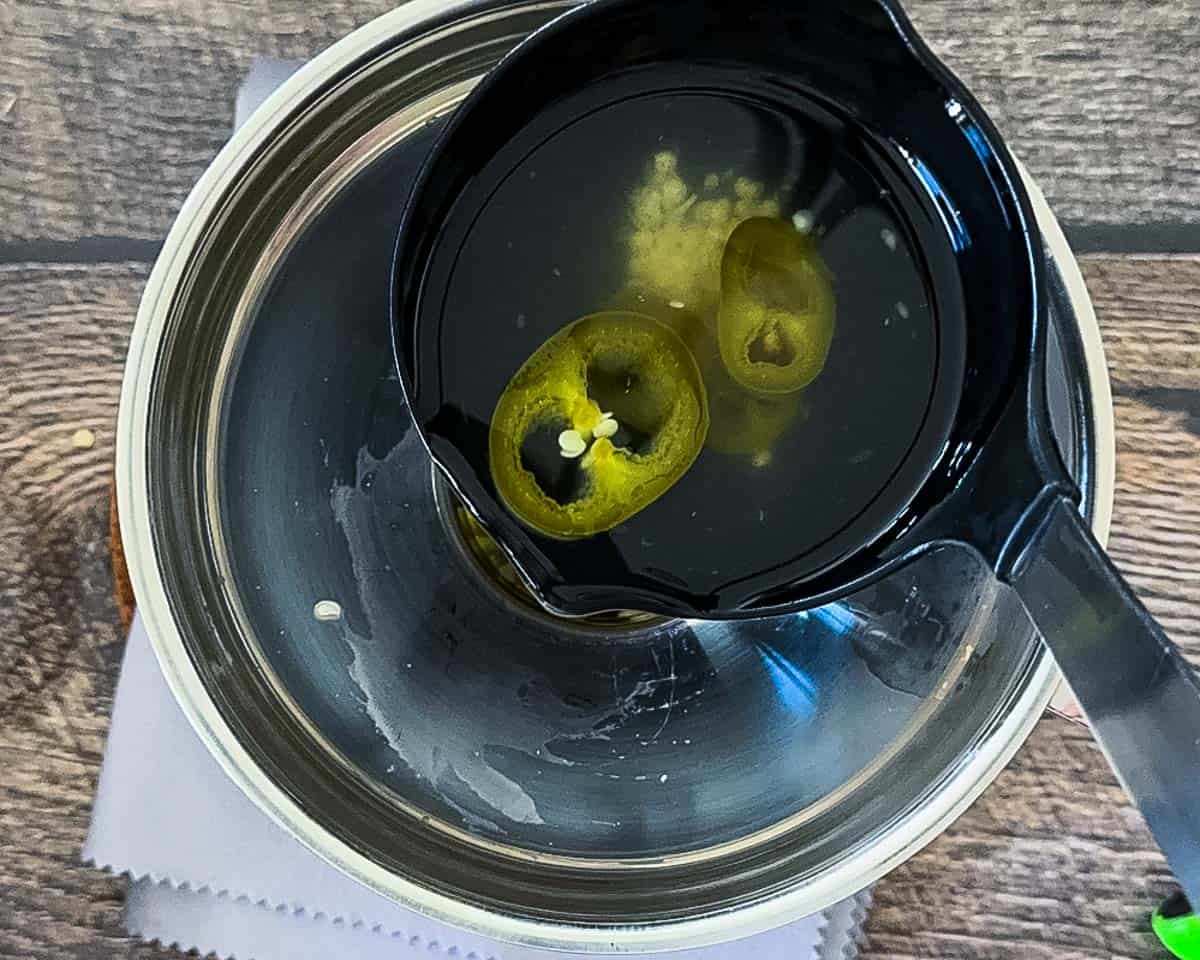
Add the brine. Ladle the hot pickling brine over the jalapeños, maintaining ½-inch headspace.
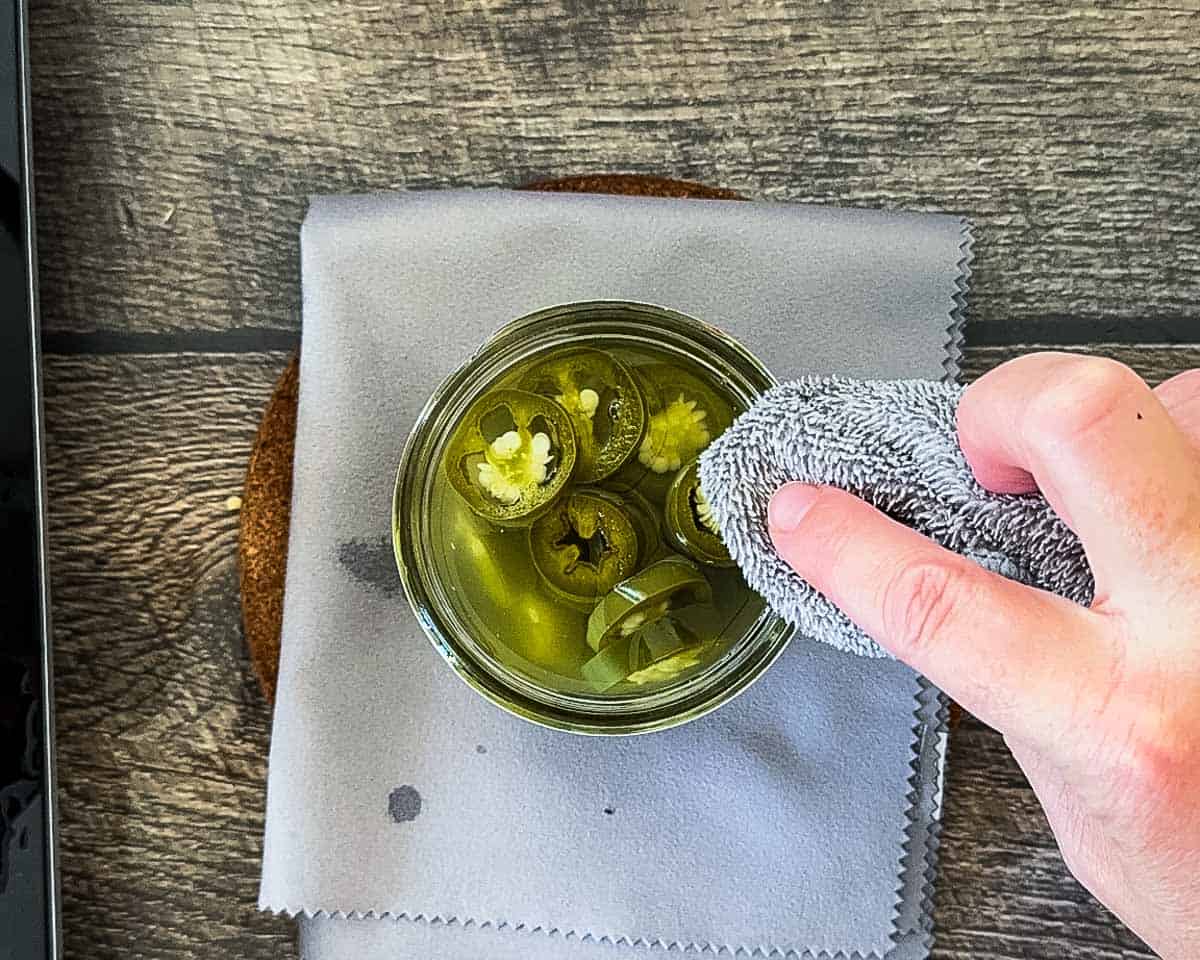
Debubble and seal. Run a plastic bubble remover or nonmetallic utensil around the inside of each jar to release any trapped air bubbles. Working one by one, wipe the rim of the jar clean, removing any residue. Then, seal with lids and bands, snug but not overly tight.
Process in a boiling water bath. Using a jar lifter, lower the filled jars into the canner, ensuring they're covered by at least 1-2 inches of water. Cover the canner and bring the water to a full rolling boil. Start the processing time once the water reaches a full rolling boil. Process for 10 minutes at elevations up to 1,000 feet, adjusting the processing time for higher elevations according to the chart below.
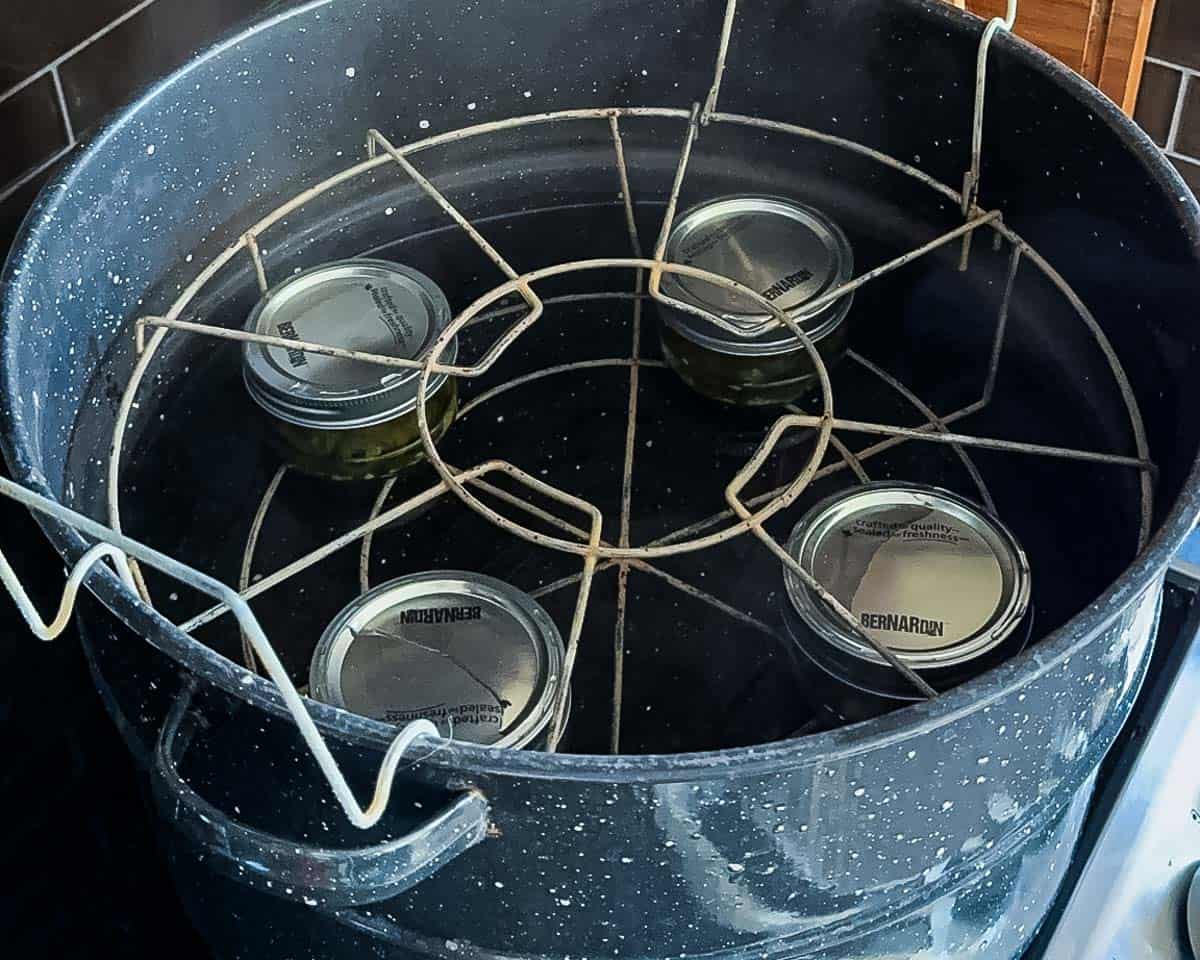
Cool the jars. Turn off the heat and remove the canner lid. Let the jars stand in the canner for 5 minutes. Using a jar lifter, carefully transfer the jars to a towel-lined counter and let them cool undisturbed for 12-24 hours.
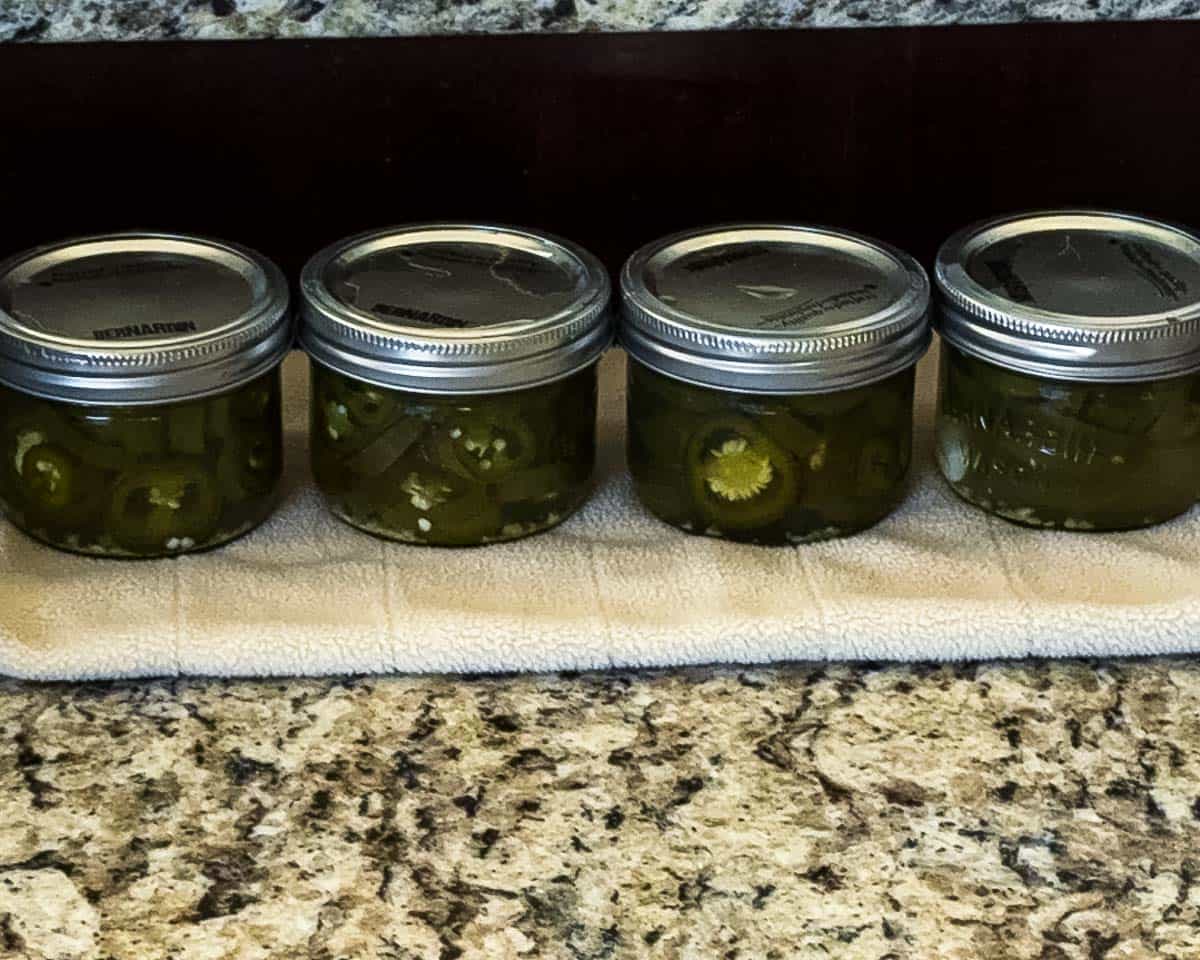
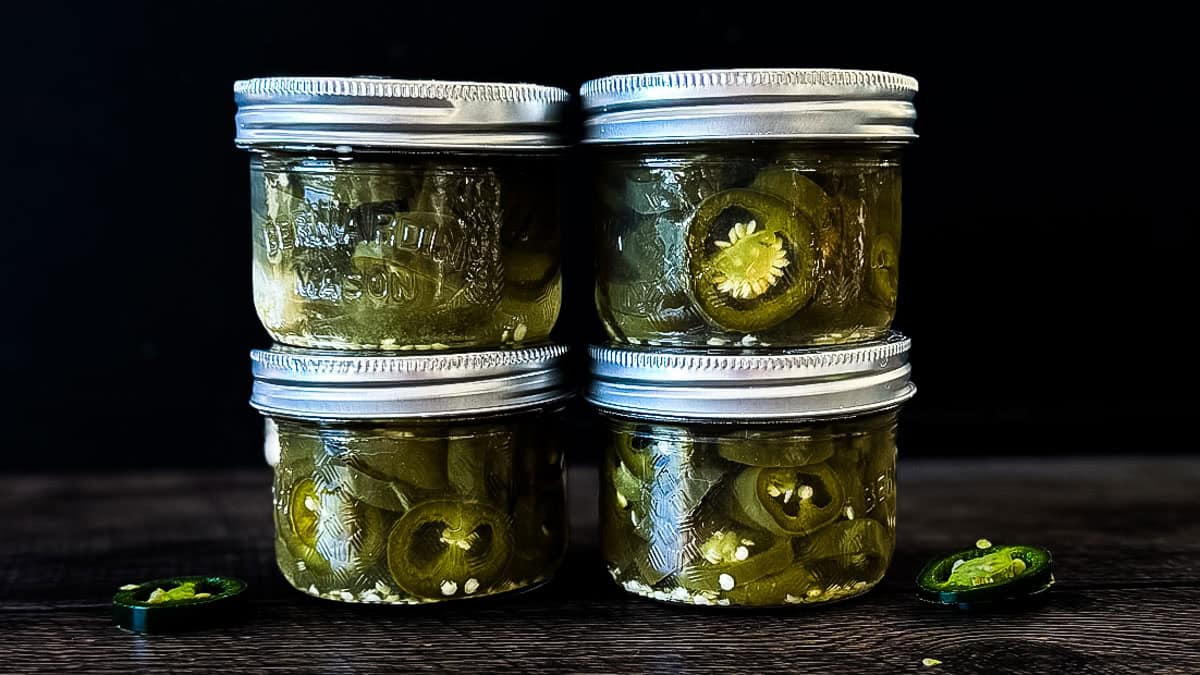
Store. Once cooled, check the top of the jars. The lids shouldn't flex when pressed. Refrigerate any unsealed jars and use within 2-3 weeks. Store properly sealed jars in a cool, dark place, and let the flavors meld for at least 2 weeks before opening.
Altitude Adjustments
If you live more than 1,000 feet above sea level, increase the processing time as follows:
| Altitude | Half-Pint Jars |
| 0-1,000 ft | 10 minutes |
| 1,001-6,000 ft | 15 minutes |
| Above 6,000 ft | 20 minutes |
Source: Altitude processing times shown above follow the NCHFP processing schedule for its tested Pickled Hot Peppers recipe.
Jeri's Top Tips
- Pack the peppers tightly. Jalapeños shrink slightly during processing, so pack the rings snugly into each jar while still maintaining the required ½-inch headspace.
- For firmer peppers, use Pickle Crisp. Pickled jalapeños naturally soften somewhat during processing. If you prefer a firmer texture, add Pickle Crisp to each jar according to the package directions.
- Let the flavor develop before opening. These pickled jalapeños taste good right after processing, but they taste even better after sitting for at least 2 weeks. The heat mellows slightly, and the garlic and brine flavor really soaks into the peppers.
- Use pickling salt. Pickling salt keeps the brine clear and doesn't contain the additives commonly found in table salt.
- Leave the bands snug, not tight. Over-tightening the bands can prevent air from escaping the jar during processing, which can keep the lid from sealing properly.
Ways to Use
These pickled jalapeños are perfect straight from the jar on tacos, nachos, and burgers, but they're just as good chopped into a batch of Keto Pico de Gallo or stirred into Smoked Jalapeno Popper Dip.
Try them layered onto sandwiches and burgers, chopped into Deviled Eggs, or scattered over a homemade pizza with Canned Pizza Sauce for a spicy kick.
Storage Tips
Once cooled and sealed, store jars in a cool, dark place for up to 1 year. Let them sit for at least 2 weeks before opening to let the flavors fully develop.
Once you open a jar, or if any jars didn't seal properly, keep them in the fridge and use within 2-3 weeks.
FAQs
For this recipe, use commercially produced white vinegar labeled 5% acidity. Don't use homemade vinegar or vinegar with a lower acidity, and don't reduce the amount of vinegar in the brine.
While they're technically safe to eat right after processing, the flavor is noticeably better after the jars sit for at least 2 weeks. This gives the garlic and brine time to fully penetrate the peppers.
Yes. Removing the seeds and membranes before slicing significantly reduces the heat, since that's where most of a jalapeño's capsaicin is concentrated.
Yes, it's best to remove the screw bands after the jars have cooled for 12-24 hours and you've checked the seals. Use a wet cloth to wipe the outside of the jars, then store them without the bands. This helps prevent rust and makes it easier to spot a failed seal.
Water bath canned jalapeños will soften somewhat during processing, so they won't be quite as crisp as refrigerator pickled jalapeños. Start with very fresh, firm peppers and use Pickle Crisp according to the package directions if you'd like a firmer texture. If crunch is your priority, try my Refrigerator Pickled Jalapenos instead.
More Easy Canning Recipes
If you're looking for more ways to stock your pantry, try these next:
Printable Recipe
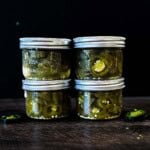
Canned Pickled Jalapeños
Ingredients
- 1 pound fresh jalapeño peppers
- 2 large garlic cloves peeled and cut in half
- 1½ cups white vinegar (5% acidity)
- 1½ cups water
- 1½ tablespoons pickling salt
- 1½ tablespoons granulated sugar
- Pickle Crisp, optional - use according to package directions
Instructions
- Prepare the canner. Fill a boiling water canner with enough water to cover the filled jars by at least 1-2 inches. Bring the water to a simmer. Wash the jars, lids, and bands according to the manufacturer's directions. Keep the jars hot until ready to fill.
- Prepare the jalapeños. Wearing gloves, wash the jalapeños and remove the stems. Slice the peppers into ¼-inch rings. Leave the seeds in for hotter peppers, or remove some of the seeds and membranes for less heat.
- Prepare the brine. Combine the white vinegar, water, pickling salt, and sugar in a large saucepan. Bring to a boil, stirring until the salt and sugar dissolve.
- Heat the peppers. Add the sliced jalapeños to the boiling brine and heat briefly, about 5 minutes. Simmer just until the peppers turn from bright green to a duller green.
- Fill the jars. Place half a garlic clove in each hot half-pint jar. If using Pickle Crisp, add it to each jar according to the package directions. Use a slotted spoon and canning funnel to pack the hot jalapeño slices into the jars. Ladle the hot brine over the peppers, leaving ½-inch headspace.
- Remove air bubbles. Run a plastic bubble remover or nonmetallic utensil around the inside of each jar. Add additional brine if necessary to maintain ½-inch headspace. Wipe the jar rims clean and apply the lids and bands fingertip-tight.
- Process. Lower the jars into the boiling water canner. Make sure the jars are covered by at least 1-2 inches of water. Cover the canner and begin timing once the water returns to a full rolling boil. Process half-pints for 10 minutes at 0-1,000 feet elevation, 15 minutes at 1,001-6,000 feet, or 20 minutes above 6,000 feet. These altitude processing times follow the NCHFP processing schedule for its tested Pickled Hot Peppers recipe.
- Cool. Once processing is complete, turn off the heat and remove the canner lid. Let the jars stand in the canner for 5 minutes. Remove the jars with a jar lifter and place them upright on a towel-lined counter. Cool undisturbed for 12-24 hours.
- Check the seals. After the jars have cooled completely, check that each lid is sealed. Refrigerate any jar that did not seal.
- Store. Label the properly sealed jars and store in a cool, dark, dry place. For best quality, use within 1 year. For the best flavor, wait about 2 weeks before opening.
Save This Recipe 💌
Notes
- Canning safety: Always use commercially produced white vinegar labeled 5% acidity. Do not reduce the amount of vinegar in the recipe.
- Heat level: Most of the heat comes from the inner membranes and seeds. Removing the membranes and seeds will make the finished peppers milder.
- Wear gloves: Jalapeño oils can irritate your skin and eyes. Wear disposable gloves while slicing them and avoid touching your face.
- Pickle Crisp: For firmer jalapeño rings, use Pickle Crisp according to the package directions.
- Sugar: A small amount of sugar balances the acidity of the vinegar without making the peppers overly sweet.
- Headspace: Maintain ½ inch headspace.
- Jar size: Don't use jars larger than pints.
- Altitude: Processing time must be increased above 1,000 feet. NCHFP specifies 10 minutes up to 1,000 feet, 15 minutes from 1,001-6,000 feet, and 20 minutes above 6,000 feet for its tested pickled hot pepper recipe.
- Screw bands: After the jars have cooled and you've confirmed the seals, you can remove the screw bands for storage rather than leave them on. This makes it easier to notice a failed seal.
- Storage: For best quality, use properly sealed jars within 1 year.
- After opening: Refrigerate opened jars.
Nutrition
The provided nutrition information is automatically calculated. Accuracy is not guaranteed.
Did you love this recipe?
Then please leave a 5-star rating and/or review below! You can also save it! Just tap the heart symbol ❤️ in the lower right corner of your screen, and the recipe will be stored in your own recipe box!📥
Comments
No Comments