


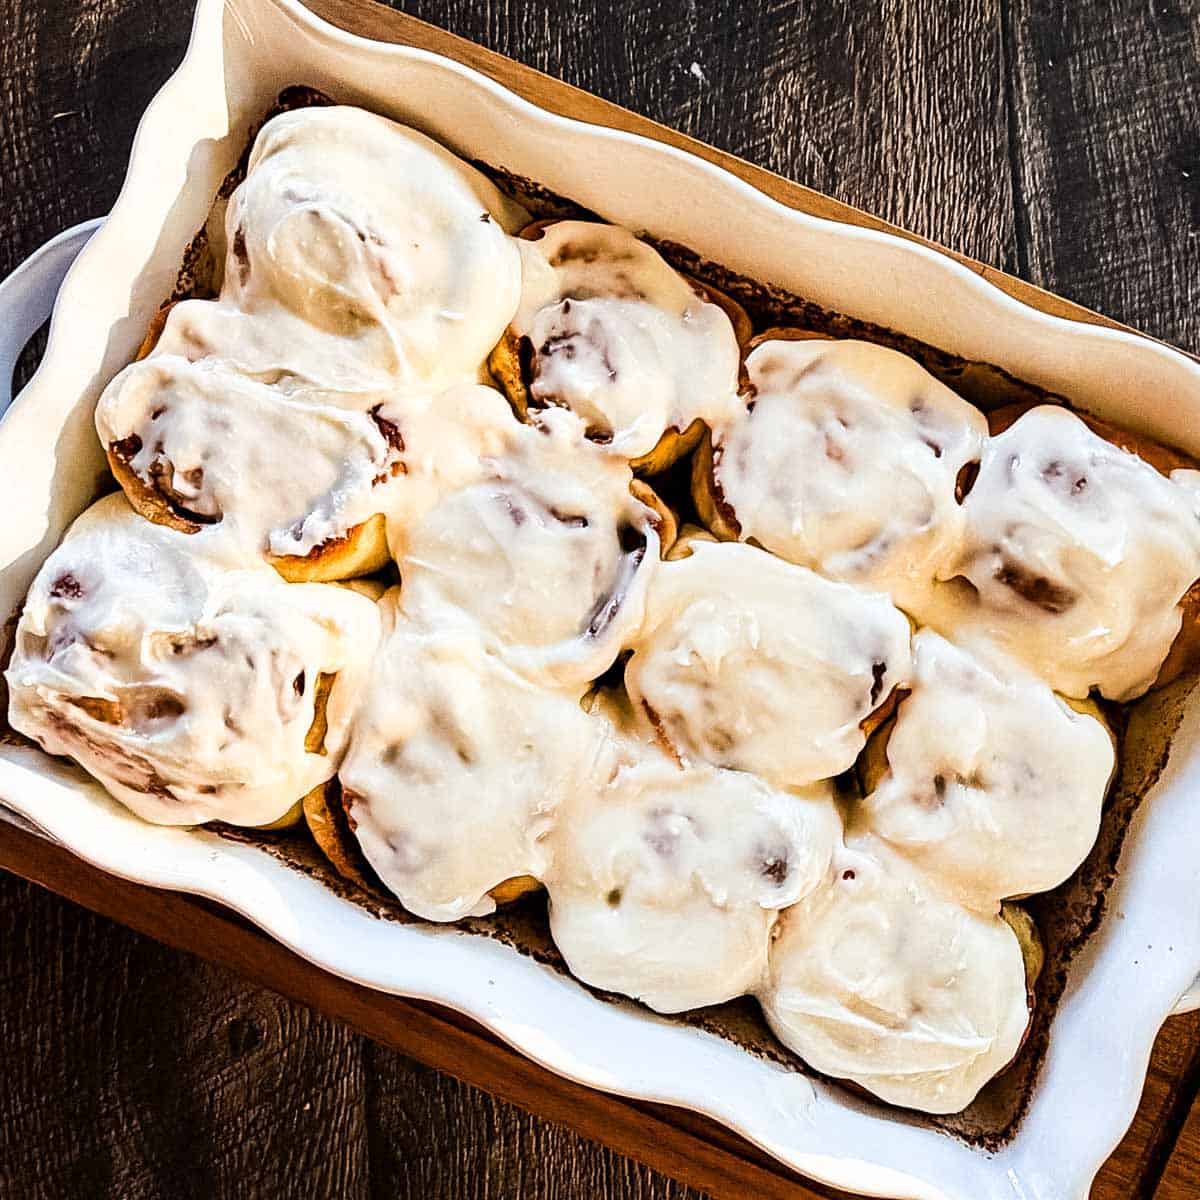
I've been making homemade cinnamon buns from scratch for years, and after trying practically every method out there, these soft and fluffy sourdough discard cinnamon buns are the ones that finally made my husband say they were the best he'd ever had. Now he asks for them every single week!
Want to save this recipe?
Enter your email & I'll send it to your inbox. Plus, get great new recipes from me every week!
This is also the recipe I'd give someone baking with sourdough discard for the first time. Every stage tells you exactly what the dough should look and feel like, so you're never left wondering if you're on track. Mix the dough in the morning, and you'll be icing warm cinnamon buns a little over two and a half hours later.

Soft and Fluffy Sourdough Discard Cinnamon Buns
A few bakes show up again and again in my kitchen: sourdough discard banana bread, grandma's air buns, drop biscuits, and always a pan of cinnamon buns.
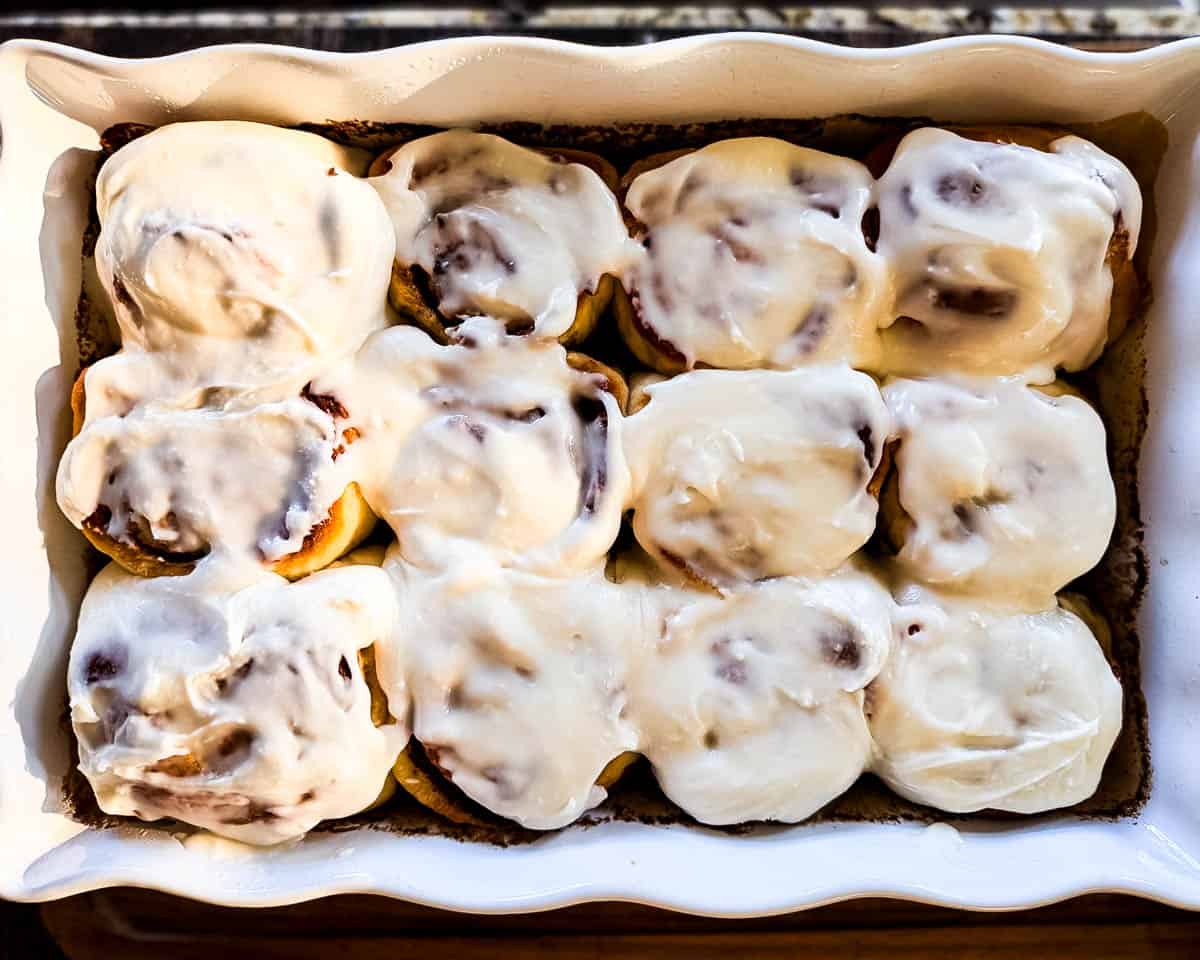
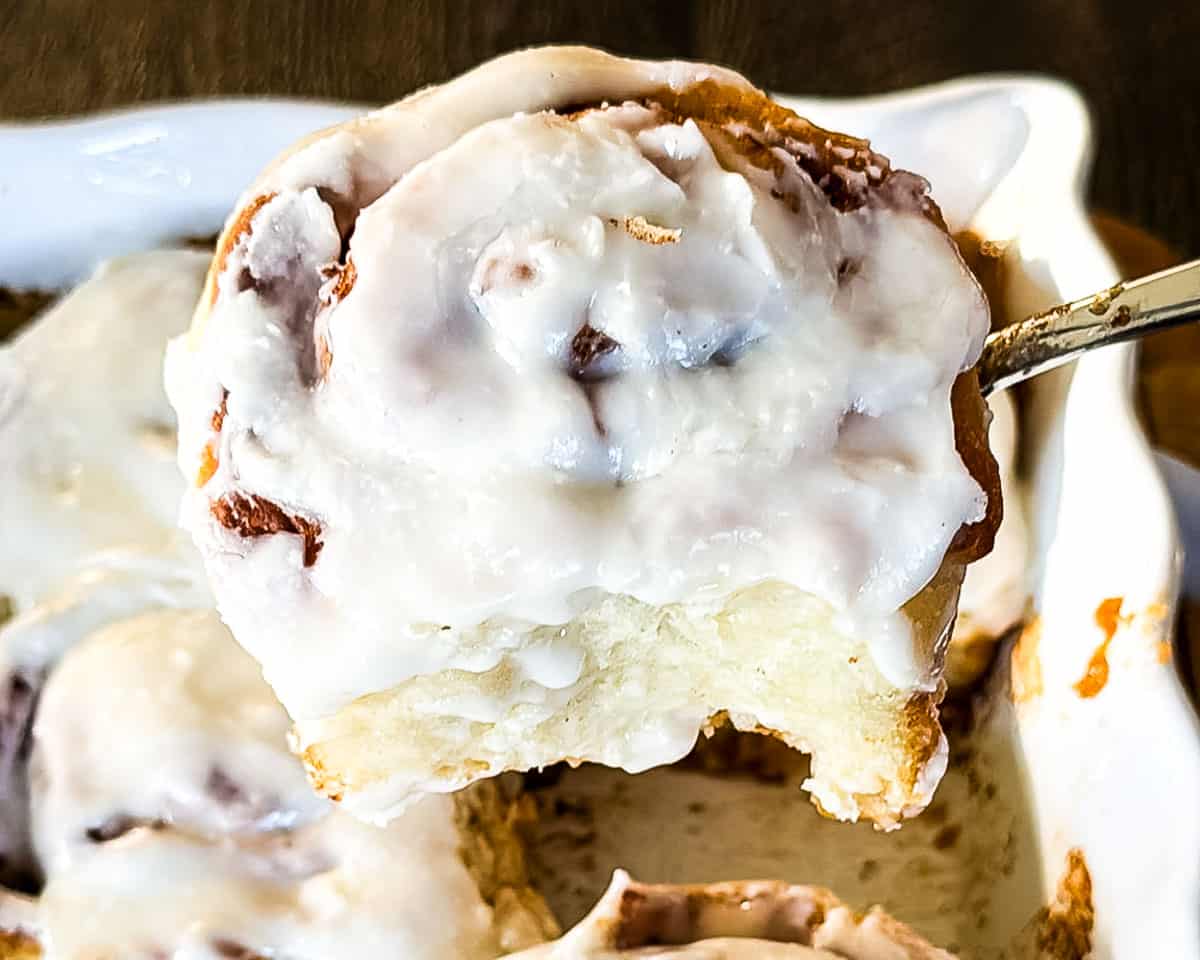
These cinnamon buns have a soft, pillowy dough wrapped around a buttery brown sugar and cinnamon filling, then they're finished with a simple vanilla icing. They're sweet without being over-the-top and just as good for a lazy weekend breakfast as they are for Christmas morning.
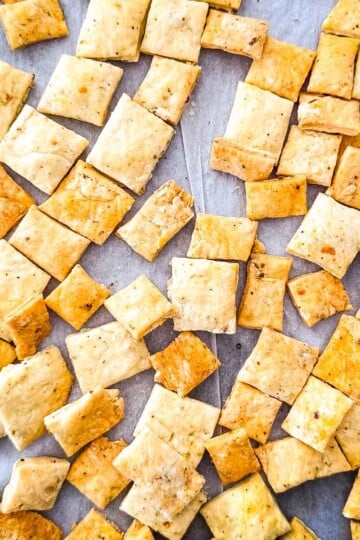
For more easy sourdough discard recipes, try my sourdough discard pancakes, sourdough discard waffles, or sourdough discard crackers.
Recipe at a Glance
- Makes: 12 cinnamon buns
- Prep Time: 30 minutes
- Rise Time: 1 hour 45 minutes
- Cook Time: 20 minutes
- Total Time: 2 hours 35 minutes
- Same-day recipe. No overnight rise required, although you can prepare the buns ahead if you prefer.
Jump to:
- Soft and Fluffy Sourdough Discard Cinnamon Buns
- Recipe at a Glance
- Why This Recipe Works
- Ingredients You'll Need
- How to Make Sourdough Discard Cinnamon Buns
- Make It Ahead
- How to Tell When the Cinnamon Buns Are Done
- Jeri's Top Tips
- Substitutions & Variations
- Storage
- FAQs
- More Sourdough Discard Recipes
- Printable Recipe
- Soft and Fluffy Sourdough Discard Cinnamon Buns
- Comments
Why This Recipe Works
Sourdough discard adds flavor and tenderness, while active dry yeast gives the buns a reliable same-day rise.
That means there's no need to feed your starter or wait for it to become active and bubbly. Just use your discard and let the yeast give you soft, fluffy cinnamon buns in a few hours.
Ingredients You'll Need
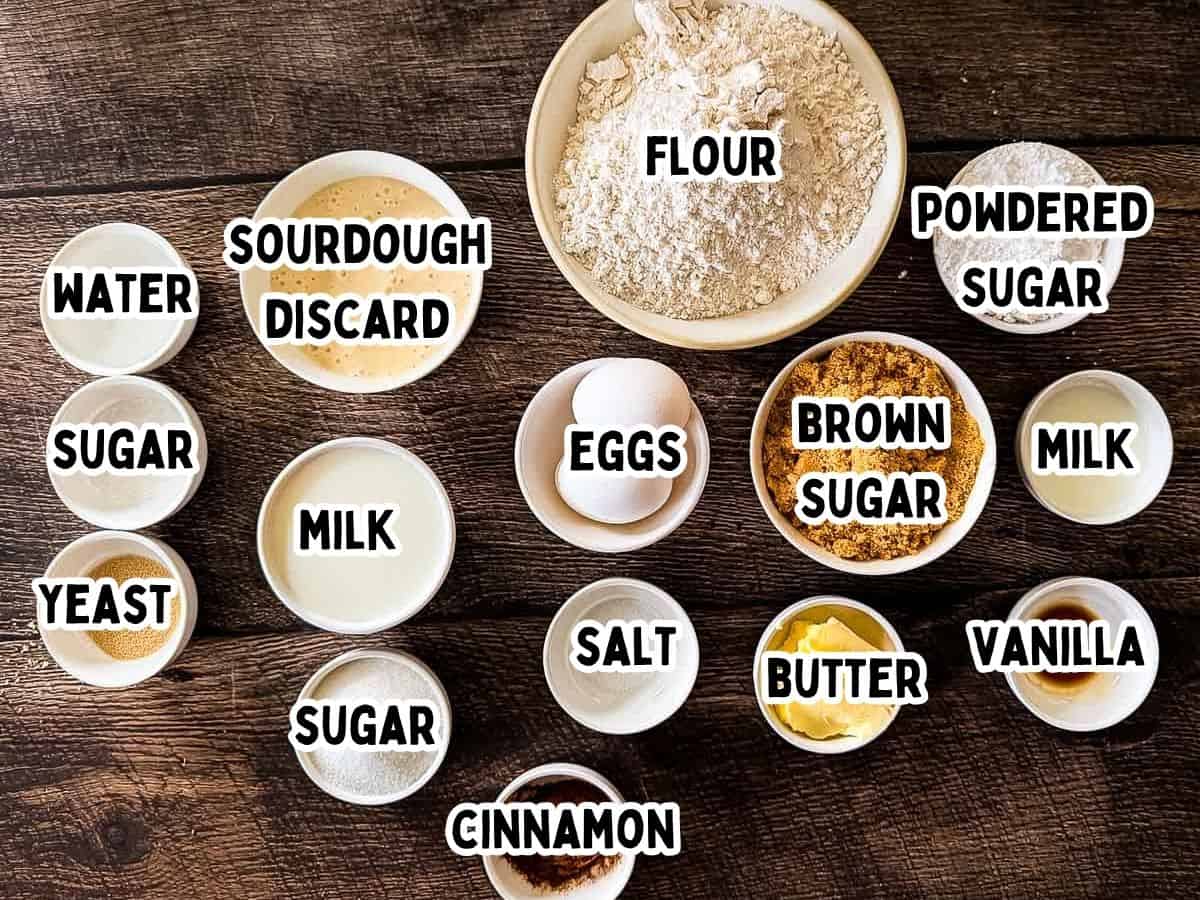
- Sourdough discard adds flavor and a little extra tenderness. It doesn't need to be fed or bubbly. Room-temperature discard mixes into the dough the easiest, but cold discard works too.
- Active dry yeast gives these buns a reliable same-day rise. I bloom mine in warm water with a little sugar first to make sure it's active before adding it to the dough.
- All-purpose flour. Start with 3½ cups and add more only if the dough needs it, up to 4 cups total. The finished dough should be soft and slightly tacky, not wet or heavily sticky. Your discard's consistency and your kitchen's humidity both affect how much you'll use.
- Butter is used in the dough, the filling, and the icing. I used unsalted butter. If you use salted butter, use half the amount of salt in the dough.
- Brown sugar and cinnamon make up the filling. You can use either light or dark brown sugar.
- Vanilla icing made with icing sugar, vanilla extract, and either milk or heavy cream finishes things off. Thin it with extra milk for more of a glaze.
See the recipe card below for the full ingredient list and exact amounts.
How to Make Sourdough Discard Cinnamon Buns
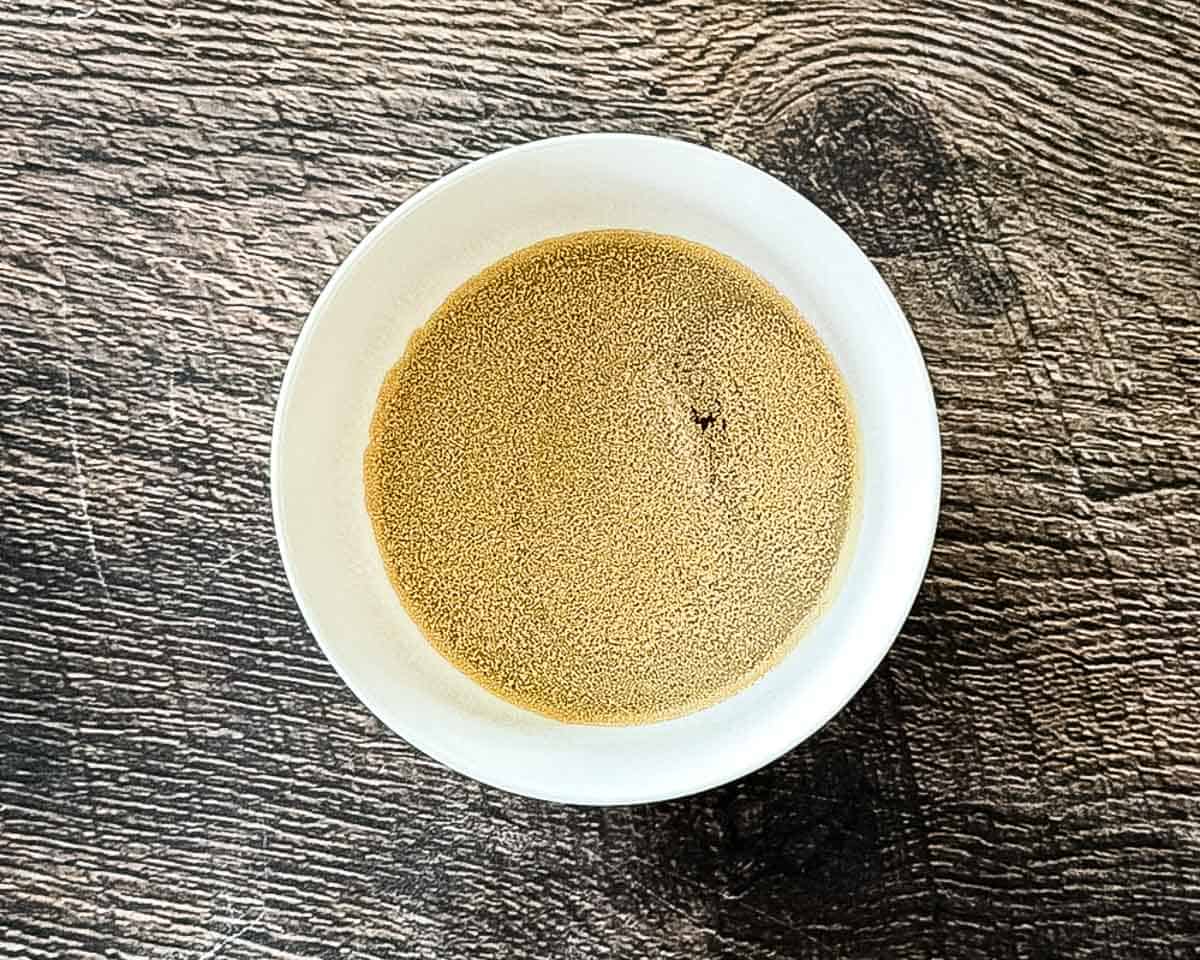
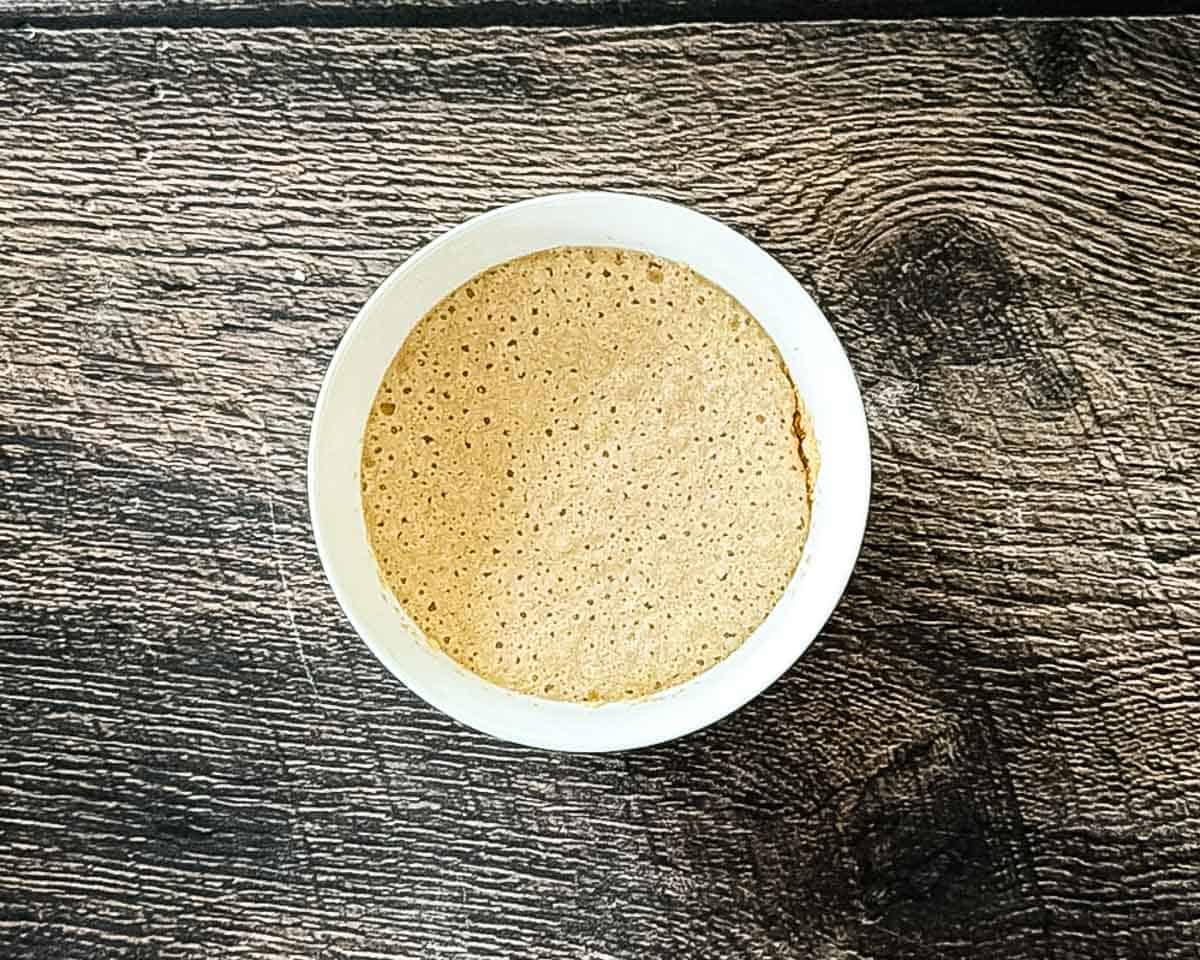
Activate the yeast. Combine the warm water, active dry yeast, and 1 teaspoon sugar in a small bowl. Let it stand 5-10 minutes, until foamy. If it doesn't become foamy after about 10 minutes, the water may have been too hot or the yeast may no longer be active. Start over with fresh yeast.
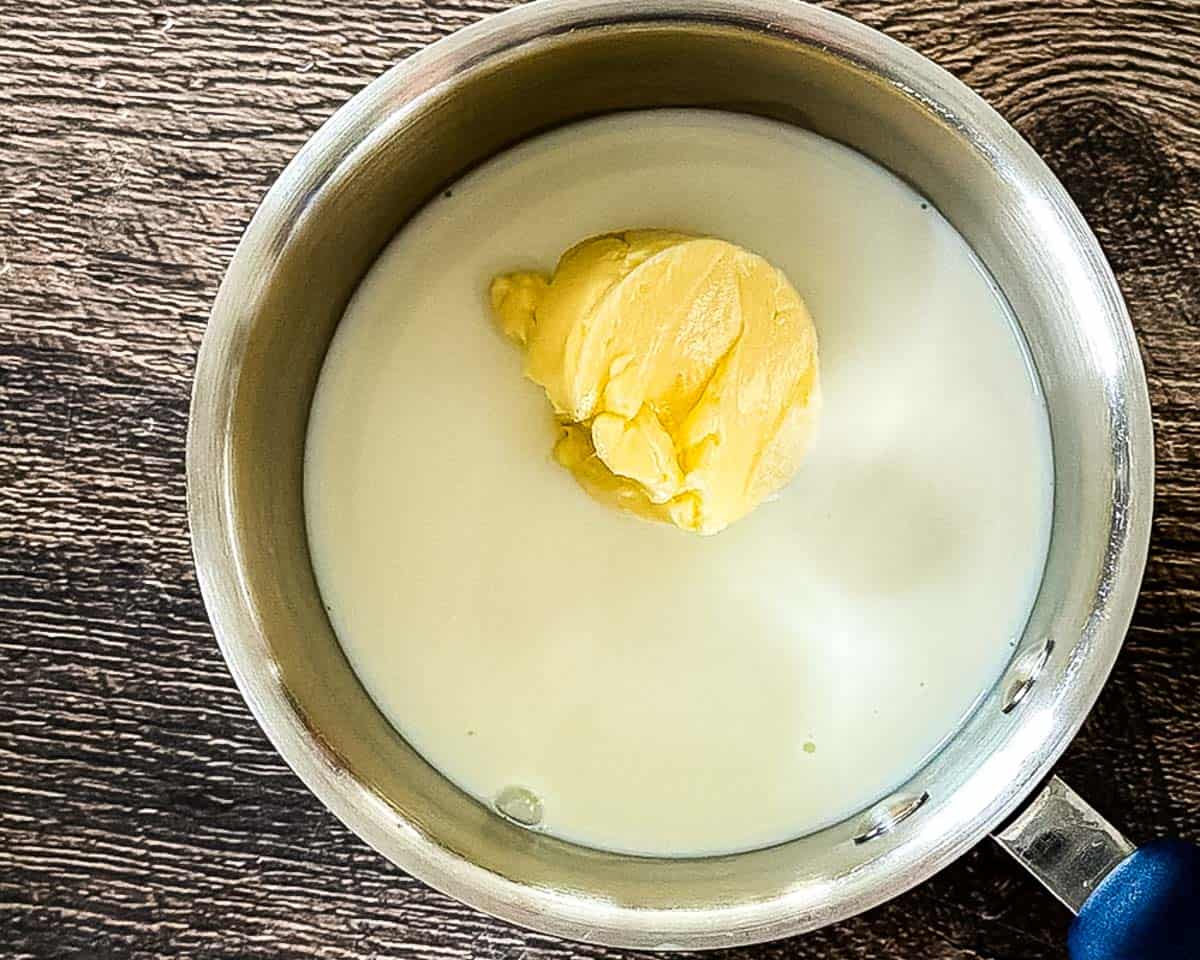
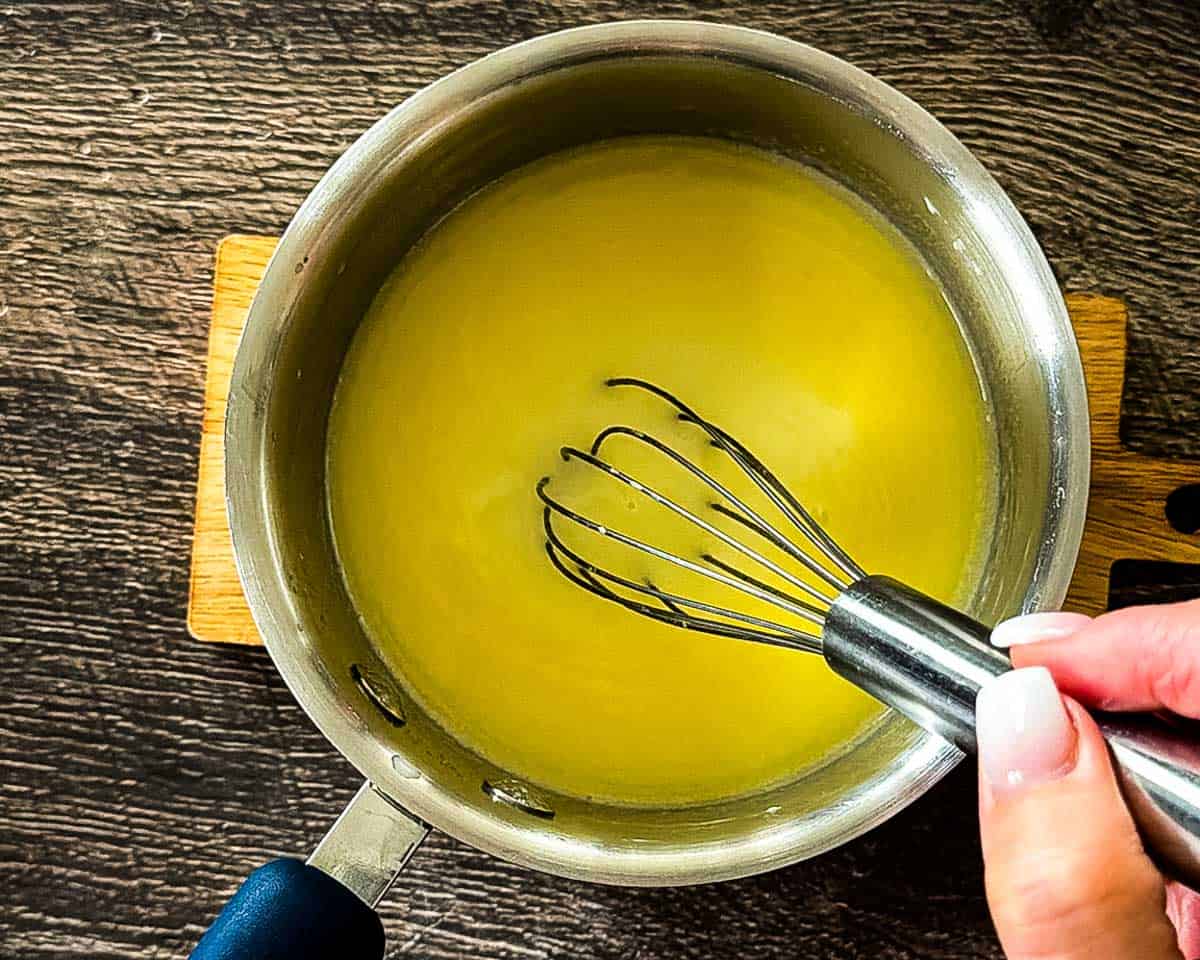
Warm the milk mixture. Heat the milk, sugar, butter, and salt in a small saucepan just until the butter melts, then cool until lukewarm before adding it to the yeast. Hot liquid will kill the yeast, so give it time.
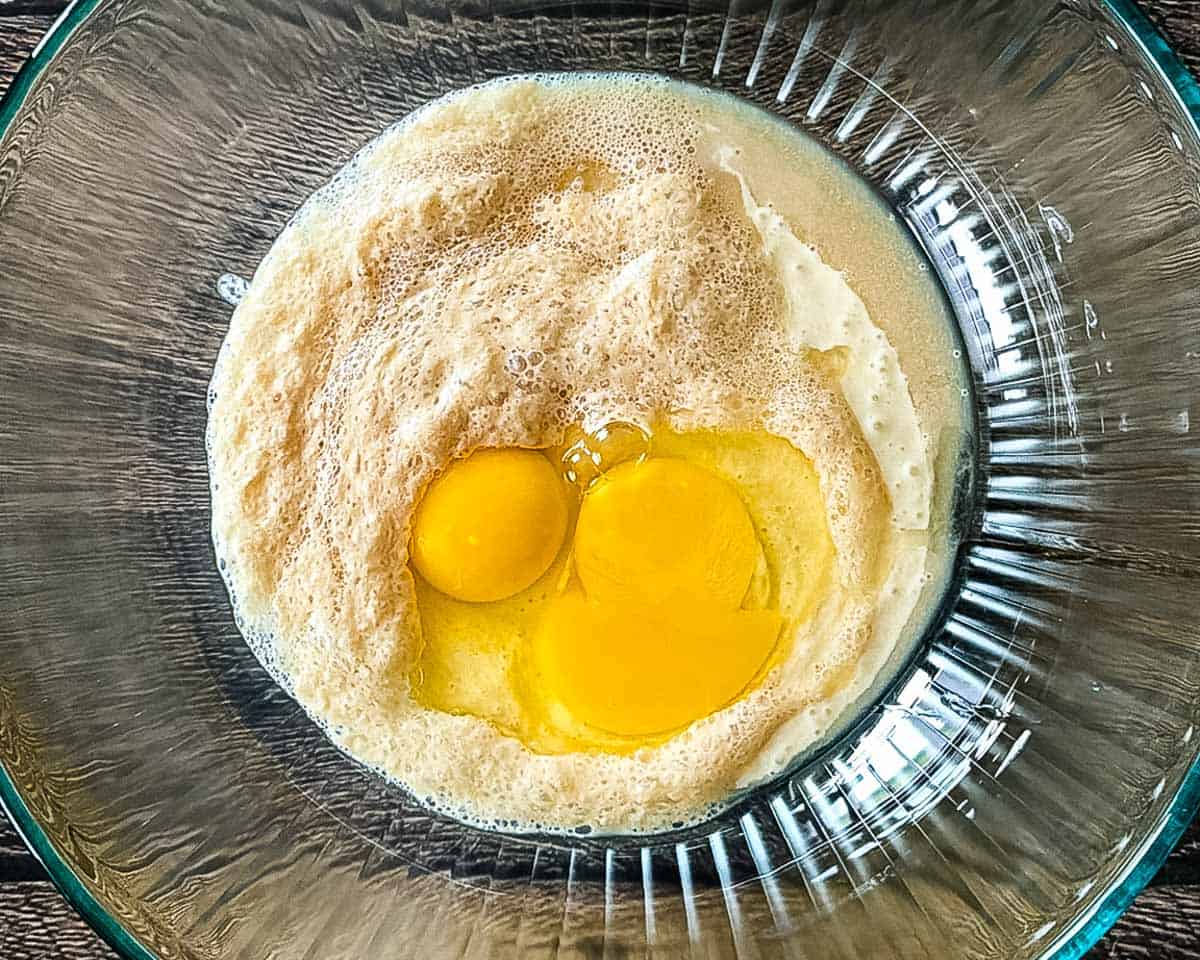
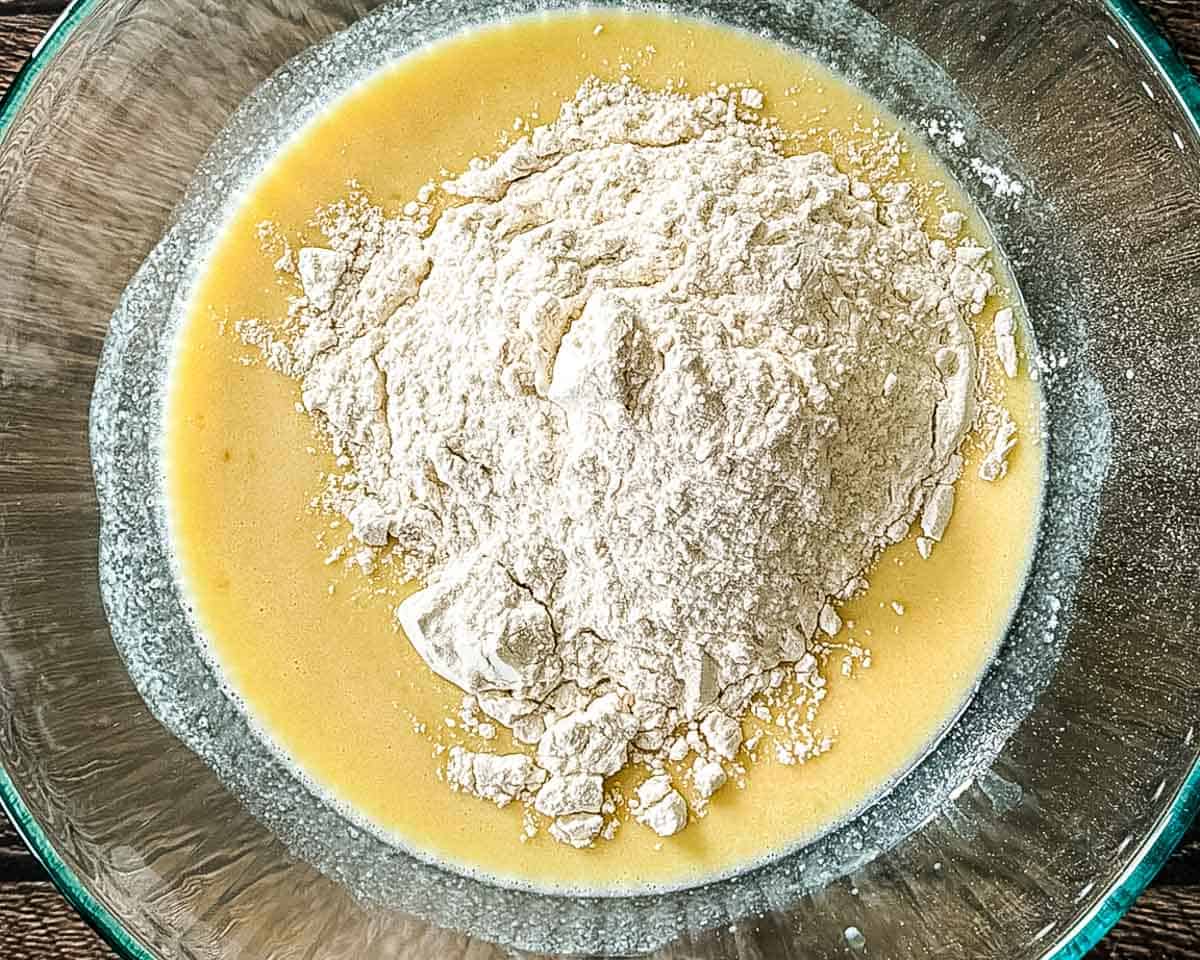
Mix the dough. Combine the discard, yeast mixture, and eggs in a large bowl, then whisk in the cooled milk mixture. Add 1½ cups flour and mix well, then add the rest about ½ cup at a time until the dough is soft, slightly tacky, and starts pulling away from the bowl. You'll likely use 3½ to 4 cups total. It's completely normal for that number to shift depending on your discard and your kitchen.
Knead the dough. Knead by hand for 4-5 minutes, or 2-3 minutes in a stand mixer with a dough hook, until smooth, elastic, and only slightly tacky, not sticky. If the dough is very sticky and clings heavily to your hands, work in extra flour a tablespoon at a time. Stop once the dough is manageable but still slightly tacky. Adding too much flour will give you dense, dry buns.
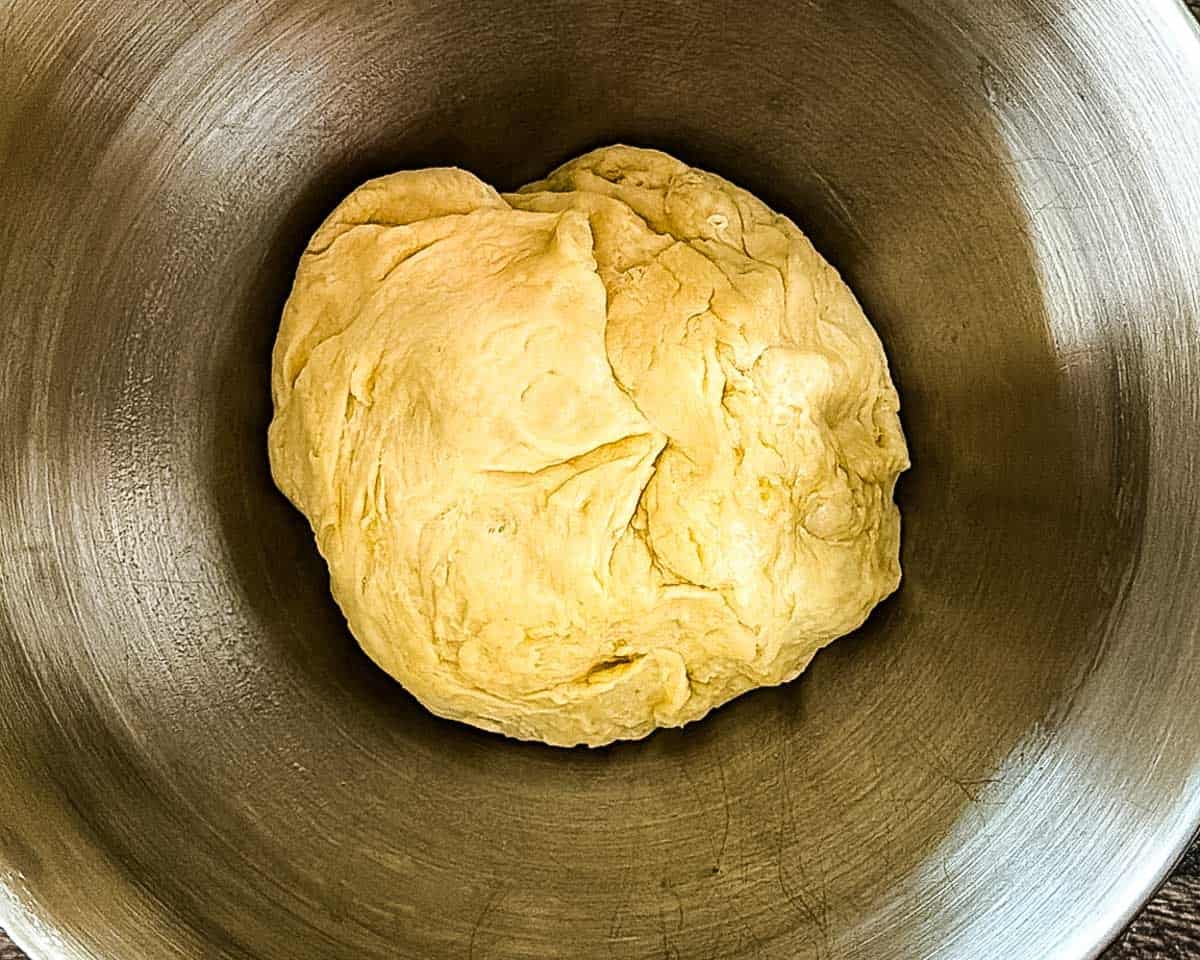
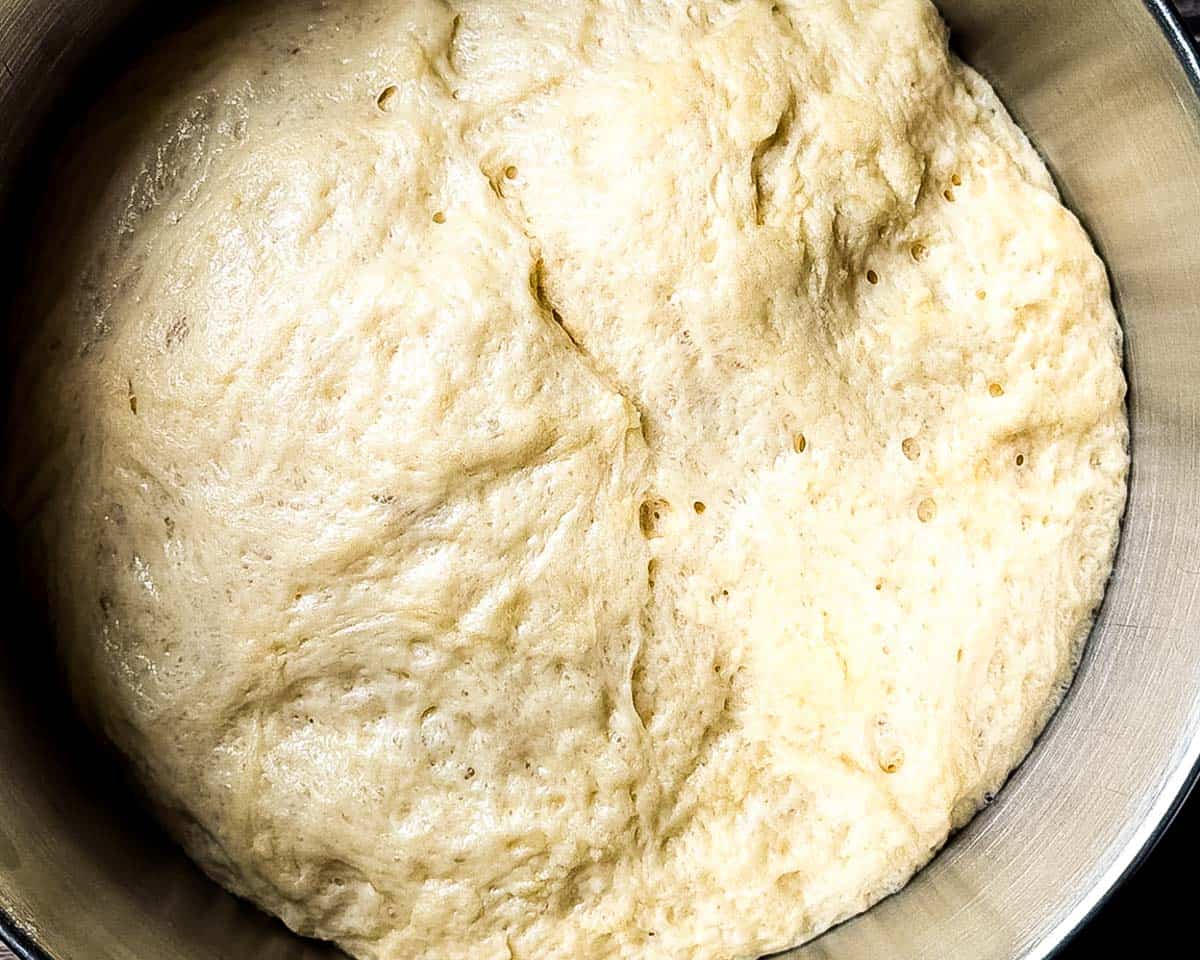
First rise. Place the dough in a greased bowl, turn it to coat, and cover. Let it rise somewhere warm for about 1 hour, or until roughly doubled in size. A cooler kitchen may take longer, so go by how the dough looks rather than the clock.
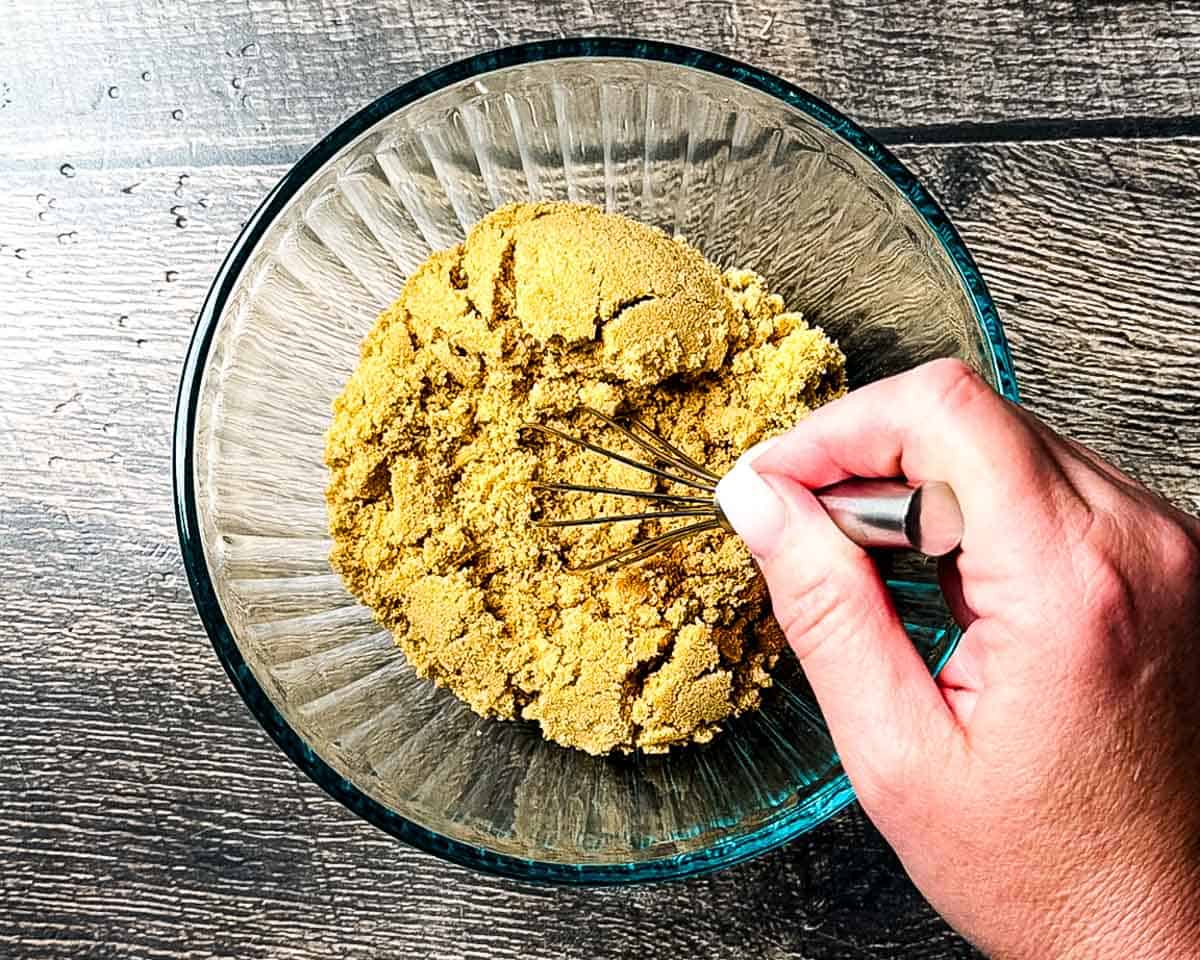
Make the filling. While the dough rises, stir together the brown sugar and cinnamon. Melt the butter for the filling and let it cool slightly. Grease a 9×13-inch baking dish.
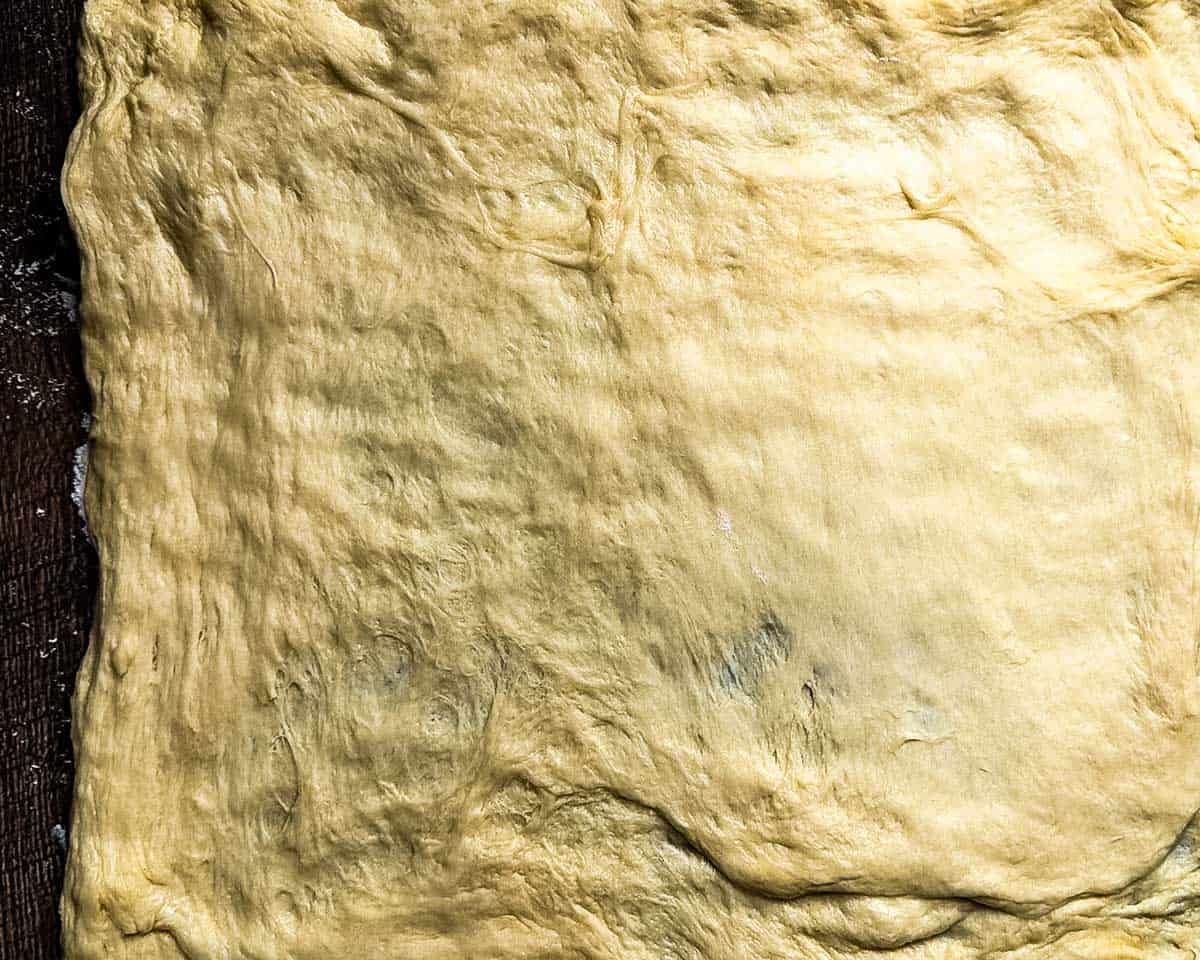
Shape the dough. Gently turn out the risen dough on a floured work surface. Press and pull the dough by hand into roughly an 18×14-inch rectangle. No rolling pin needed.
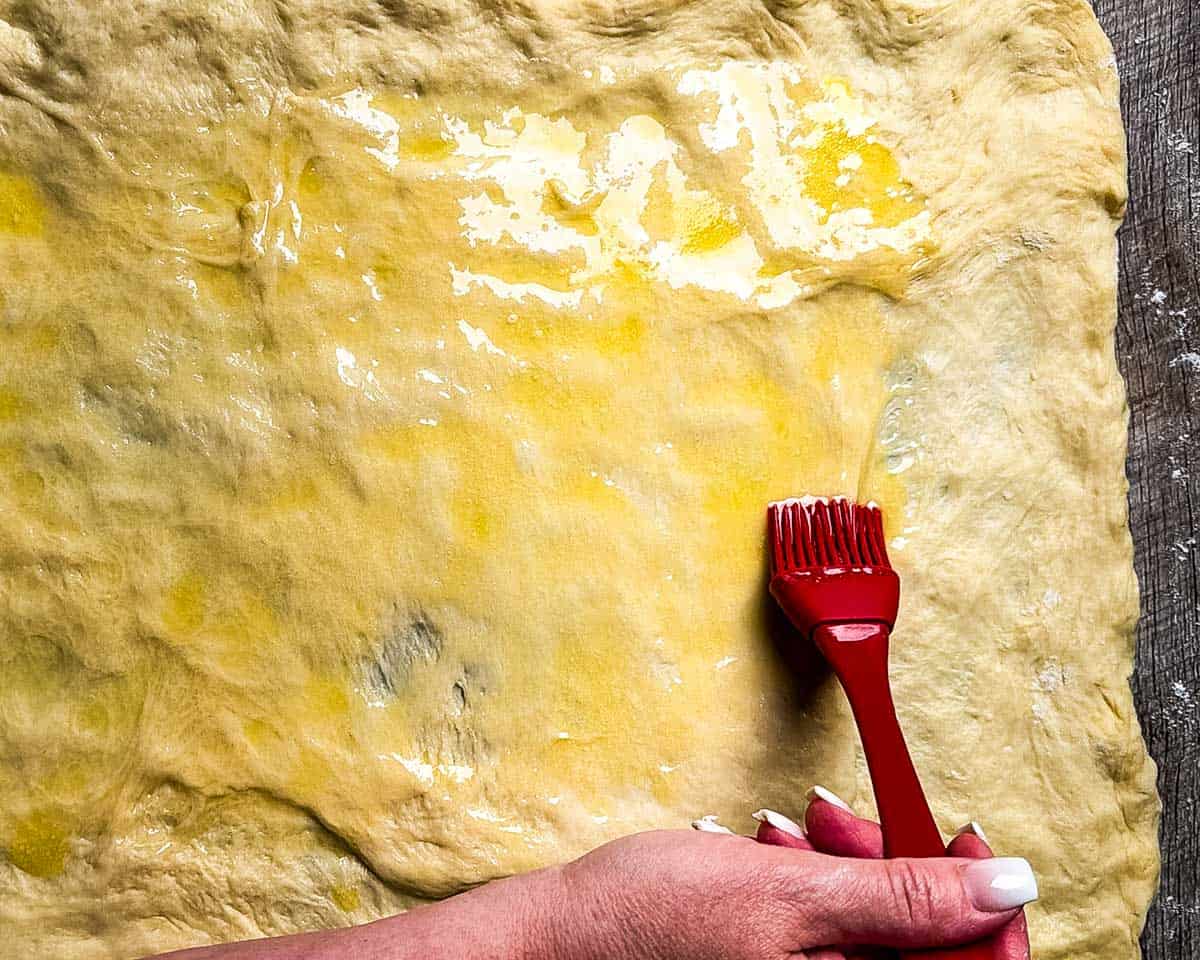
Add the filling. Brush the top of the dough with melted butter, leaving a ½-inch border along one long edge. Sprinkle the cinnamon sugar over the top and press it in gently so it stays put when you roll.
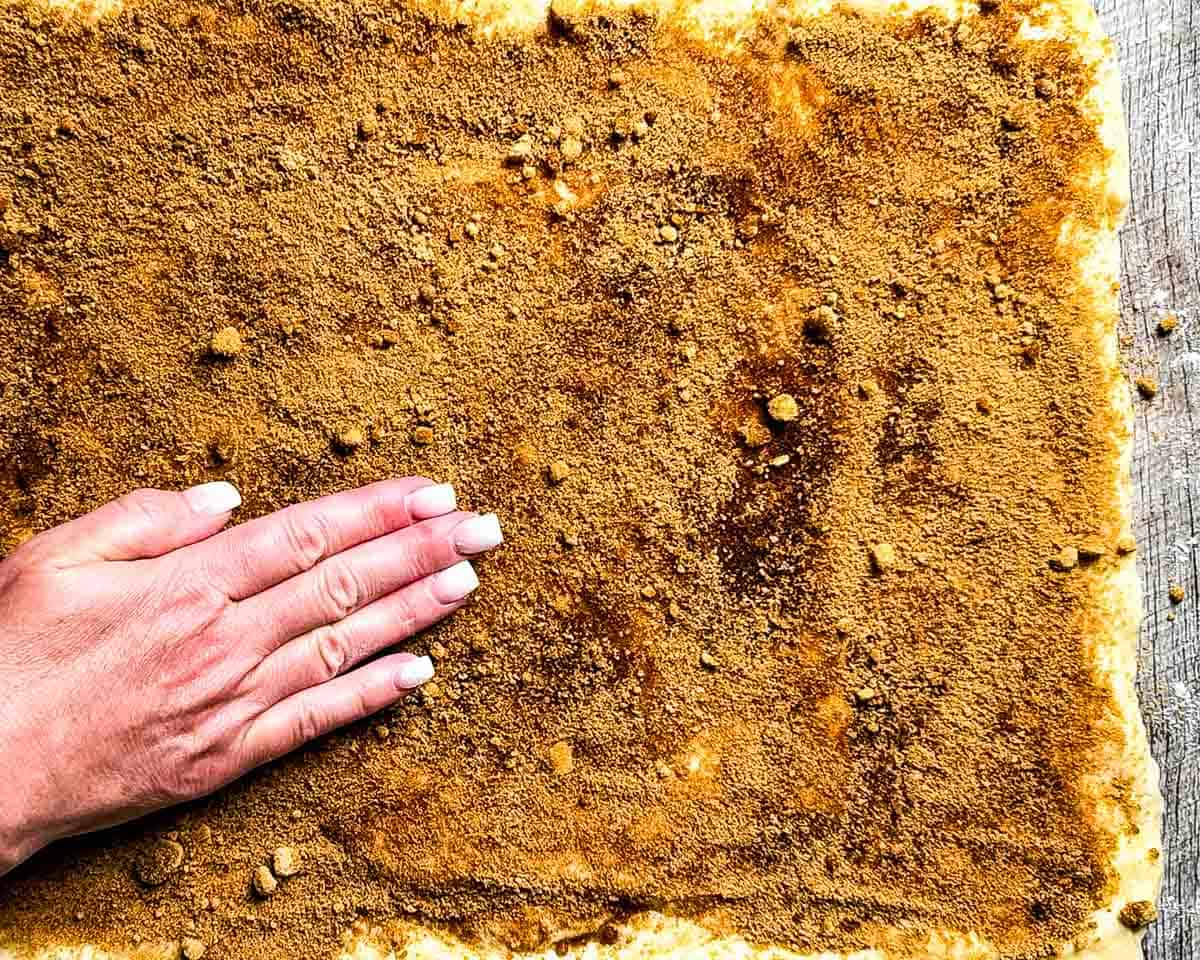
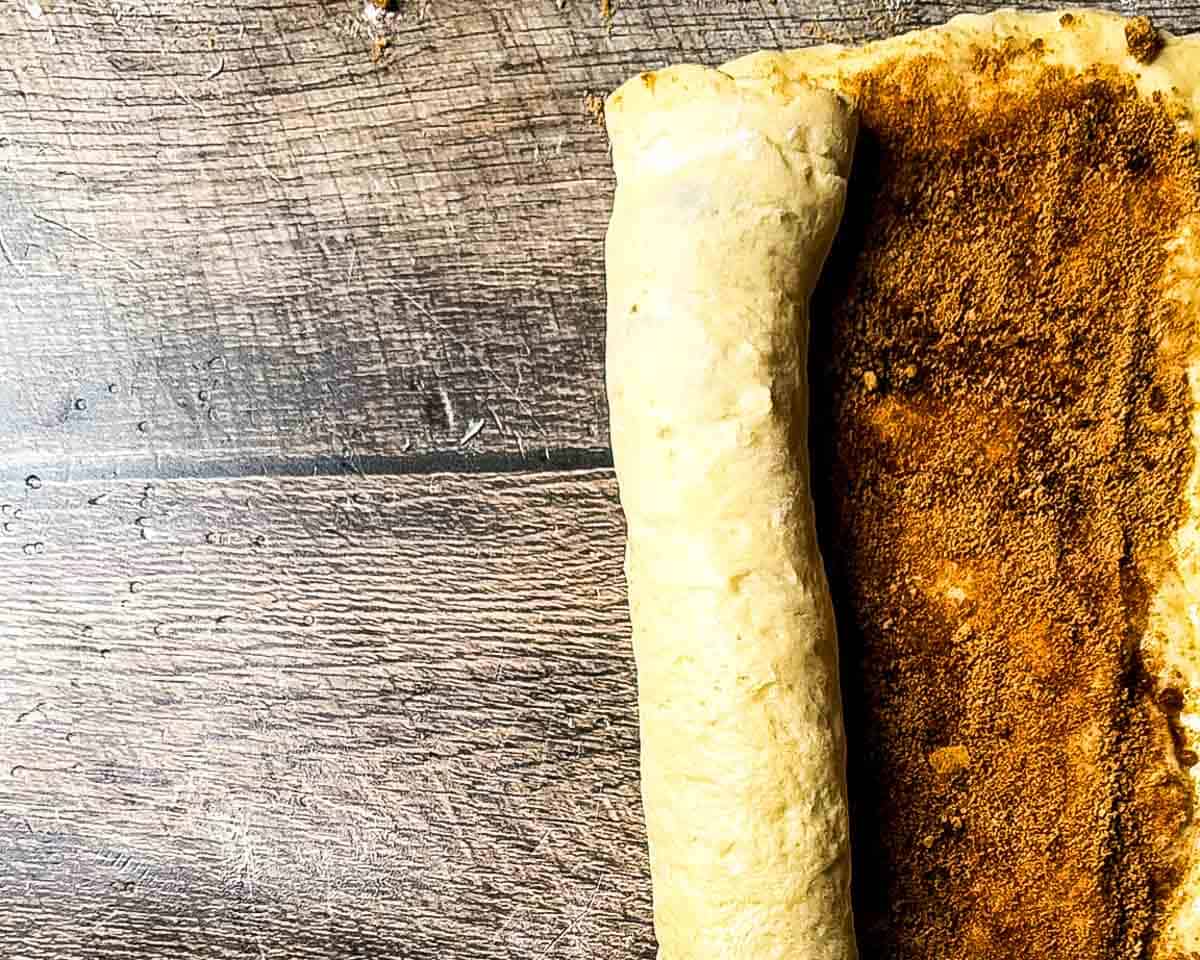
Roll and cut. Starting at the long edge opposite the ½-inch border, roll the dough into a snug log without stretching it. Pinch the unfilled edge at the seam to seal. Cut into 12 rolls with a sharp knife or unflavored dental floss, and arrange cut-side up in the dish, leaving a little space between each one.
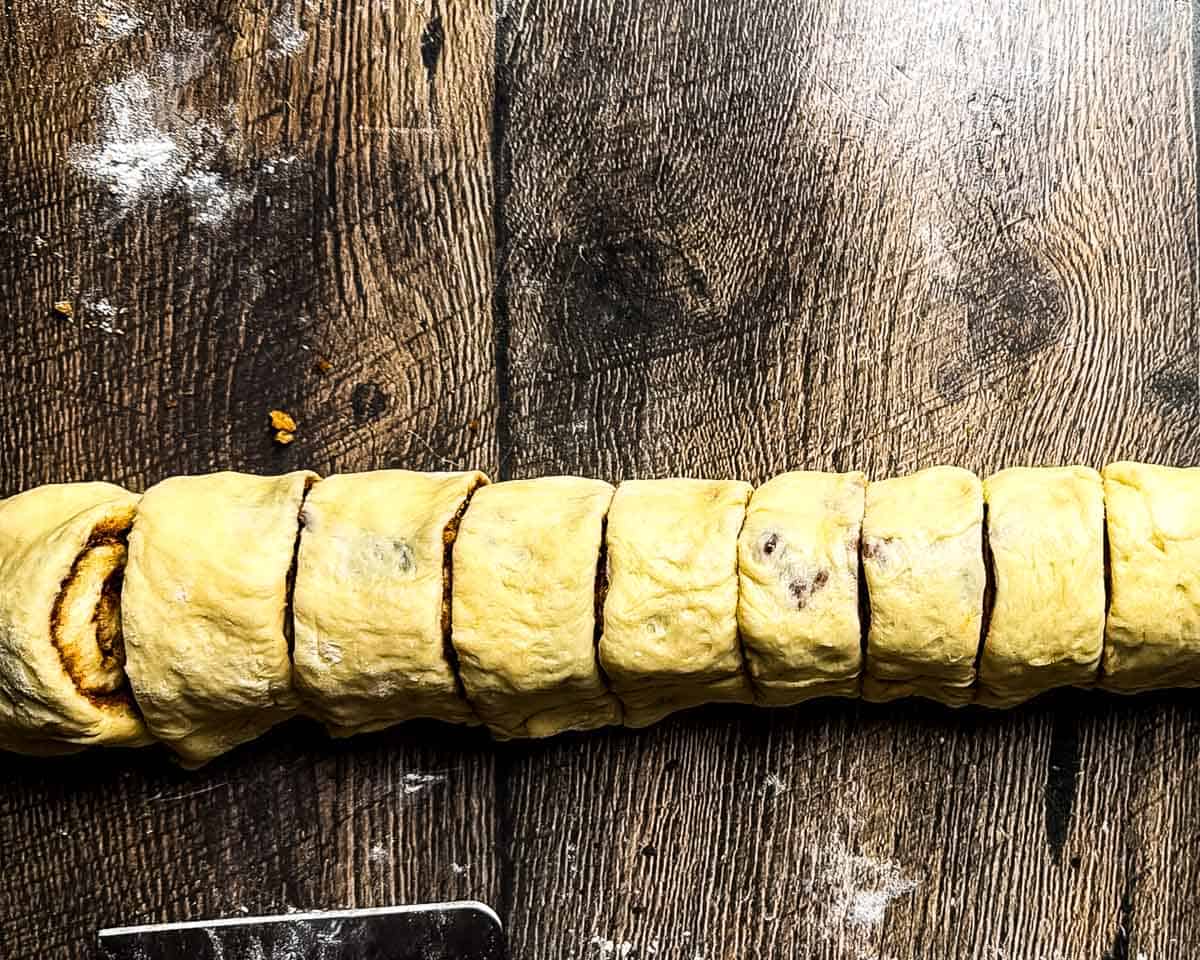
Second rise. Cover loosely and let rise 45-60 minutes, until the buns look puffy and are starting to touch. They should feel light when you touch them gently, not dense.
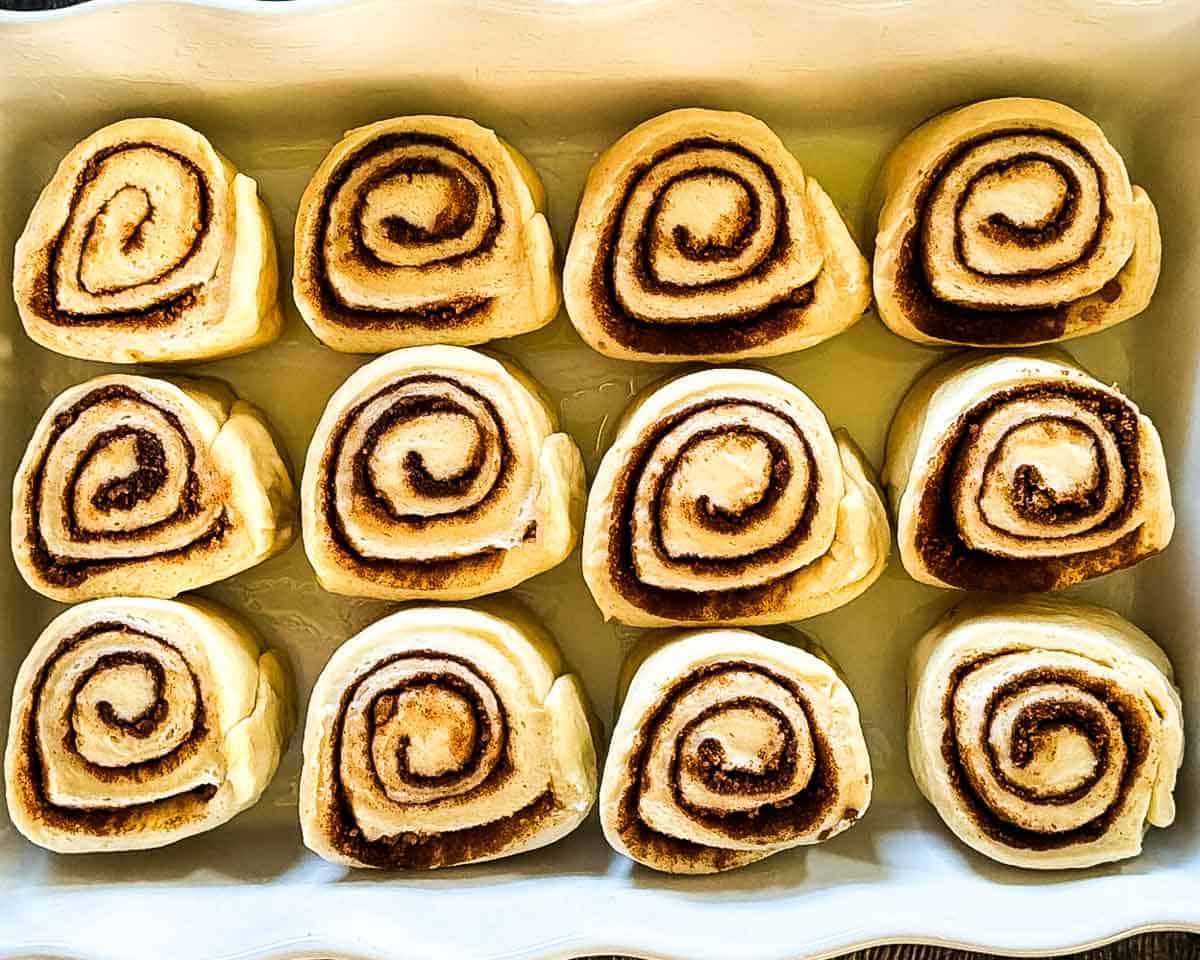
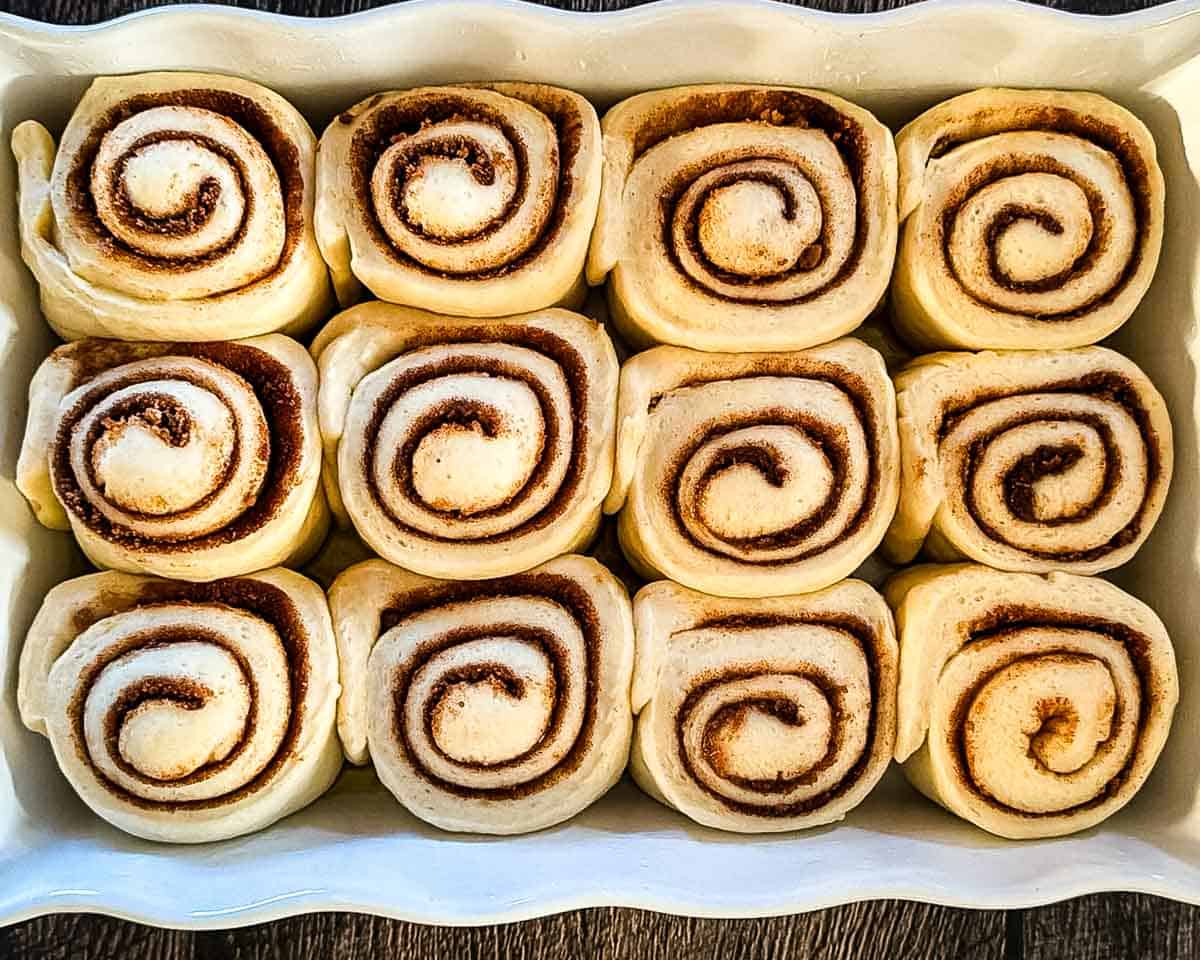
Bake. Preheat the oven to 375°F near the end of the second rise. Bake for 15 minutes, until golden brown, then tent loosely with foil and bake 3-10 minutes more, until a center bun reads 190°F on an instant-read thermometer. Check the dough, not the filling, and test a bun from the middle of the pan since the outer ones bake faster.
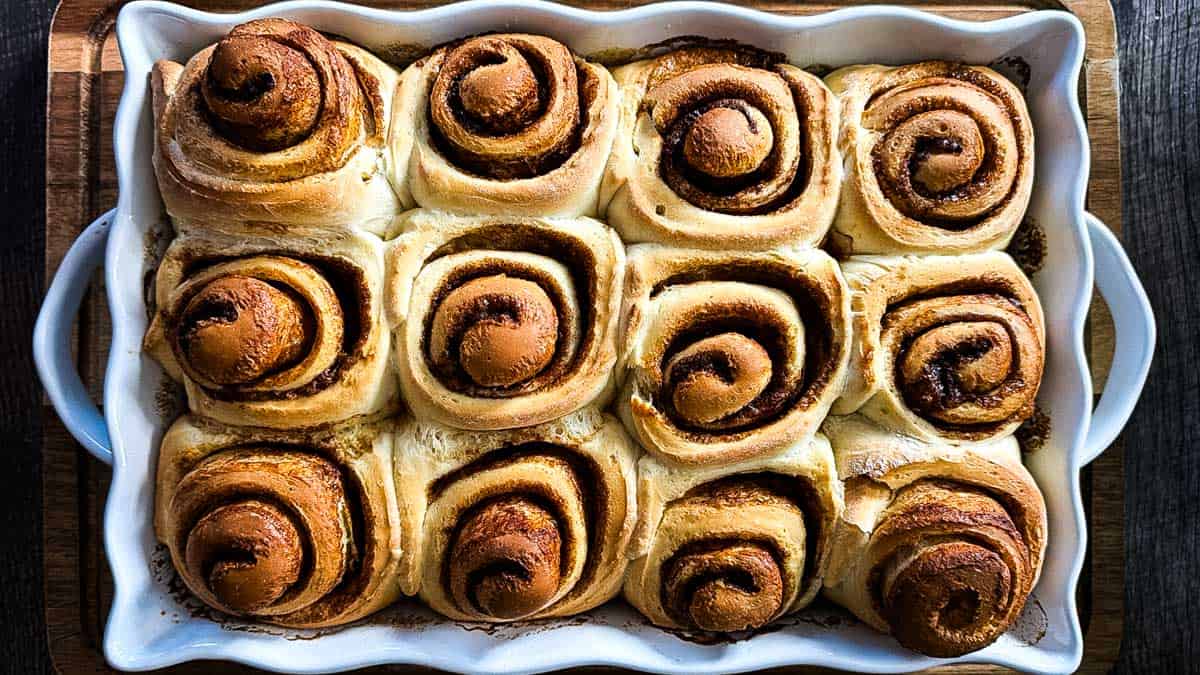
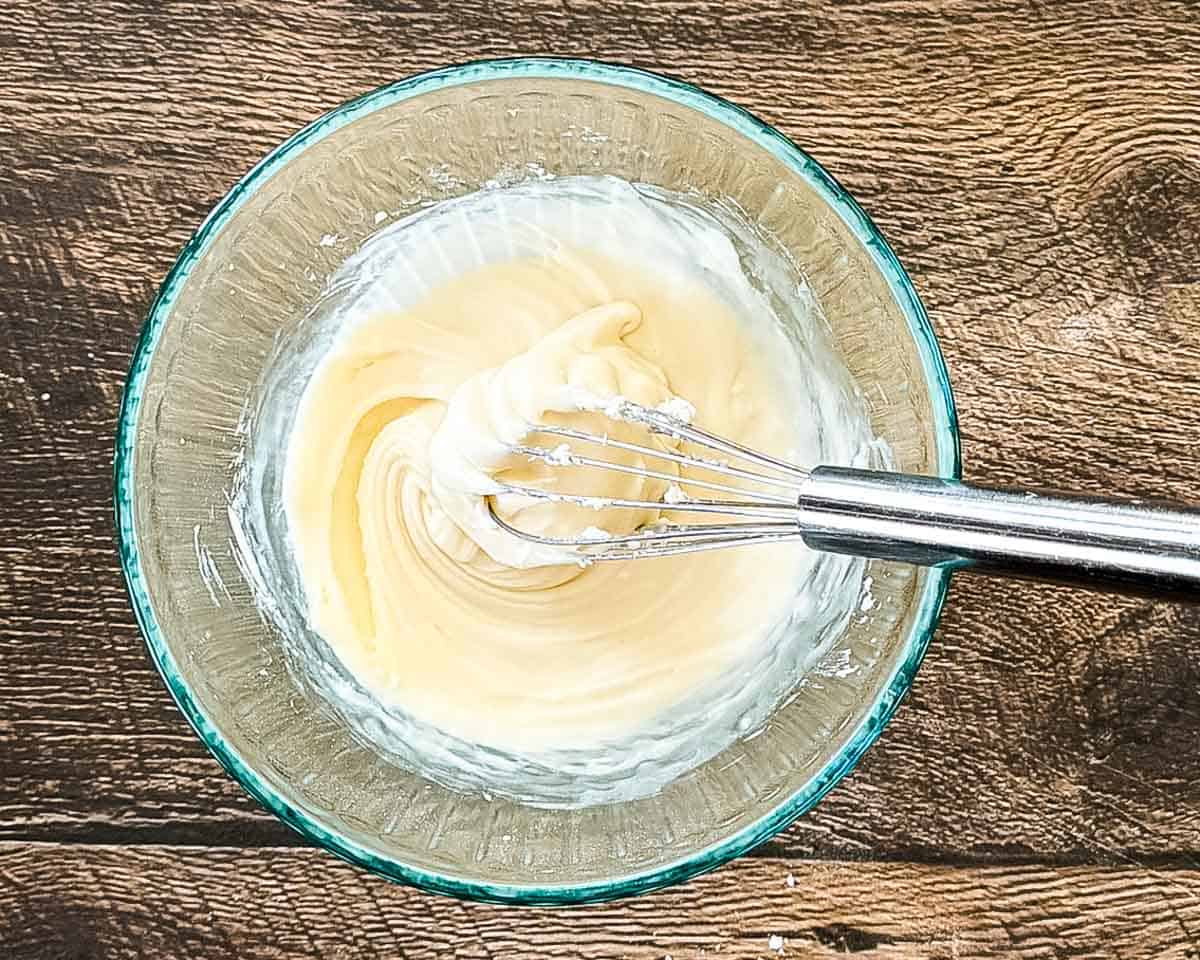
Cool and ice. Let the buns cool 10-15 minutes, until warm rather than hot, before icing. Whisk the powdered sugar, milk or cream, and vanilla until smooth, then spoon or drizzle over the buns and serve.
Make It Ahead
Shape and cut the rolls, arrange them in the pan, then cover tightly and refrigerate up to 24 hours instead of doing the second rise right away. When you're ready to bake, remove the pan from the refrigerator and let the rolls sit at room temperature for about 45-90 minutes, or until they're puffy and beginning to touch. A cold kitchen may take longer. Bake as directed.
How to Tell When the Cinnamon Buns Are Done
The tops should be golden brown and the buns should look set rather than doughy between the spirals. For the most reliable test, insert an instant-read thermometer into the dough of a center bun, avoiding the cinnamon filling. They're done when the dough reaches about 190°F.
Jeri's Top Tips
- Don't skip the yeast foam check. No amount of kneading fixes a dead batch, so it's worth the ten minutes before you go further.
- Leave that half-inch border when you add the filling. Filling all the way to the edge makes the seam harder to seal, and the sugar tends to leak out into the pan as it bakes.
- Skip the rolling pin. Press and pull the dough into shape with your hands. A bench scraper helps tidy the edges if you want them cleaner.
- Use dental floss to cut the rolls. Slide a piece under the log, cross the ends over the top, and pull for a clean cut with no squished spiral.
- Tent with foil partway through baking. The tops brown faster than the centers cook, so foil for the last few minutes keeps both on track.
- Ice the buns warm, not hot. Straight out of the oven, the icing melts through instead of sitting on top.
Substitutions & Variations
- Frosting: Swap the vanilla icing for cream cheese frosting for a richer, tangier flavor.
- Maple icing: Replace some of the milk with maple syrup for a maple-cinnamon version.
- Nuts: Add chopped walnuts or pecans to the filling.
- Raisins: Add a handful of raisins to the filling for the classic version.
Storage
Store cooled cinnamon buns in an airtight container at room temperature for 2-3 days, or in the fridge for up to 5 days. To reheat, microwave a single bun for about 10-15 seconds, or warm the whole pan covered in foil at 300°F for about 10 minutes.
FAQs
No. Since active dry yeast handles the rise, your sourdough discard can be flat, unfed, and days old.
Not really. The discard adds a subtle sourdough flavor that balances the sweet cinnamon filling, but these still taste like classic cinnamon buns.
Yes! Shape the rolls, cover the pan tightly, and refrigerate up to 24 hours. Let the pan sit at room temperature for about 45-90 minutes, until the rolls look puffy and are beginning to touch, then bake as directed.
The most common causes are too much flour, not kneading the dough long enough, or yeast that didn't activate properly. The finished dough should be smooth, elastic, soft, and slightly tacky. If it's stiff or dry before the first rise, you've likely added too much flour.
Yes! Freeze the baked, un-iced buns individually wrapped in plastic wrap or parchment paper, up to 2 months. To serve, thaw at room temperature, warm them up, then add the icing.
Yes, but room-temperature discard is best because it mixes in more easily. If yours is straight from the refrigerator, let it sit on the counter while you gather the rest of the ingredients.
Not with this recipe as written. The active dry yeast provides the rise, while the sourdough discard adds flavor and tenderness. Leaving out the yeast would require different rise times and an active sourdough starter.
Printable Recipe

Soft and Fluffy Sourdough Discard Cinnamon Buns
Ingredients
Yeast Mixture
- ¼ cup warm water (90°F)
- 2¼ teaspoons active dry yeast (1 packet)
- 1 teaspoon granulated sugar
Cinnamon Bun Dough
- ¾ cup sourdough discard room temperature
- ½ cup milk
- ¼ cup granulated sugar
- ¼ cup unsalted butter
- 1 teaspoon salt
- 2 large eggs
- 3½-4 cups all-purpose flour as needed
Cinnamon Filling
- ¾ cup packed brown sugar
- 1 tablespoon ground cinnamon
- ¼ cup melted butter slightly cooled
Vanilla Icing
- 1½ cups powdered sugar
- 3 tablespoons milk or heavy cream
- ½ teaspoon vanilla extract
Instructions
- Activate the yeast. Combine the warm water, active dry yeast, and 1 teaspoon sugar in a small bowl. Let stand for 5-10 minutes, until foamy. If it doesn't foam, start over with fresh yeast.
- Warm the milk mixture. Add the milk, sugar, butter, and salt to a small saucepan. Heat over low to medium-low heat until the butter melts, then cool until lukewarm.
- Make the dough. Combine the sourdough discard, yeast mixture, and eggs in a large bowl. Whisk until combined, then add the lukewarm milk mixture.
- Add the flour. Add 1½ cups flour and mix well. Gradually add more, about ½ cup at a time, until a soft, slightly tacky dough forms and begins to pull away from the bowl. You'll likely need 3½ to 4 cups total.
- Knead. Knead by hand for 4-5 minutes, or in a stand mixer fitted with a dough hook for 2-3 minutes, until smooth, elastic, and slightly tacky. If the dough is very sticky, add extra flour 1 tablespoon at a time. Avoid adding too much flour or the buns may turn out dense.
- First rise. Place the dough in a greased bowl, turn to coat, and cover. Let rise in a warm place for about 1 hour, or until doubled in size.
- Prepare the pan. Grease a 9×13-inch baking dish.
- Make the filling. Combine the brown sugar and cinnamon. Melt the butter and let it cool slightly.
- Shape the dough. Gently press down the risen dough, then turn it out onto a lightly floured work surface. Press and pull it by hand into roughly an 18×14-inch rectangle. No rolling pin needed.
- Add the filling. Brush the dough with melted butter, leaving a ½-inch border along one long edge. Sprinkle evenly with the cinnamon sugar and press it gently into the dough.
- Roll and cut. Starting from the filled long edge, roll the dough into a snug log without stretching it. Pinch the seam to seal. Cut into 12 equal pieces with a sharp knife or unflavored dental floss. Arrange cut-side up in the prepared dish, leaving a little space between each roll.
- Second rise. Cover loosely and let it rise in a warm place for 45-60 minutes, until puffy and beginning to touch.
- Preheat. Preheat the oven to 375°F near the end of the second rise.
- Bake. Bake for 15 minutes, until golden brown. Tent loosely with foil and continue baking for another 3-10 minutes, until a center bun reaches about 190°F on an instant-read thermometer. Insert the thermometer into the dough rather than the cinnamon filling.
- Cool. Transfer the pan to a wire rack and cool for 10-15 minutes.
- Make the icing. Whisk together the powdered sugar, milk or cream, and vanilla until smooth.
- Ice and serve. Drizzle or spread the icing over the warm cinnamon buns and serve.
Save This Recipe 💌
Notes
- Don't add too much flour: The dough should be soft and slightly tacky. Adding too much flour can make the cinnamon buns dense and dry.
- Use a thermometer: Check a bun near the center of the pan. The dough should reach about 190°F.
- Make ahead: Cover the shaped, unrisen rolls tightly and refrigerate for up to 24 hours. Let them sit at room temperature for about 45-90 minutes, or until puffy and beginning to touch, then bake as directed.
- Storage: Store cooled cinnamon buns in an airtight container at room temperature for 2-3 days or in the refrigerator for up to 5 days.
- Reheat: Microwave an individual bun for about 10-15 seconds, or until warm.
Nutrition
The provided nutrition information is automatically calculated. Accuracy is not guaranteed.
Did you love this recipe?
Then please leave a 5-star rating and/or review below! You can also save it! Just tap the heart symbol ❤️ in the lower right corner of your screen, and the recipe will be stored in your own recipe box!📥

Comments
No Comments